
Easy Dollar Tree Pumpkin Craft
There’s no better way to decorate your home when you’re on a budget than by making some Dollar Tree crafts! And fall is the best time to put together your own DIY dollar store decor because there are so many cute supplies to choose from. This simple Dollar Tree pumpkin craft is made with just a few budget-friendly supplies and can be put together in under 10 minutes, making it the perfect way to add some farmhouse charm to your home this fall.
This posts contains affiliate links, which means I may earn a commission if you purchase something from my link (at no additional cost to you). Thanks for your support!

Adding a farmhouse look to your fall decor is easy when you have a Dollar Tree nearby! That’s because you can easily turn some dollar store pumpkins into a cute decoration to add to your home without spending a ton of money.
With just three dollar store supplies, you can create a cute pumpkin topiary to add to the rest of your fall decorations. And the best part is taht you can get everything you need at Dollar Tree!
Dollar Tree Pumpkin Craft
Turn a couple of cute dollar store pumpkins into an adorable farmhouse decoration with just a few minutes of hands-on work. You’ll love how quick and easy this project is to make!
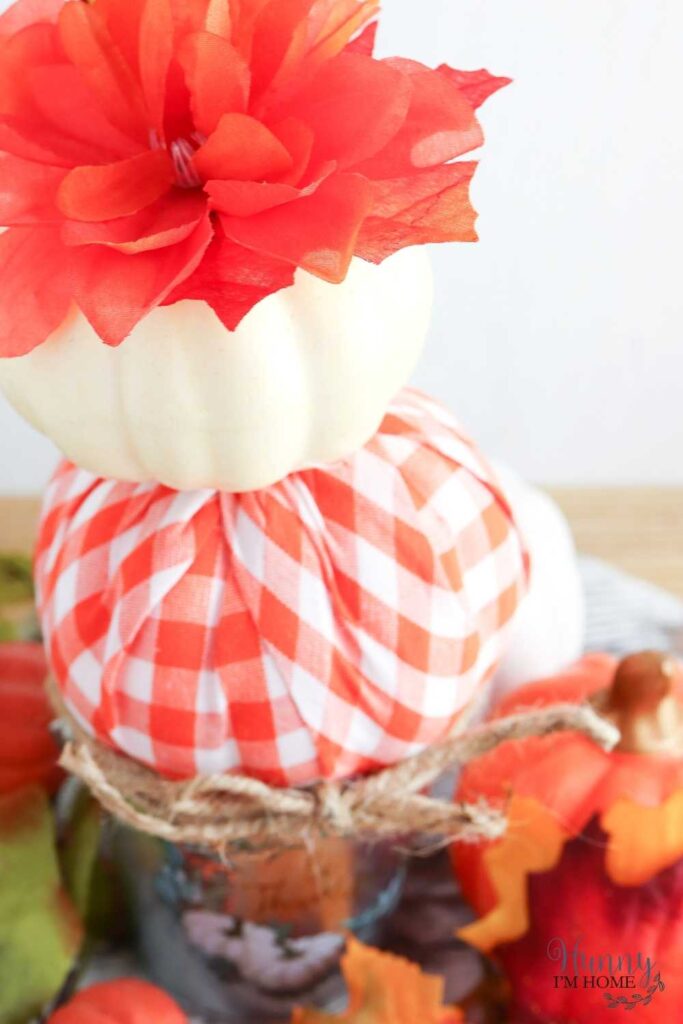
In addition to being adorable, this dollar store pumpkin craft is also super cheap to put together. Since you only need three supplies to make it, you can create a cute decoration for your home for under $5. To make your own pumpkin topiary, you’ll need:
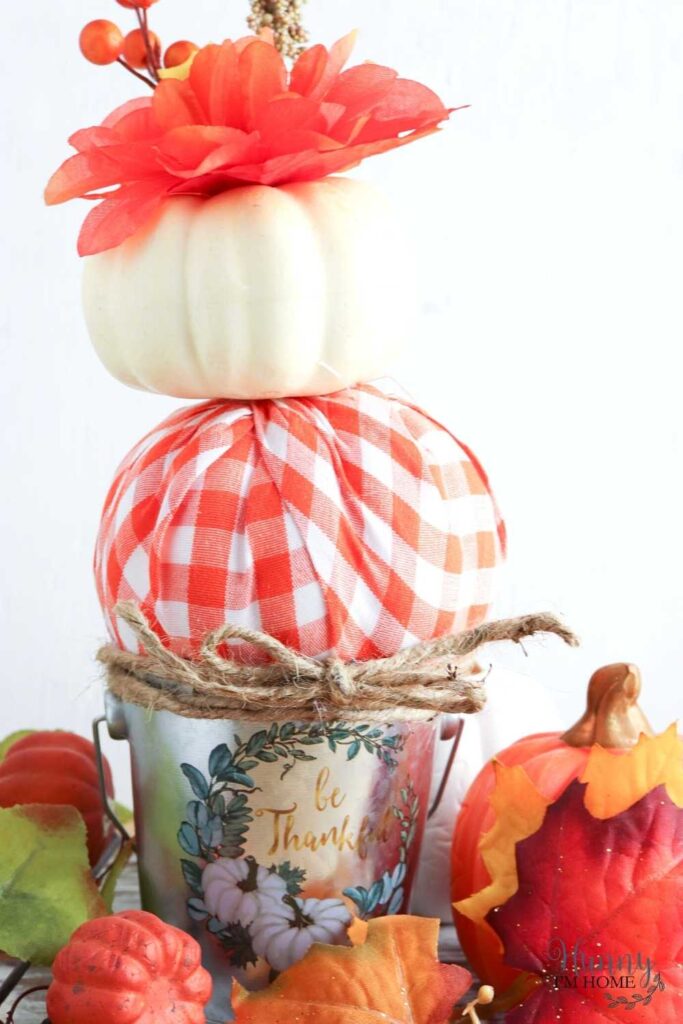
- Gingham pumpkin. You can find this cute gingham pumpkin in the seasonal section of the store. My store had a few different options for fabric covered pumpkins, including this orange and white check pattern and burlap pumpkins.
- Pumpkin with flowers on top. To decorate the top of your pumpkin topiary, use a pumpkin with flowers on top. These were also located in the seasonal section of the store. You can choose from a variety of pumpkin colors and flower varieties!
- Small metal bucket. Grab one of these small metal buckets from the seasonal section if you want your pumpkin craft to have even more of a fall look. Or you can often find plain mini buckets in the craft section of the store.
- Twine. Add some twine or ribbon from the craft section of Dollar Tree to finish decorating your fall craft.
How to Make a Dollar Tree Pumpkin Craft
You’re not going to believe how simple this Dollar Store pumpkin decoration is to make! In fact, you can put it together in under five minutes!
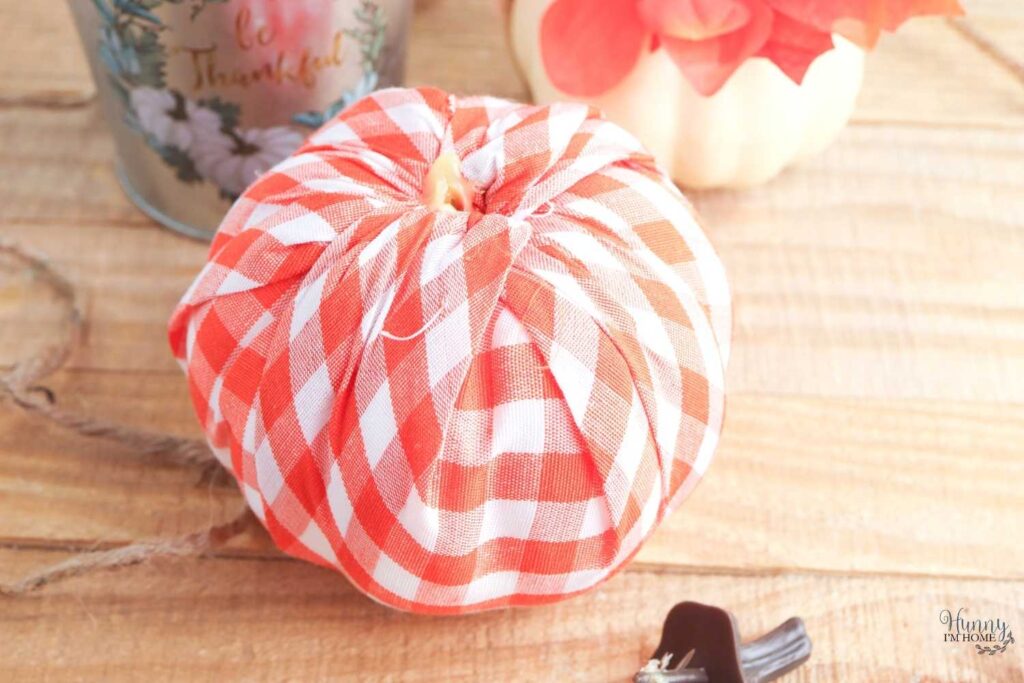
Start by preparing your fabric covered pumpkin to be the base of your topiary. Remove the stem from this pumpkin by twisting and pulling until it pops off. If the fabric pulls off with the stem, just stick it back into the hole.

Next, grab your hot glue gun and add some glue to the top of the fabric pumpkin. Carefully line the flower topped pumpkin on top of the fabric pumpkin and press it down until the glue dries.
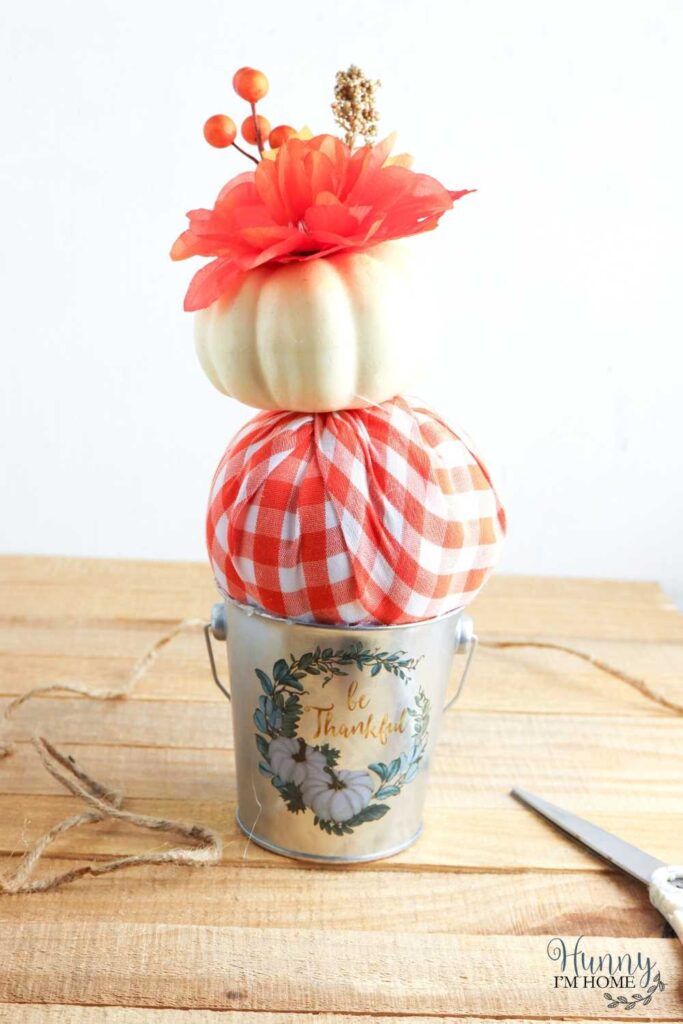
After that, all that’s left to do is attach the pumpkins to the bucket. Add some hot glue to the rim of the bucket. Make sure the bottom of the pumpkin is lined up with the top of the bucket and press it down into the glue. Hold it in place until the glue cools and dries.
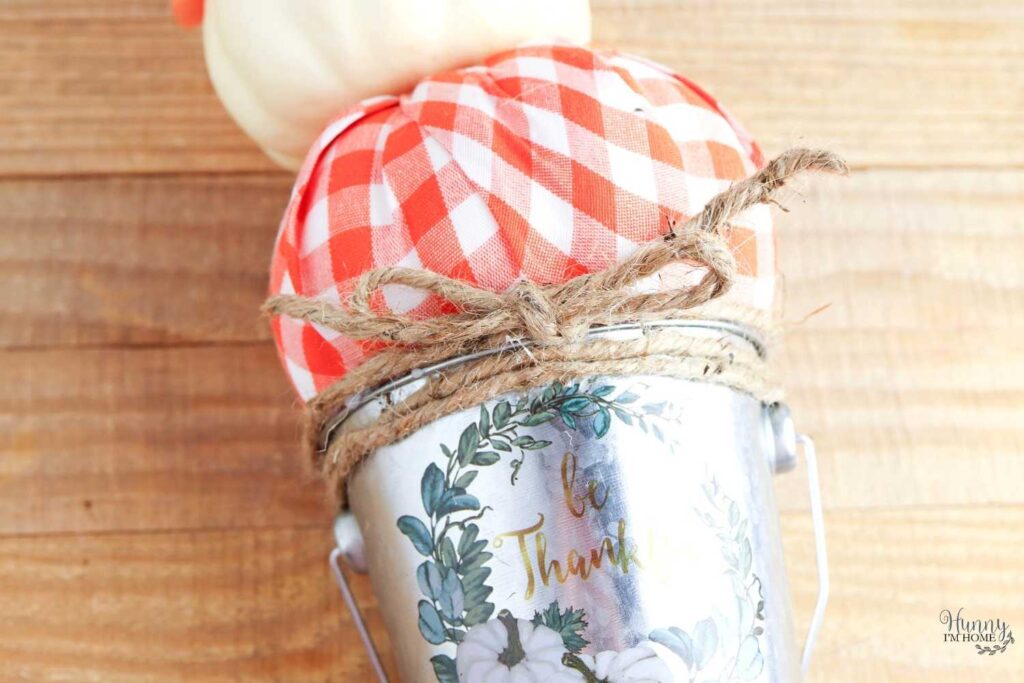
Finish decorating your pumpkin craft by tying a piece of twine around the top of the bucket. You can use the twine to help cover up the seam between the pumpkin and bucket. Then, secure the twine in place with a bow and a little bit of glue on the back.
Dollar Tree Pumpkin Craft Ideas
See how simple it is to make your own pumpkin decoration using supplies from the dollar store? And since this craft is so easy to make, it’s also easy to customize!
Try these other craft ideas to create your own unique decoration using supplies from your local Dollar Tree.
- Stack more pumpkins. There are so many amazing pumpkin options to choose from at Dollar Tree, which means you can create a larger stack of pumpkins for your topiary if you want! Just make sure to pick pumpkins that are similar in size or go from large to small as you stack to keep the topiary from toppling over.
- Paint your bucket. If you’re not a fan of the look of a metal bucket, just grab some paint. Paint the bucket in your favorite fall color, then add the pumpkins to the stack ot make this craft your own.
- Paint the pumpkins. In addition to painting the pumpkins you can also use paint on the pumpkins to create a unique look! Use white paint to give the stack a more modern farmhouse look or add a pop of color with some pastel paint.
DIY Dollar Tree Pumpkin Craft
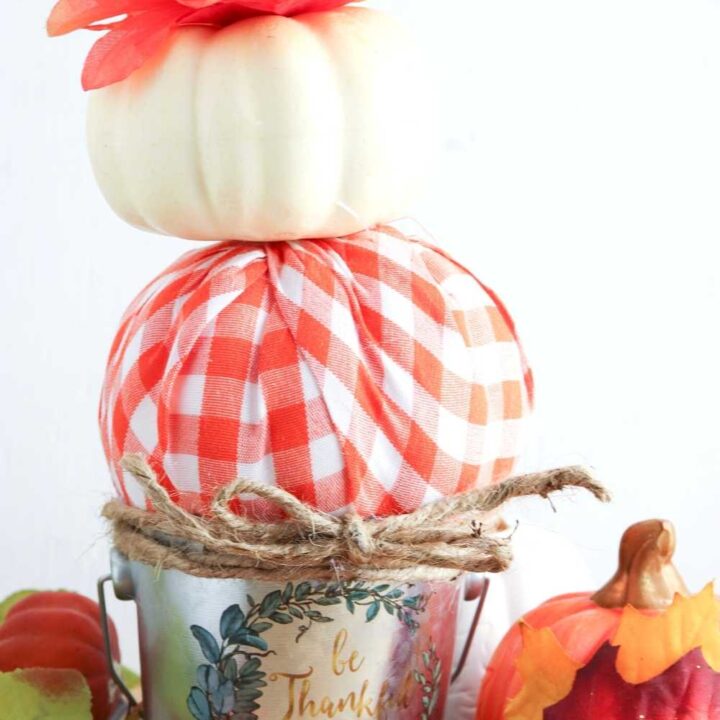
This farmhouse style Dollar Tree pumpkin craft can be made with just three supplies for under $5!
Materials
- 1 gingham pumpkin
- 1 pumpkin with flowers on top
- 1 small metal bucket
- Twine
Tools
- Hot glue gun
Instructions
- Remove the stem from the gingham pumpkin.
- Use the hot glue gun to attach the pumpkin with the flowers on top of the gingham pumpkin.
- Glue the pumpkin stack to the top of the small metal bucket.
- oDecorate the top of the bucket with a twine bow.
llar
More Easy Craft Ideas:
DIY Pumpkin Decor with a Dollar Store Pumpkin
Mason Jar With Fall Flowers Dollar Tree Centerpiece
If you like this post, you’ll probably like these:



Emily is a midwestern mom of two boys. She loves all things DIY — from home renovations to kids birthday party planning. Whether she’s making a new farmhouse craft for her home or helping her kids with a cool activity, you can bet she’s in the middle of some kind of DIY project (or three) right now!


