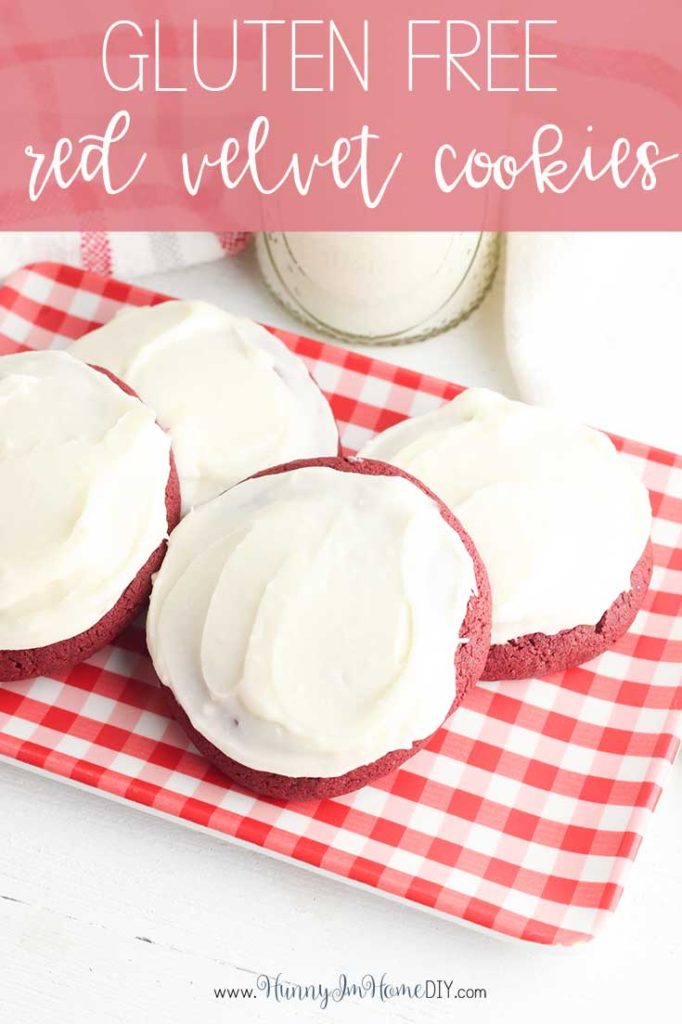
Gluten Free Red Velvet Cookies with Cream Cheese Icing
Finding delicious gluten free Christmas cookies can be so difficult sometimes! That means when you find a great recipe, you want to make sure you save it. I’m telling you right now that you’re going to want to save this recipe. These delicious gluten free red velvet cookies don’t just taste amazing. They’re also so easy to make!
This post contains affiliate links, which means I may earn a commission if you purchase something from my link (at no additional cost to you). Thanks for your support!
If you’ve tried making gluten free cookies before, you know how difficult it can be to get the right taste and texture in your cookies. But this recipe for gluten free red velvet cookies uses a secret ingredient to help you get the perfect chewy texture every time.
The problem many people face when making cookies gluten free is that the cookies come out too dry or too crumbly. But this simple recipe will make delicious, chewy red velvet cookies every time. That’s why they’re one of my favorite gluten free cookies.

Gluten Free Red Velvet Cookies
To make these easy gluten free red velvet cookies, you’ll need just a few simple ingredients — the most important being cornstarch. That’s the secret ingredients that ensures your cookies aren’t dry or crumbly after baking!

To make these easy gluten free red velvet cookies, you’ll need:
- Gluten free baking flour (I love Bob’s Red Mill 1-to-1 Baking Flour)
- Cornstarch
- Salt
- Baking powder
- Baking soda
- Butter
- Cream cheese
- Sugar
- Vanilla extract
- Vinegar
- Egg
- Unsweetened cocoa powder
- Cream cheese icing (keep reading to get my simple recipe)
The first step to making your gluten free cookies is to mix together the dry ingredients. Add your gluten free baking flour, cornstarch, baking soda, baking powder, and salt in a large bowl. Whisk the ingredients together until they’re well combined, then set the bowl aside while you prepare the rest of your cookie dough.
Gluten Free Red Velvet Cookie Recipe

Next, grab your softened butter, cream cheese, and sugar. Use a stand mixer or hand mixer to beat the ingredients together until they’re light and creamy. Always use room temperature butter when creaming the butter for cookies to ensure you get the best consistency in your cookie dough. Simply set the stick of butter on the counter around 30 minutes before you start baking and it will be ready to mix when you’re ready to make your recipe!
After creaming your butter, cream cheese, and sugar together, it’s time to add the egg, vinegar, and food coloring to the mixture. Use a full 2-ounce bottle of liquid food coloring for this recipe. Gel food coloring will also work for the recipe.

Next, mix the dry ingredients into the dough until the mixture is well combined. Make sure to fully mix all the ingredients until they’re well incorporated.

Finish by adding your cocoa powder to the batter to give that classic red velvet chocolate flavor to your cookies. Be sure to use unsweetened cocoa powder, not hot cocoa mix, when making these cookies.

Now that your dough is ready, it’s time to start making your cookies! Use a tablespoon to scoop out the dough and roll it into a ball between your hands. Place the cookies a parchment paper lined baking sheet, then press them down slightly with your fingers. Bake the cookies for 10 to 12 minutes. The cookies are ready to come out of the oven when the edges are set but the center is still slightly soft.
Cream Cheese Icing for Cookies

When the cookies are done baking, allow them to cool on the baking sheet for five minutes to give the center of the cookies time to finish baking. Then, transfer to cookies to a wire cooling rack to finish cooling. Make sure your cookies are cooled completely before adding icing.

To make this simple cream cheese icing, you’ll need just a few additional ingredients:
- Cream cheese
- Butter
- Powdered sugar
- Vanilla extract
Making the icing is so simple! Just add all the ingredients to a bowl and beat them together until the mixture is smooth and creamy. If the icing is too thick, add some milk, one tablespoon at a time until it reaches the consistency you want.

When the cookies have cooled completely, spread the icing over the top of each cookie. Then take a bite and enjoy!
Questions About Red Velvet Cookies
This easy gluten free cookie recipe is delicious and simple! But if you have questions as you’re baking, I probably have the answer!

Are red velvet cookies gluten free?
Traditional red velvet cookies are not gluten free, but you can make a few substitutions in your recipe to make your own gluten free cookies. The most important replacement is the flour. I always use Bob’s Red Mill 1-to-1 Baking Flour when baking cookies and other gluten free desserts.
Can I leave out the cream cheese in the cookies?
Yes. The cream cheese helps make these cookies chewy and thick. But if you don’t want to add it in, you can leave it out. Just note that the cookies will be slightly thinner and crunchier without the cream cheese in the dough.
How can I decorate these red velvet cookies for the holidays?
These delicious cookies are perfect for holiday celebrations! And the best part about this recipe is that it can be adapted for just about any holiday. Here are a few ideas for ways to change the recipe slightly to suit your holiday needs:
- Christmas cookies: Leave the cookies as-is for Christmas or add a few holiday sprinkles to the top of the cookies to easily turn these into fun Christmas cookies.
- Cookies for Valentine’s Day: The red color of these cookies make them perfect for Valentine’s Day. Add a little bit of pink food coloring to the icing to give them even more Valentine’s Day color.
- St. Patrick’s Day cookies: Red cookies aren’t very festive for St. Patrick’s Day, but there is one thing you can change to turn them into fun green velvet cookies for the holiday. Swap out the red food coloring for green food coloring in the cookie dough to make your own gluten free green velvet cookies for St. Patrick’s Day.

Gluten Free Red Velvet Cookies
These delicious gluten free red velvet cookies taste just like red velvet cake!
Ingredients
Ingredients for the Cookies:
- 2 ½ cups gluten free baking flour
- 1 teaspoon baking powder
- 1 teaspoon cornstarch
- ¾ teaspoon salt
- ¼ teaspoon baking soda
- 1 cup butter, softened
- 2 ounces cream cheese, softened
- 1 ¼ cup sugar
- 1 teaspoon vanilla
- 1 teaspoon vinegar
- 1 egg
- 2 ounces red food coloring
- ½ cup unsweetened cocoa powder
Ingredients for the Icing:
- ½ cup butter, softened
- 4 ounces cream cheese, softened
- 2 cups powdered sugar
- 1 teaspoon vanilla
Instructions
- Preheat oven to 375 degrees and line a baking sheet with parchment paper.
- In a medium bowl, whisk together the flour, baking powder, cornstarch, salt, and baking soda. Set aside.
- In a separate bowl, beat together the butter, cream cheese, and sugar. Add the vanilla, vinegar, egg, and food coloring and beat to combine.
- Beat in the cocoa powder.
- Use a tablespoon to scoop out dough and roll into a ball. Place the ball on the baking sheet and press flat with your fingers.
- Bake the cookies in the preheated oven for 10 minutes, until the edges are golden brown and the center is still soft.
- Allow to cool on the baking sheet for 5 minutes, then transfer to a wire cooling rack to cool completely.
- While the cookies are cooling, make the icing by beating together the butter, cream cheese, powdered sugar, and vanilla until smooth and well combined. Spread over the top of the cooled cookies.
Nutrition Information:
Yield: 24 Serving Size: 1Amount Per Serving: Calories: 261Total Fat: 14gSaturated Fat: 9gTrans Fat: 0gUnsaturated Fat: 4gCholesterol: 45mgSodium: 217mgCarbohydrates: 31gFiber: 1gSugar: 20gProtein: 3g
More Delicious Gluten Free Recipes:
Gluten Free Flourless Chocolate Cake
Easy Gluten Free Chocolate Chip Cookies
1 Bowl Gluten Free Banana Bread
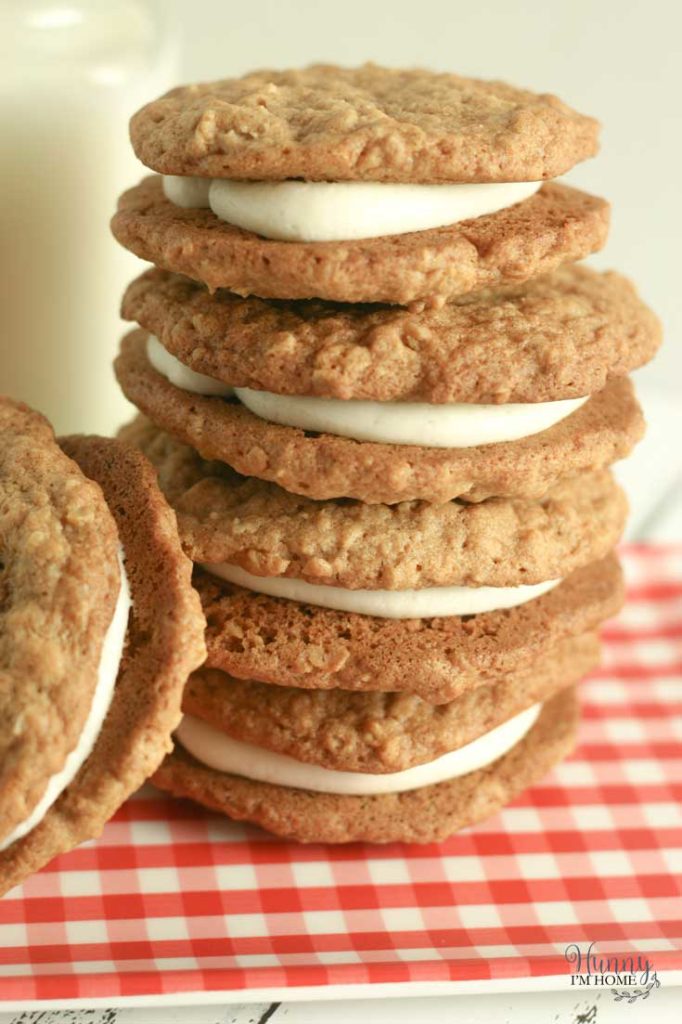
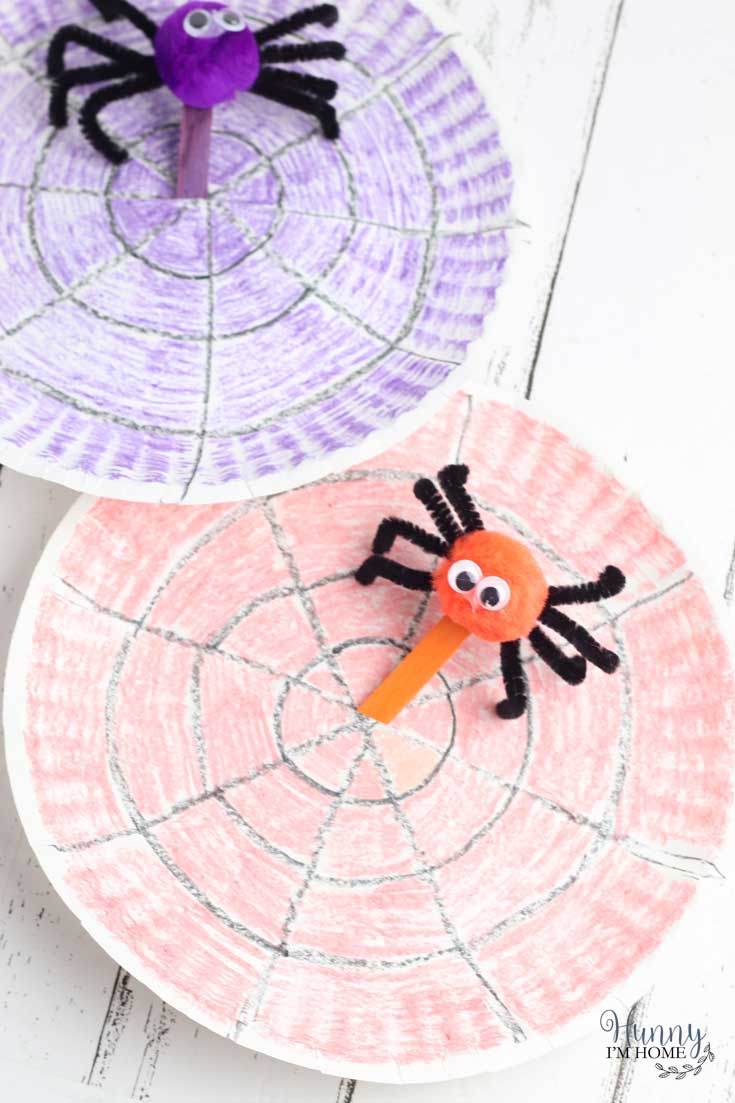
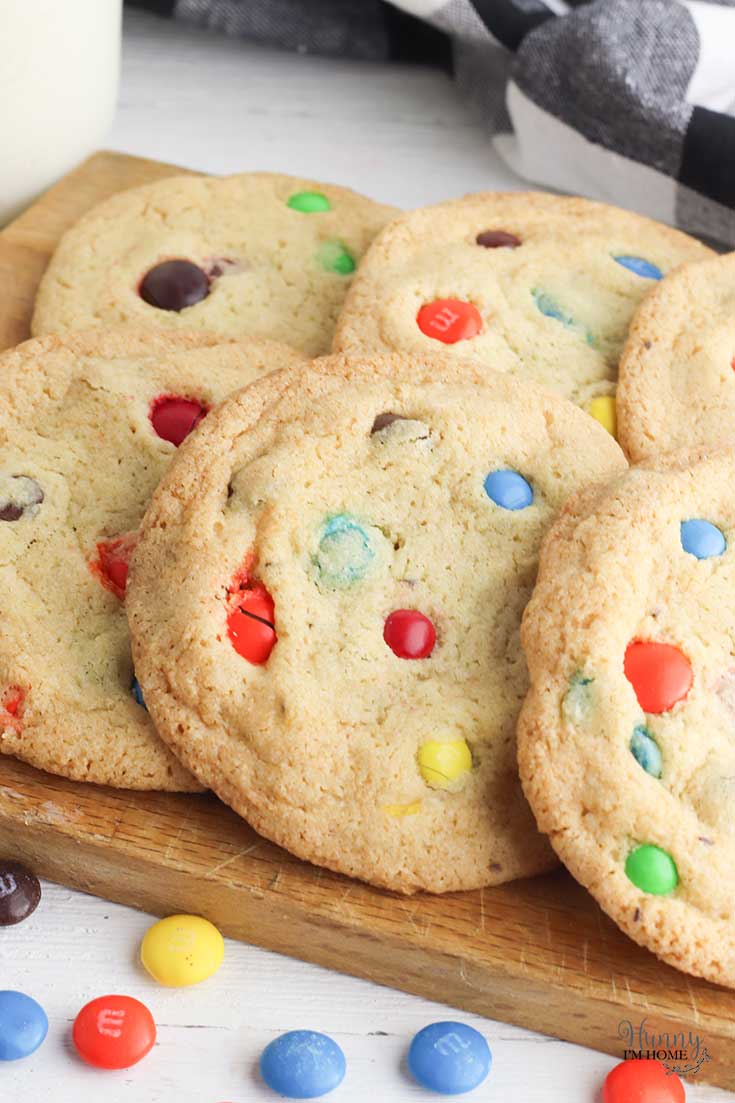
If you like this post, you’ll probably like these:


Emily is a midwestern mom of two boys. She loves all things DIY — from home renovations to kids birthday party planning. Whether she’s making a new farmhouse craft for her home or helping her kids with a cool activity, you can bet she’s in the middle of some kind of DIY project (or three) right now!


4 Comments