
Preschool Paper Plate Flowers Craft
Whether you’re looking for an art project for school or a fun way to keep the kids entertained simple crafts for kids are always a great choice! And when you can use supplies you already have laying around the house, it’s even better! These cute paper plate flowers are one of those simple DIYs your kids will have so much fun making. Use paint and paper straws to turn a household item into a beautiful bouquet with your preschooler today.
This posts contains affiliate links, which means I may earn a commission if you purchase something from my link (at no additional cost to you). Thanks for your support!

Since this easy preschool project is so simple to make, it’s perfect for students of any age or in any grade to practice their painting and cutting skills.
But the best part is that you only need a few simple craft supplies to put it together. That means you probably already have everything you need at home right now!
Supplies to Make Paper Plate Flowers
This quick and easy paper plate craft is fun for kids in all grades, but it’s perfect for preschoolers! On top of giving them a chance to get creative, they can also practice their folding and cutting skills!
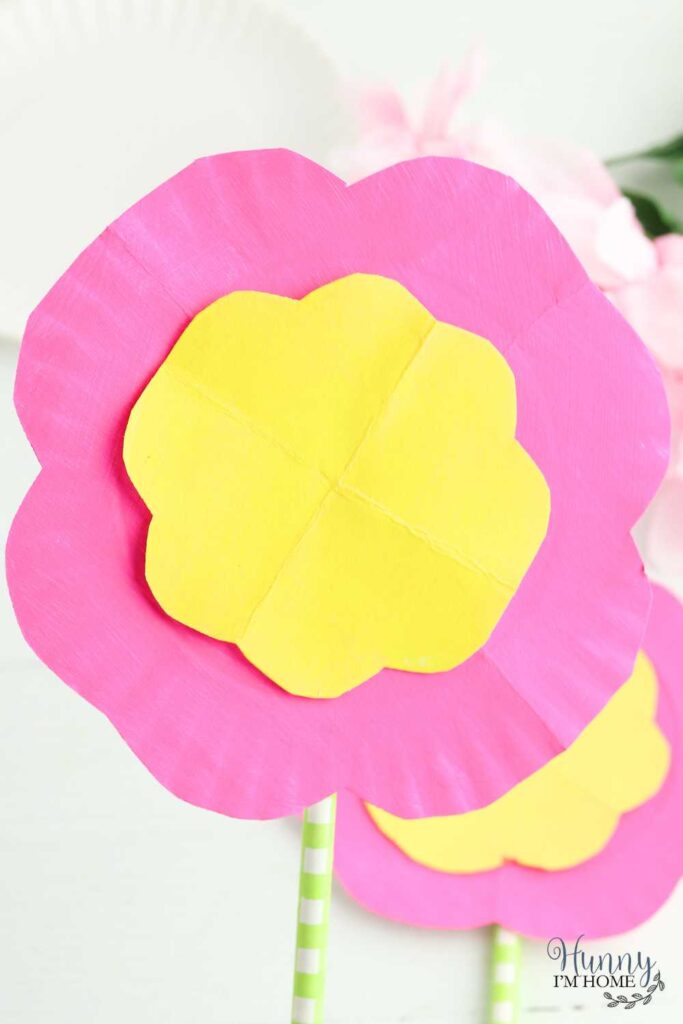
And while they’ll love how fun it is to make, you’ll love the short supply list for this flower craft! But it’s also super easy to customize, so don’t forget to keep scrolling to the bottom of the post to get more ideas for making this project with your kids.
- Paper plates. To make your own flowers at home, you can use any size paper plate you want. We used small 6-inch plates because that’s what we had on hand, but full-sized plates would also work to make larger flowers!
- Pink and yellow paint. Your kids can use any combination of colors to paint their own flowers, but we loved the bright contrast between the pink and yellow paint! We used acrylic craft paint to create our paper plate craft, but watercolors will also work.
- Paper straws. To add the stem to your flowers, you’ll also need straws. These green and white plaid straws are from Dollar Tree, but you can use any type of straw you already have on hand at home!
- Scissors. To create the shape for your flower petals, you’ll also need a pair of scissors to trim the edges of the paper plates.
How to Make a Paper Plate Flower
Now that you have all your supplies gathered up, it’s time to get crafty! Have some fun with your kids making your own flowers at home or in the classroom.

You’ll need two paper plates per flower. Start by folding both plates in half, then in half again to form a wedge shape.
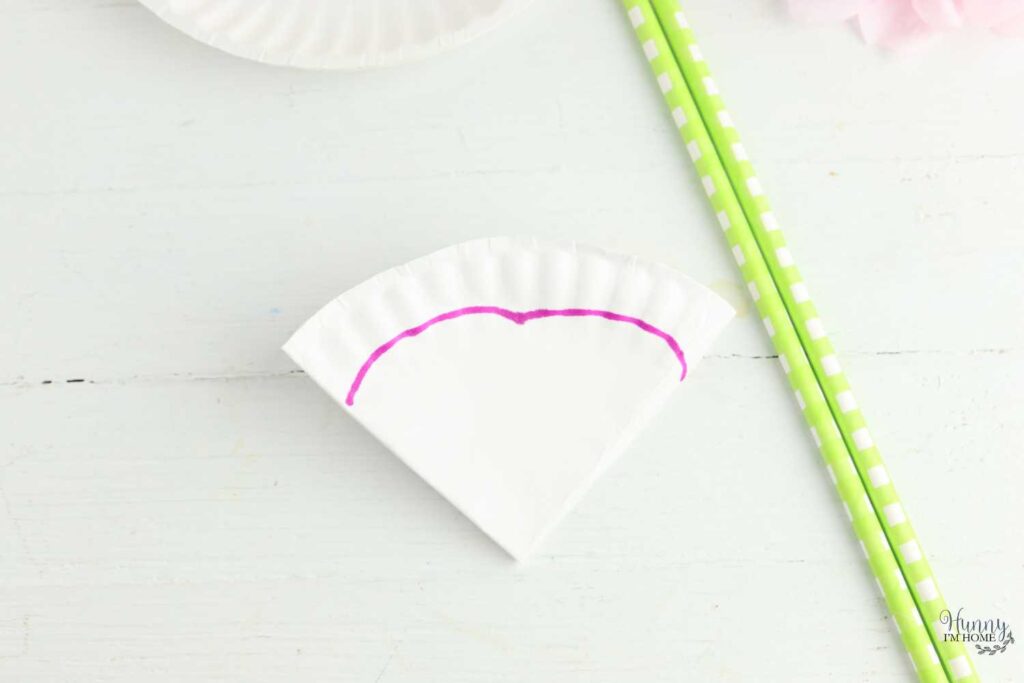
Use a pencil or marker to draw two “petal” shapes along the top edge of one paper plate wedge.

Use scissors to cut along the line to form the larger petals for your paper plate flowers. Then, set this piece aside while you cut the smaller petals.
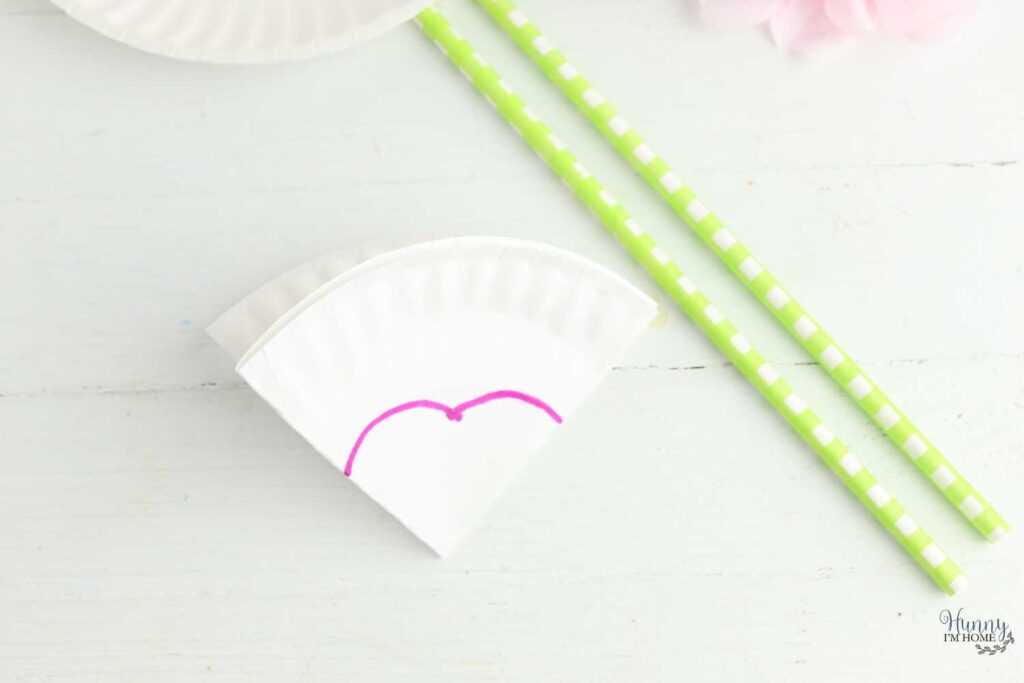
Next, grab the other folded paper plate. Use a pencil or marker to draw two “petal” shapes along the center of the wedge.
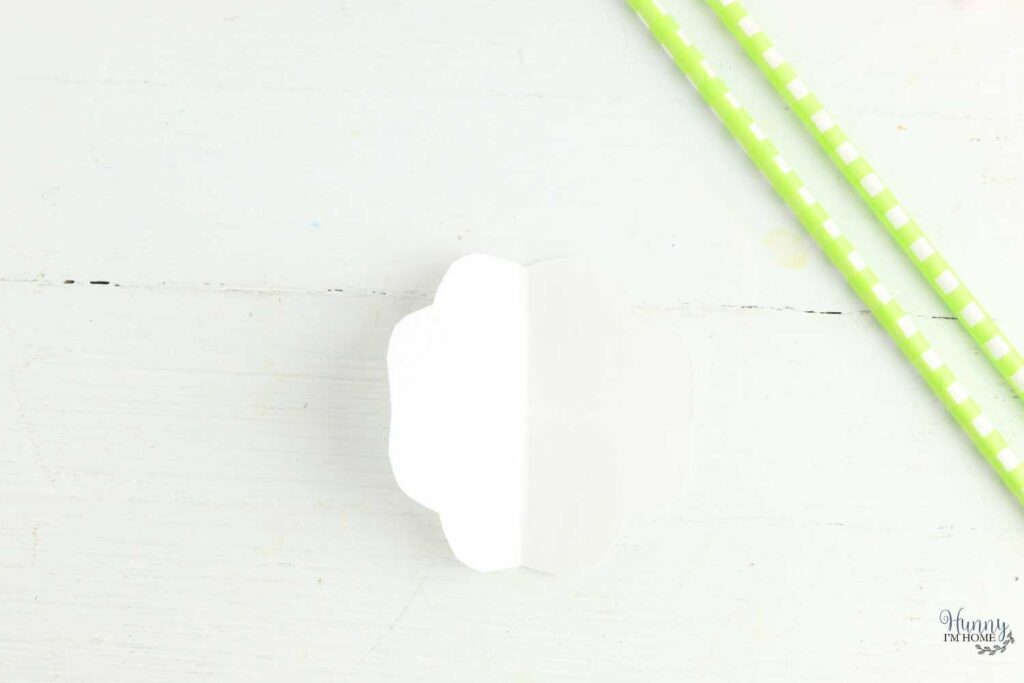
Use your scissors to cut along the line you just drew to form the smaller layer of petals. Unfold the paper plate to reveal the inside of your flower.
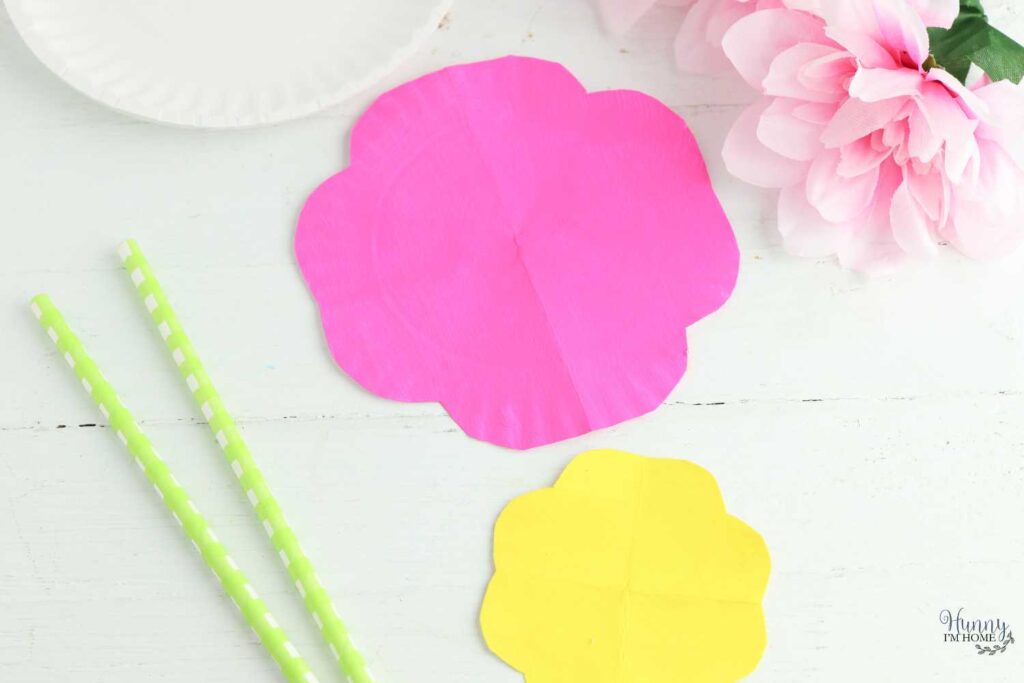
Now that you have your flower shapes cut out, it’s time to have some fun painting. Paint the larger flower piece pink and the smaller piece yellow. Then, allow the paint to dry completely.

After giving the paint time to dry, glue the small yellow flower petals on top of the larger pink flower petals to create a layered effect.
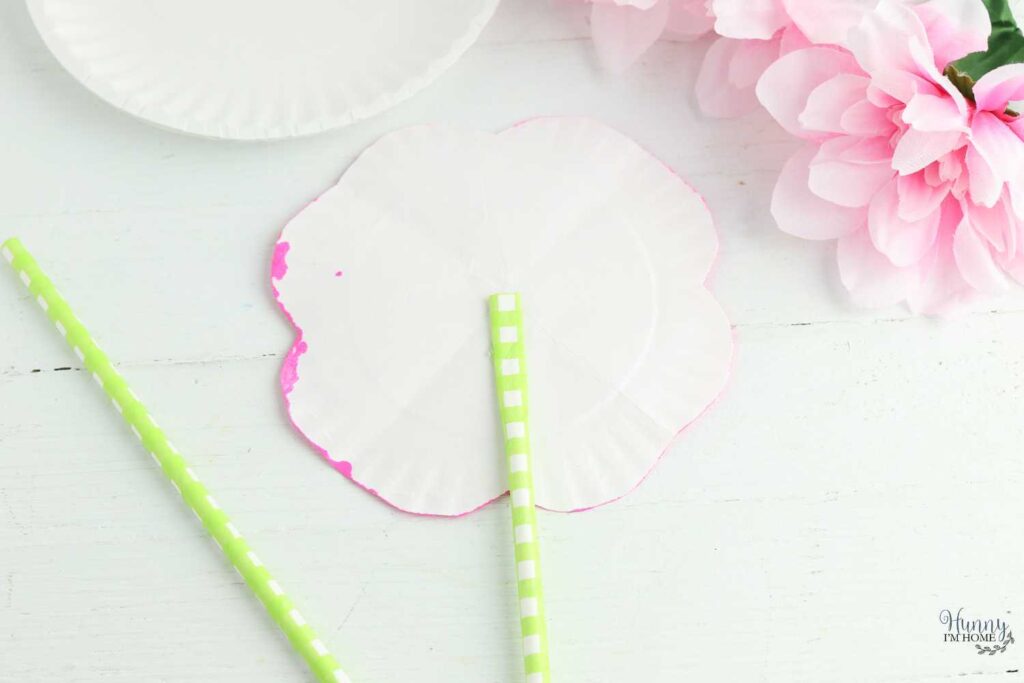
Next, flip the flower over and attach the straw to the back of the paper plate to form the stem. It makes it easier to attach the stem if you squeeze the end of the straw to flatten it slightly.
Paper Plate Flower Craft Ideas
Your kids will love making their own paper plate flower bouquet at home! And since this simple craft is so easy to make, it’s also easy to customize.

Try these fun crafting ideas as you’re planning out your own art project to put together a fun flower DIY your kids will love.
- Decorate with crayons or markers. Skip the mess of paint by asking your kids to use their crayons and markers to color the plates instead of painting them.
- Cut the plates before crafting with younger kids. While the cuts made on each of the flower pieces aren’t difficult, it can be hard for safety scissors to fully cut through a folded paper plate. If you’re working with young children, try cutting the flower pieces before your kids start crafting. That way, all they have to do is paint and glue the pieces together!
- Use different supplies for the stem. Paper straws are a great option for making a flower stem. But if you don’t have any on hand, you could also use plastic straws, wooden dowel rods, or popsicle sticks!
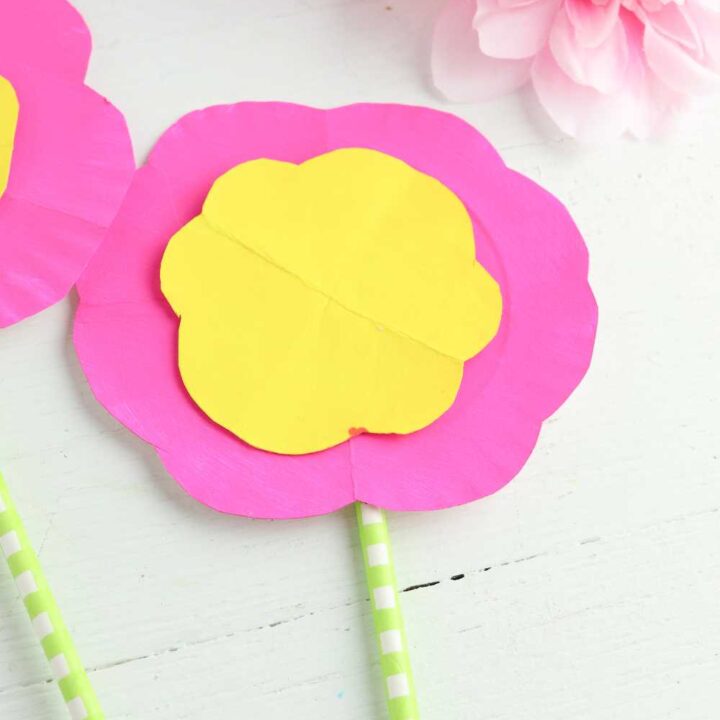
Paper Plate Flower Craft
Transform plain white plates into beautiful spring blooms with these fun paper plate flowers perfect for preschool crafting!
Materials
- 2 paper plates
- Pink paint
- Yellow paint
- Paper straw
- Glue
- Marker
Tools
- Scissors
Instructions
- Fold each plate in half and in half again to form a wedge.
- Draw two arcs to create a petal shape at the top of one wedge, then use scissors to cut out the shape.
- Draw two smaller arcs to create a petal shape in the center of the second wedge, then use scissors to cut out the shape.
- Unfold each paper plate.
- Paint the larger flower piece pink and the smaller flower piece yellow.
- Allow the paint to dry completely, then glue the yellow piece on top of the pink piece.
- Attach the straw to the back of the flower with glue to make the stem.
More Easy Craft Ideas:

Emily is a midwestern mom of two boys. She loves all things DIY — from home renovations to kids birthday party planning. Whether she’s making a new farmhouse craft for her home or helping her kids with a cool activity, you can bet she’s in the middle of some kind of DIY project (or three) right now!


