
No Bake Cheesecake in a Jar
Sweet treats are always a great gift idea — especially for Valentine’s Day. And what better way to package your homemade present than in a cute mason jar gifts? With this recipe for no bake cheesecake in a jar, you can prepare a delicious dessert for your loved ones. And the best part about this quick jarred recipe is that you don’t even need to turn on your oven to prepare it!
This post contains affiliate links, which means I may earn a commission if you purchase something from my link (at no additional cost to you). Thanks for your support!
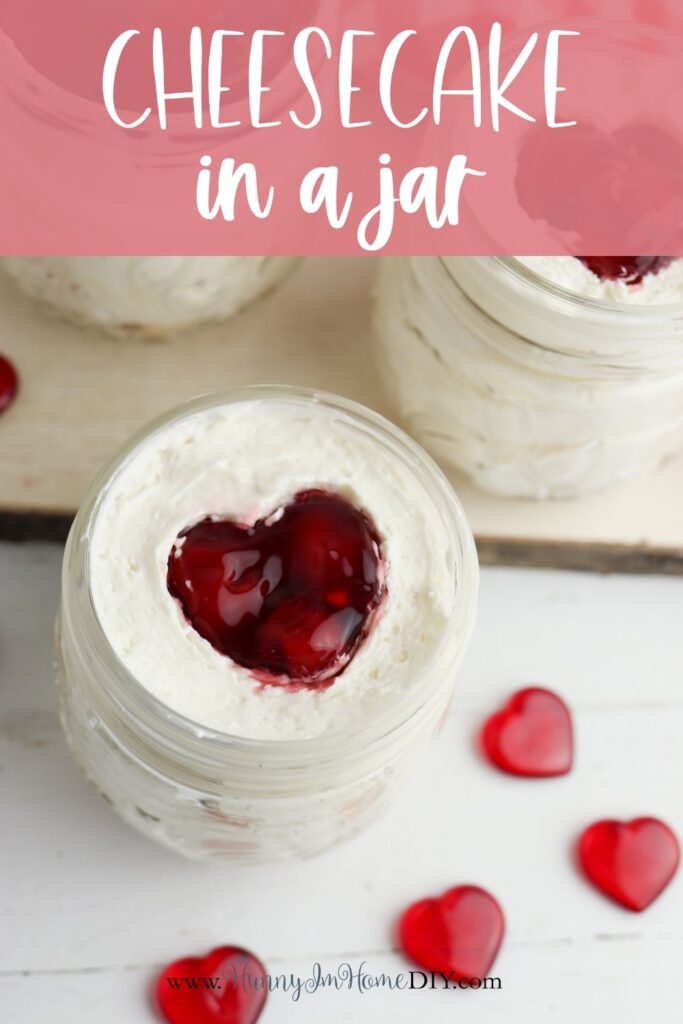
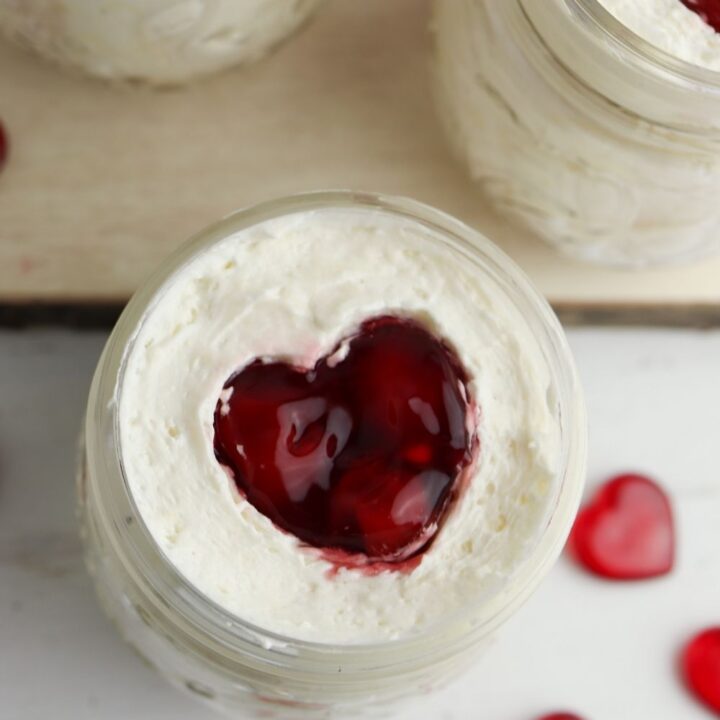
This fun individual dessert features an adorable cherry heart on top. And while it might look complicated to make, you won’t believe how easy it is to put together! All you need is a few ingredients a couple of simple baking supplies to prepare this adorable Valentine’s Day dessert.
But the thing I love the most about this mason jar recipe is that you can make several treats using just one batch of no bake cheesecake. Simply mix up the filling recipe and use it to make four different jarred desserts.
No Bake Cheesecake in a Jar
To make this easy cherry cheesecake in a jar, you’ll need just a few simple ingredients. But the best part about this easy dessert is that you don’t need to bake it!
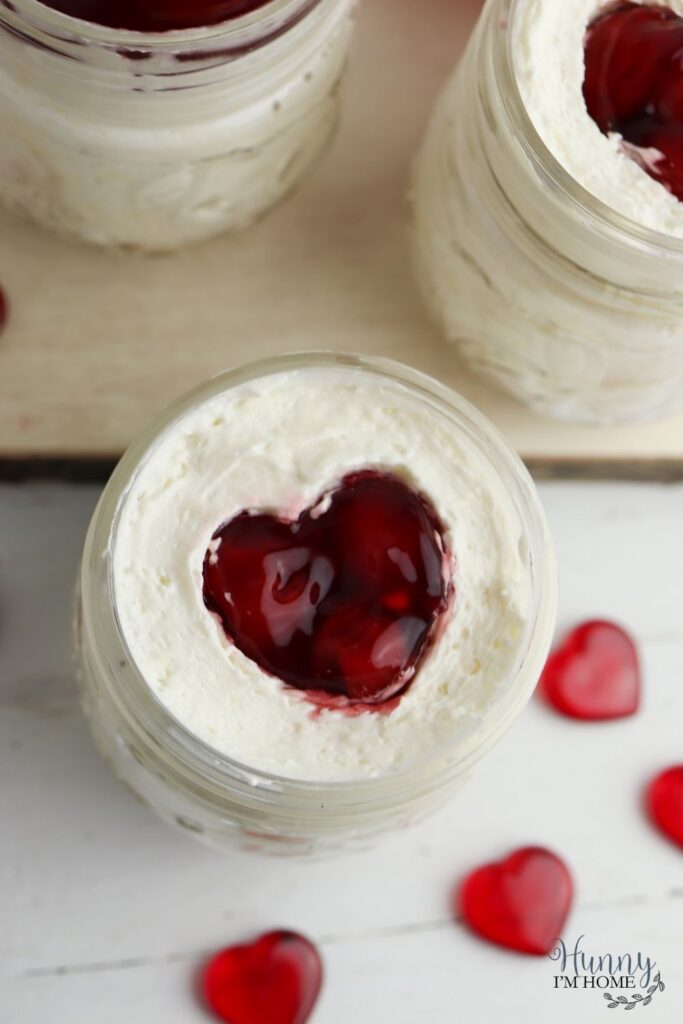
What I love about this no bake cheesecake in a jar recipe is how simple it is to make. All you have to do is prepare the cheesecake filling, then add your cherry pie filling to the top.
To prepare your own no bake cheesecake jars, you’ll need:
- Cream cheese
- Powdered sugar
- Vanilla extract
- Whipped topping
- Graham cracker crumbs
- Cherry Pie filling
On top of making your cheesecake filling, you’ll need a few other supplies to put this mason jar recipe together. To package your cheesecake jars, you’ll need:
- Half pint jars: Small half pint jars are the perfect size for an indivual dessert. You can make your no bake cheesecake in larger jars, but keep in mind that pint-sized jars will hold around two servings of cheesecake.
- Piping bag: To easily get the cheesecake filling into the jars, it’s a good idea to use a piping bag. If you don’t have any piping bags on hand, you can also use a gallon sized zip-top bag. Just fill the bag and cut the tip of to pipe the filling into the jars.
- Heart cookie cutter: The key to creating the cherry pie hearts on top is using a heart shaped cookie cutter. I used a small one-inch heart cookie cutter to create the design on the top of each jar.
Cherry Cheesecake in a Jar Recipe
Since this easy mason jar dessert idea is made up of three layers, you’ll need to take the time to prepare each element before you can put your jars together. And after the jars are filled, you could decorate your mason jar gift to add a personal touch if you plan on giving these desserts as Valentine’s Day presents.
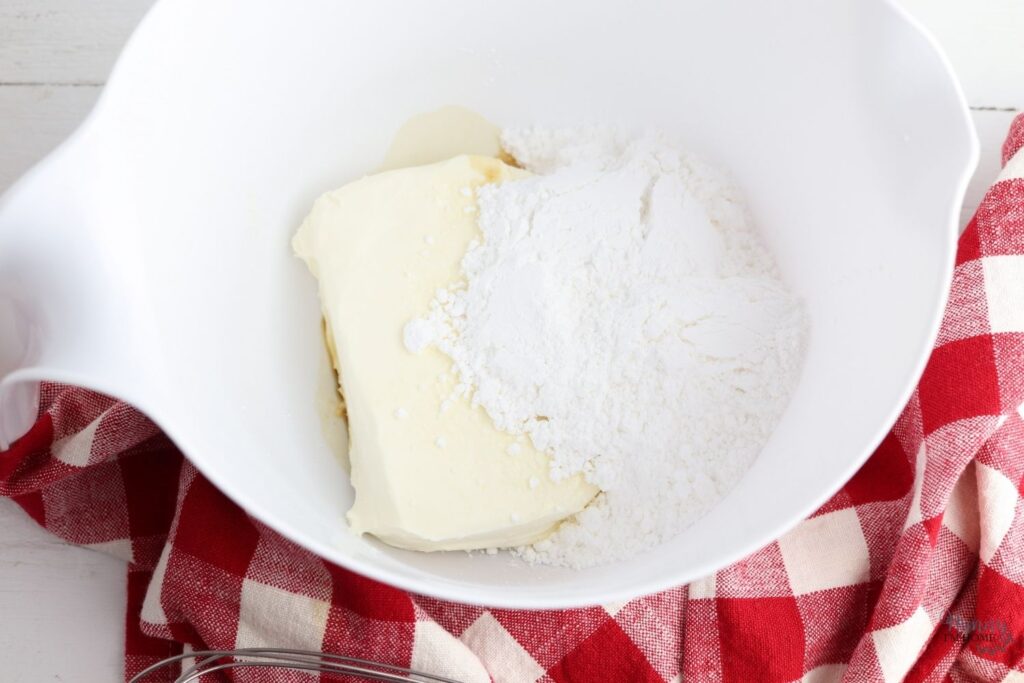
The main element of this dessert in a jar is the no bake cheesecake filling. To prepare this delicious filling, start by beating together cream cheese, powdered sugar, and vanilla. Make sure to start with softened cream cheese to make blending all the ingredients together easier.
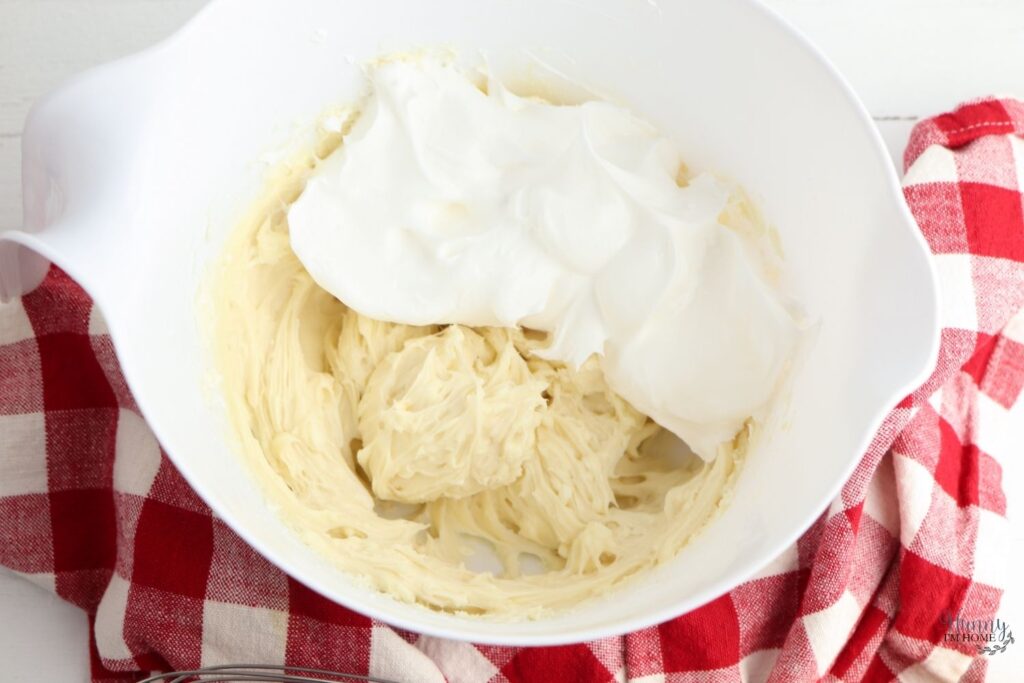
Once your cream cheese and powdered sugar are well combined, it’s time to add the whipped topping. To keep your whipped topping from separating, it’s best to stir it in with a spatula or spoon instead of using your hand mixer.
Continue stirring the whipped topping into the cream cheese mixture until it’s well blended. Then, set your bowl aside for a minute while you prepare the graham cracker crust.
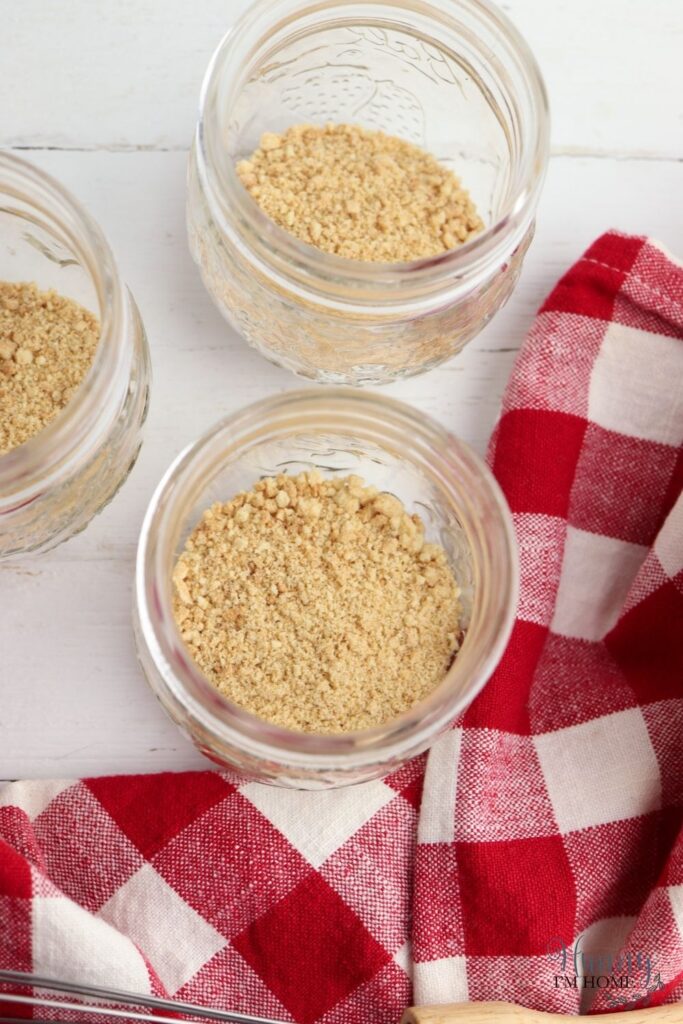
Next, prepare the crust for your cheesecake in a jar with some graham cracker crumbs. You can use premade crumbs for easier prep work. Or simply add some graham crackers to a bag and crush them with a rolling pin.
Would you rather make gluten free cheesecake in a jar? You can make your own gluten free cheesecake in a jar without a graham cracker crust. Or crush up some gluten free graham crackers to add to the bottom of your jars.
After your graham cracker crumbs are prepared, place a thin layer of crumbs in the bottom of each jar. To make four jars, you’ll need around one cup of crumbs. That means you can add 1/4 cup of graham cracker crumbs to the bottom of each jar.
How to Decorate Cheesecake in a Jar
Now that you have crust added to your cheesecake jars, you can start filling them with filling. But before you start piping all the filling to the top of each jar, keep reading to see how to add cute cherry pie filling hearts ot the top of each dessert!
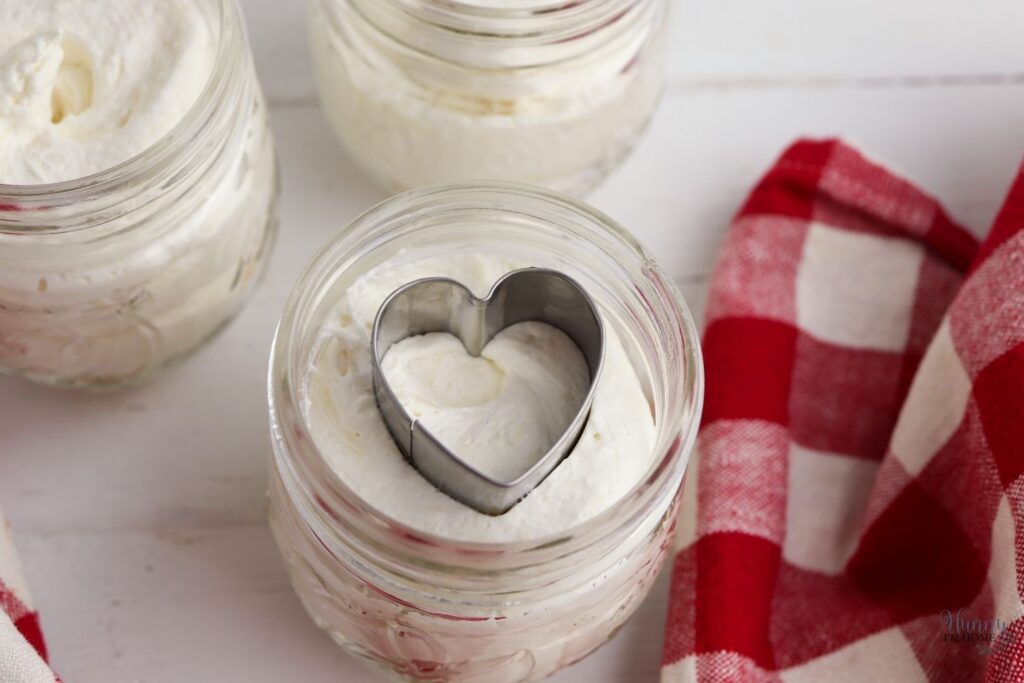
Start by piping the cheesecake into the bottom of each jar, leaving around one inch of space from the top of the jar. Center your small heart cookie cutter in the center of the jar. But don’t press it down into the filling. Just rest it on top of the cheesecake.
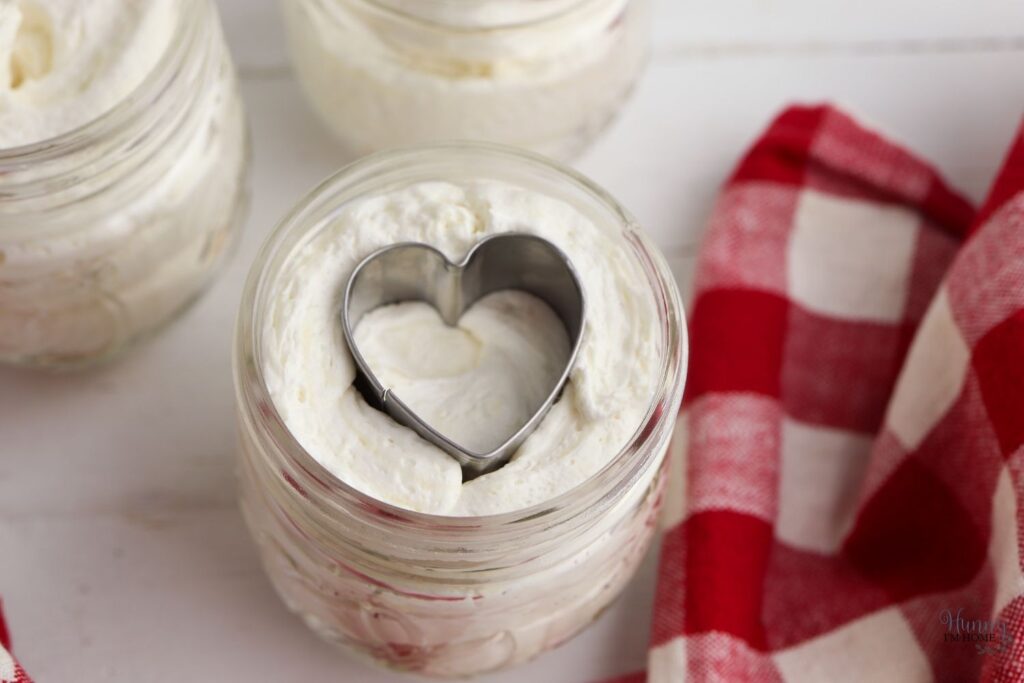
Next, grab your piping bag and pipe some more cheesecake around the outside of the heart, filling in the empty space all the way to the top of the jar.
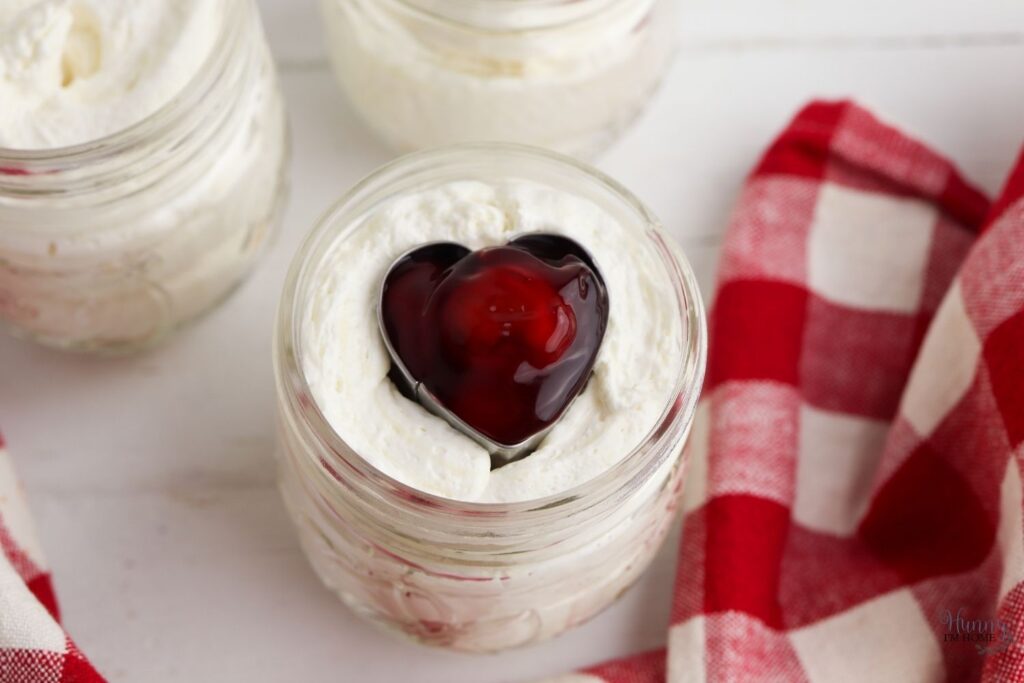
Carefully spoon some cherry pie filling into the heart cookie cutter, trying not to let the filling overflower over the edges. Once the heart is fully, slowly pull the cookie cutter up. You may need to wiggle it slightly to help loosen the cookie cutter from the cheesecake.
After you remove the cookie cutter, you may notice the edges are a little rough. Use a tootpick to smooth the edges of heart in the cream cheese. Then, use another toothpick to help smooth the cherry pie filling out inside the heart.
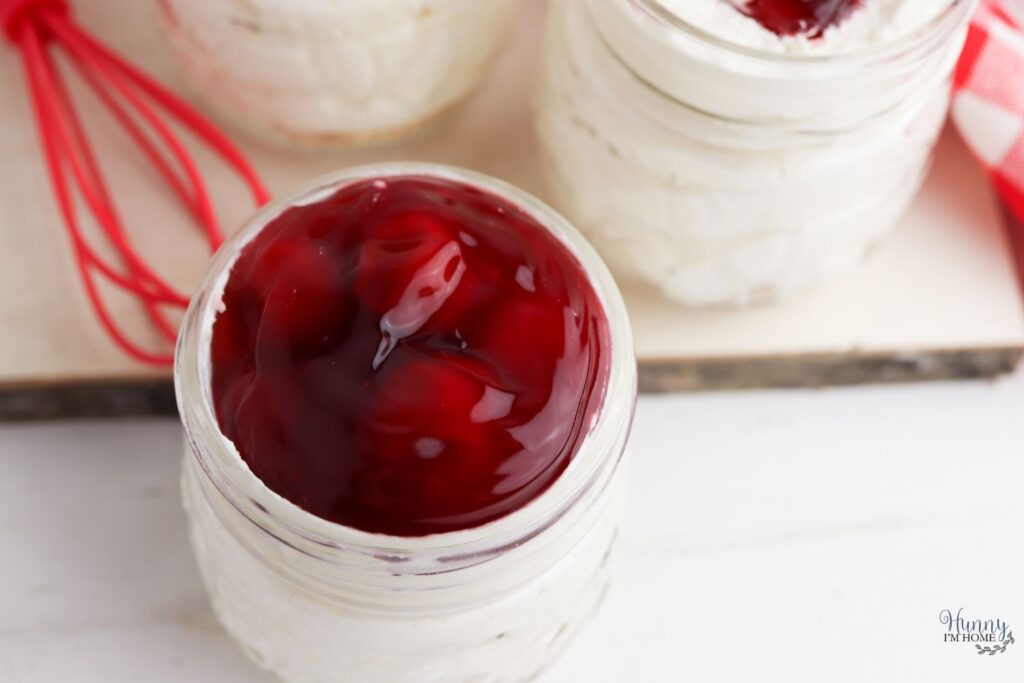
If making a heart on top of each jar seems like too much work, don’t worry! There’s a simpler way to decorate your cheesecake that doesn’t take any extra effort. Just spoon your cherry pie filling on the top of the cheesecake until the jar is full!
Cheesecake in a Jar Recipe Ideas
See how simple these cute desserts are to make? That means you can easily whip up your own cheesecake in a jar for each of your friends and family! With these recipe ideas, you can create some amazing jarred desserts for every occasion.
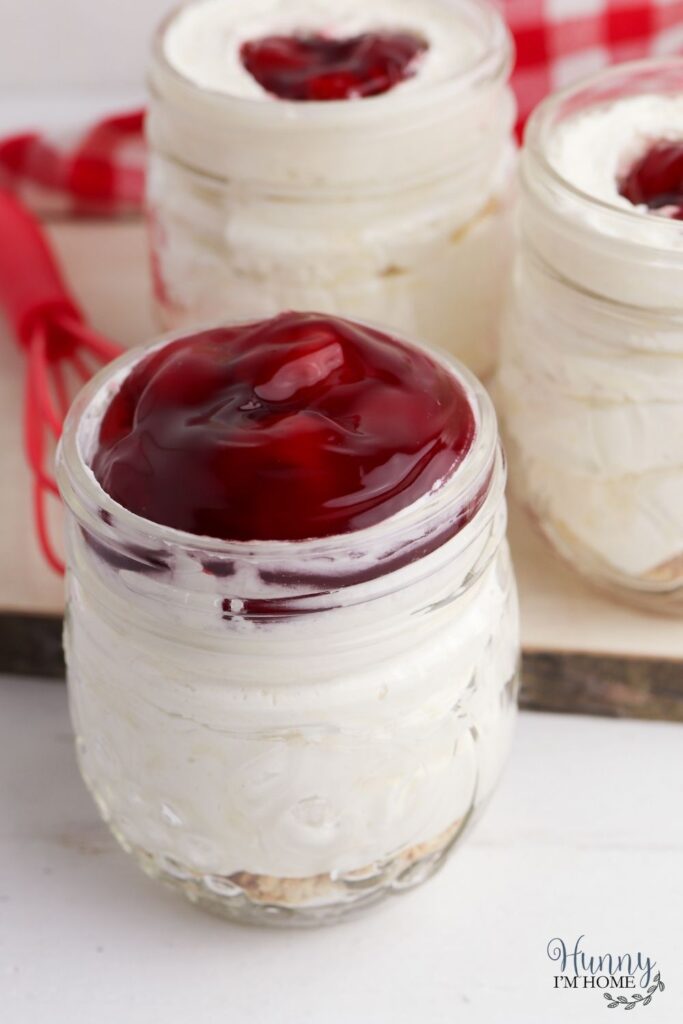
Try different pie filling flavors. One of the easiest ways to customize your cheesecake in a jar recipe is to layer use different pie filling on top. Cherry is a popular choice for cheesecake, but you could use a variety of different pie fillings as a topping for your jars. Try blueberry, strawberry, or apple pie filling next time you make this dessert.
Use different cookie cutter shapes. Hearts are perfect for Valentine’s Day, but it’s not the only shape you can use to top your jarred cheesecake. Try using different shapes for different holidays, like stars for the Fourth of July or ornaments for Christmas.
Top the jars with fresh fruit. Instead of adding pie filling to the top of the jars, why not try fresh fruit instead? Chopped strawberries, fresh blueberries, or pineapple chunks are all great options for adding a fresh element to the top of your cheesecake dessert.
Give your cheesecake in a jar as a gift. This beautiful cheesecake in a jar makes the perfect Valentine’s Day gift! All you have to do is tie a bow around the top of the jar and attach a cute gift tag to create an amazing DIY gift for any of your friends or family members.
Cheesecake in a Jar Recipe
Make your own cheesecake in a jar to create a delicious individual dessert for your next party.
Ingredients
- 8 ounces cream cheese, softened
- 1 cup powdered sugar
- 1 teaspoon vanilla extract
- 8 ounces whipped topping, thawed
- 1 cup graham cracker crumbs
- ½ cup cherry pie filling
Other supplies:
- 4 half pint jars
- 1-inch heart cookie cutter
- Piping bag
- Toothpick
Instructions
- Beat together the cream cheese, powdered sugar, and vanilla until smooth and creamy.
- Fold in the whipped topping.
- Place ¼ cup of graham cracker crumbs in the bottom of each half-pint jar.
- Pipe the cheesecake filling into each jar, leaving around one inch of space at the top of each jar.
- Place the heart cookie cutter in the center of the jar. Carefully pipe more cheesecake mixture around the outside of the cookie cutter, then fill the inside of the cookie cutter with cherry pie filling.
- Carefully lift the cookie cutter up to remove it. Continue filling the heart on top of each jar until all the jars have cherry pie filling on top.
- Use a toothpick to smooth the edges of the heart, if needed.
- Place the lids on the jars and chill for at least one hour before serving.
Nutrition Information:
Yield: 6 Serving Size: 1Amount Per Serving: Calories: 432Total Fat: 25gSaturated Fat: 17gTrans Fat: 0gUnsaturated Fat: 7gCholesterol: 38mgSodium: 212mgCarbohydrates: 49gFiber: 1gSugar: 33gProtein: 4g
More Amazing Valentine’s Day Ideas:
42 Simple Mason Jar Decoration Ideas
Puppy Love Valentine’s Day Popsicle Stick Craft
If you like this post, you’ll probably like these:


Emily is a midwestern mom of two boys. She loves all things DIY — from home renovations to kids birthday party planning. Whether she’s making a new farmhouse craft for her home or helping her kids with a cool activity, you can bet she’s in the middle of some kind of DIY project (or three) right now!


OH my, these look amazing! Going to try these this weekend. Thanks for sharing on Farmhouse Friday!
Thank you for sharing this recipe. Pinned and printed out. My husband’s birthday is a few days before Valentine’s Day so this will be perfect for both. I have selected your post as a feature for next week. Thanks for linking up. #HomeMattersParty
Thank you so much for the feature! I’m sure your husband will love these mini cheesecakes — mine did!
These are so cute! I love the heart, but my crew would probably like a whole bunch of cherries piled on the top!
Thanks for sharing this at the Homestead Blog Hop!
Laurie
Ridge Haven Homestead
What a fun and yummy looking dessert Emily.
Thank you for sharing your no bake cheesecake in a jar recipe at Create, Bake, Grow & Gather this week. I’m delighted to be featuring it at tonight’s party.
Hugs,
Kerryanne
Thank you so much for sharing!!