
Cake in a Jar Recipe for Valentine’s Day
Finding homemade gift ideas is a great way to show you care during the holidays. And you can’t go wrong with DIY mason jar gifts! They’re always a fun and affordable way to show your appreciation to your friends and family — especially on Valentine’s Day. With this red velvet cake in a jar recipe, you can create a beautiful home-baked treat for anyone on your V-Day list this year.
This post contains affiliate links, which means I may earn a commission if you purchase something from my link (at no additional cost to you). Thanks for your support!

While this mason jar dessert may look complicated to make, you won’t believe how easy this it is to put together! And since you can easily customize the flavors of the cake and icing inside, you can create a variety of homemade treats for each person on your list!
But the thing I love the most about this mason jar recipe is that you can make several treats using just one batch of cake and icing. Using just one sheet cake and one batch of icing you can make six pint jars!
Red Velvet Cake in a Jar
To make this easy red velvet cake in a jar, you’ll need just a few simple ingredients. But the best part about this easy dessert is that you can adjust the filling ingredients to suit your gift-recipients tastes!
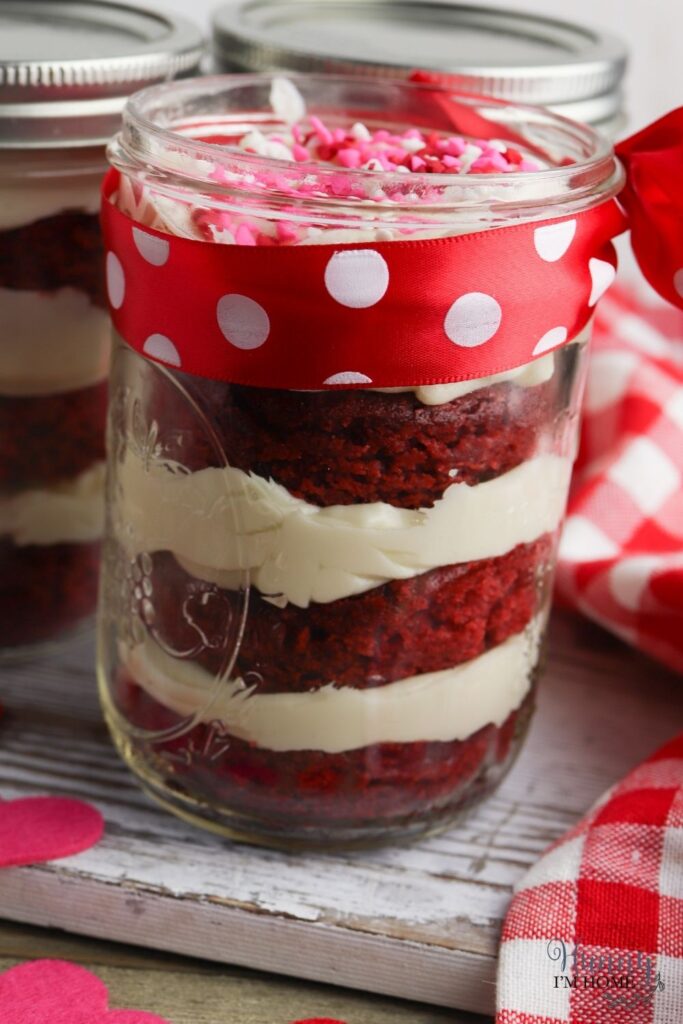
What I love about this cake in a jar recipe is how simple it is to make. All you have to do is prepare the cake and icing, then layer the ingredients in the jar! This mason jar cake recipe is made with red velvet cake and cream cheese icing.
To prepare the cake and icing layers inside your jar, you’ll need:
- Red velvet cake: This dessert in a jar was made using a boxed red velvet cake mix. You can also make your own red velvet cake recipe if you have a favorite.
- Cream cheese icing: To speed up the prep time of your desserts, you could use premade cream cheese icing. If you decide to use the store-bought icing, you’ll need two containers to fill your jars. But you can also use my quick and easy recipe to make fresh icing. It only takes a few minutes to prepare!
On top of making your cake and icing, you’ll need a few other supplies to put this mason jar recipe together. To package your red velvet jars, you’ll need:
- Wide-mouth pint jars: It’s important that you use wide-mouth jars for this mason jar recipe. It would be very hard to fill a traditional mason jar with the cake and icing because the opening on the top is just too small. Filling a pint-sized jar with cake and icing makes two servings of cake. If you want to create single-serve cakes in a jar, use half pint jars instead. I wouldn’t suggest going any bigger than a pint jar, though. That would be too much cake in one container!
- Piping bag: To easily get the icing into the jars, it’s a good idea to use a piping bag. I also used a star tip to add the icing to the jar to give it a fancier look.
- Round cookie cutter: Making sure your cake pieces fit inside your jar is essential. To cut the cake slices just the right size, I used a 2 1/2-inch cookie cutter to cut out circles from the sheet cake.
Cake in a Jar Recipe
Since this easy mason jar dessert idea uses just two ingredients, it’s so easy to put together! All you have to do is bake your cake, whip up the icing, and layer the ingredients. After that, you could decorate your mason jar gift to add a personal touch if you plan on giving these desserts as Valentine’s Day presents.
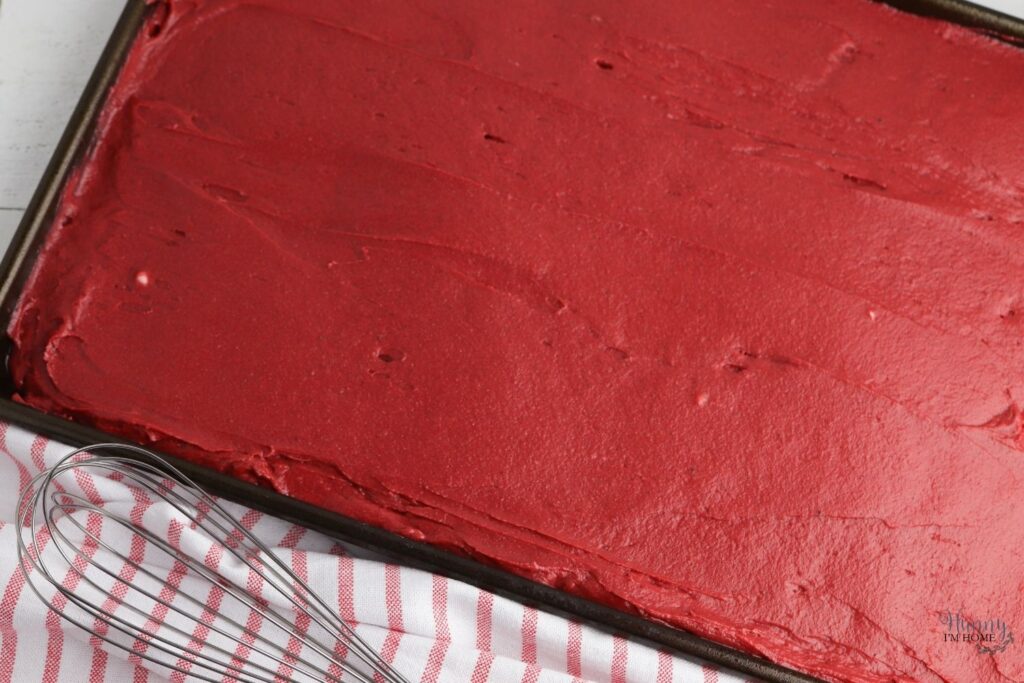
The main element of this dessert in a jar is the red velvet cake. I used boxed cake mix to make the sheet cake used inside the mason jars. Simply follow the instructions on the box to prepare the cake batter. But don’t put it into a traditional 9×13 pan!
Would you rather make gluten free cake in a jar? Try my recipe for gluten free red velvet cupcakes instead!
Once your batter is prepared, spread it evenly over the top of a baking sheet to ensure your cake slices aren’t too thick to fit in your jars. For this recipe, I used a 10×16 sheet to make the cake. Before adding the batter to the pan, it’s a good idea to line the baking sheet with parchment paper and grease the edges of the pan with nonstick cooking spray to prevent the cake from sticking.
Note: Since most boxed cake mixes don’t give instructions for baking the cake as a sheet cake, you’ll need to adjust the cook time slightly to account for the pan size. Since the cake is slightly thinner than a cake baked in a 9×13 pan, it won’t need to stay in the oven as long. Bake your red velvet sheet cake for 30 to 35 minutes. You’ll know the cake is finished baking when a toothpick inserted into the center comes out clean.
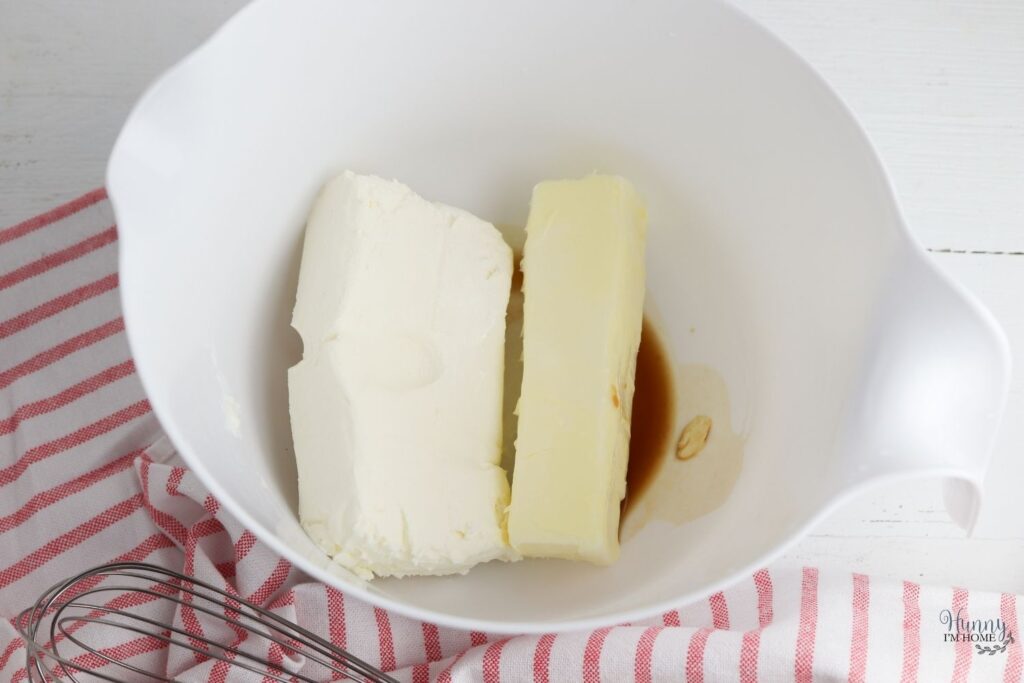
Once your red velvet cake is finished baking, place the pan on top of a wire cooling rack to cool. While your cake is cooling, prepare the cream cheese icing. First, beat together the softened cream cheese and softened butter, along with your vanilla extract. Continue beating until the butter and cream cheese are well combined, resulting in a smooth and fluffy mixture.
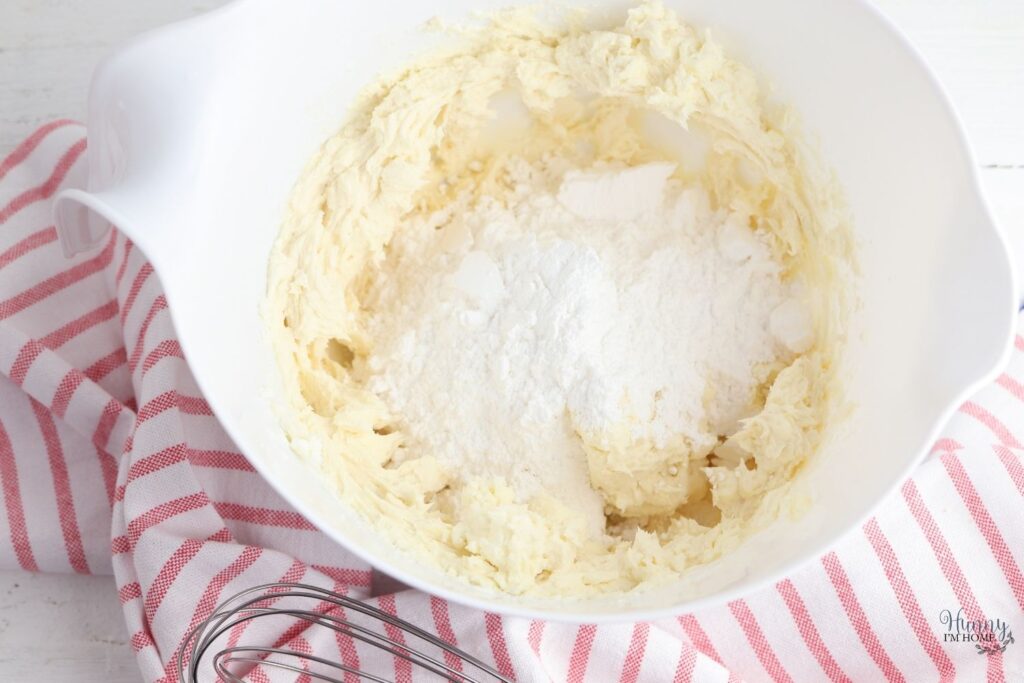
Next, add the powdered sugar to the bowl and beat the sugar into the cream cheese until the icing is smooth and creamy. To keep the powdered sugar from clumping as you mix, add the powdered sugar in one-cup increments until all the sugar has been incorporated.
How to Layer Cake in a Jar
Once you have your red velvet cake and icing prepared, it’s time to start layering your mason jar dessert! Follow these simple instructions to learn how to layer cake in a jar.
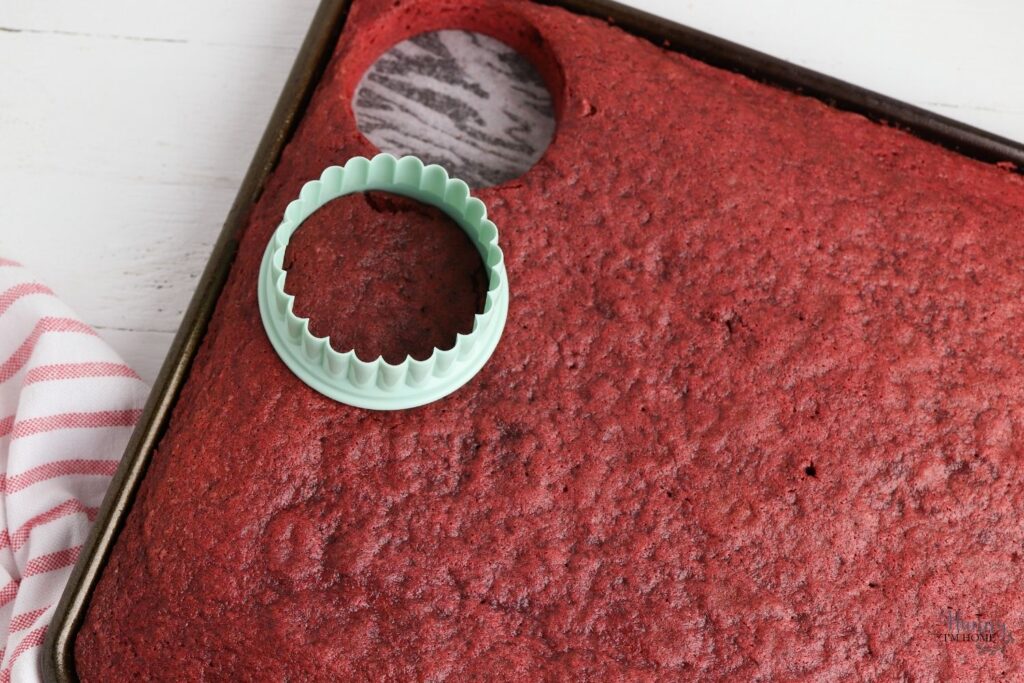
Before you can start layering the cake and icing in your canning jars, you’ll need do a little prep work to get your cake and icing ready for layering. Start by transfering your icing to a piping bag. Then, use a 2 1/2 inch round cookie cutter to cut out circles from your red velvet sheet cake. You’ll need three slices of cake per jar (a total of 18 slices for 6 pint-sized jars).
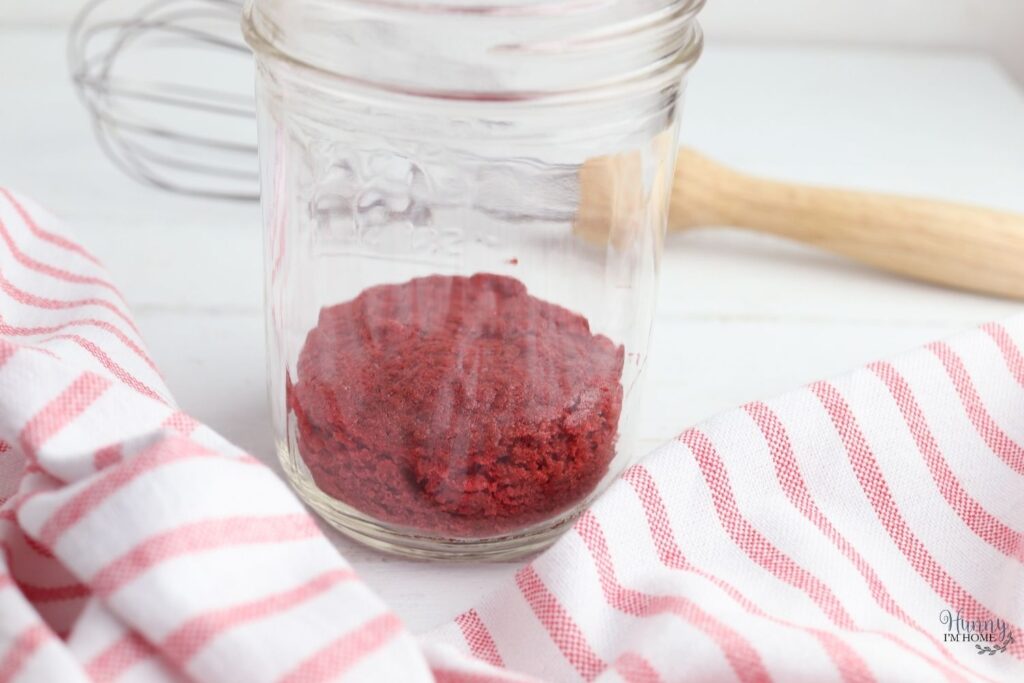
When all your cake slices and icing are ready go, you can start layering the ingredients inside your canning jars. First, put one slice of cake in the bottom of the jar. Make sure it’s laying flat on the bottom and centered at the middle of the jar.
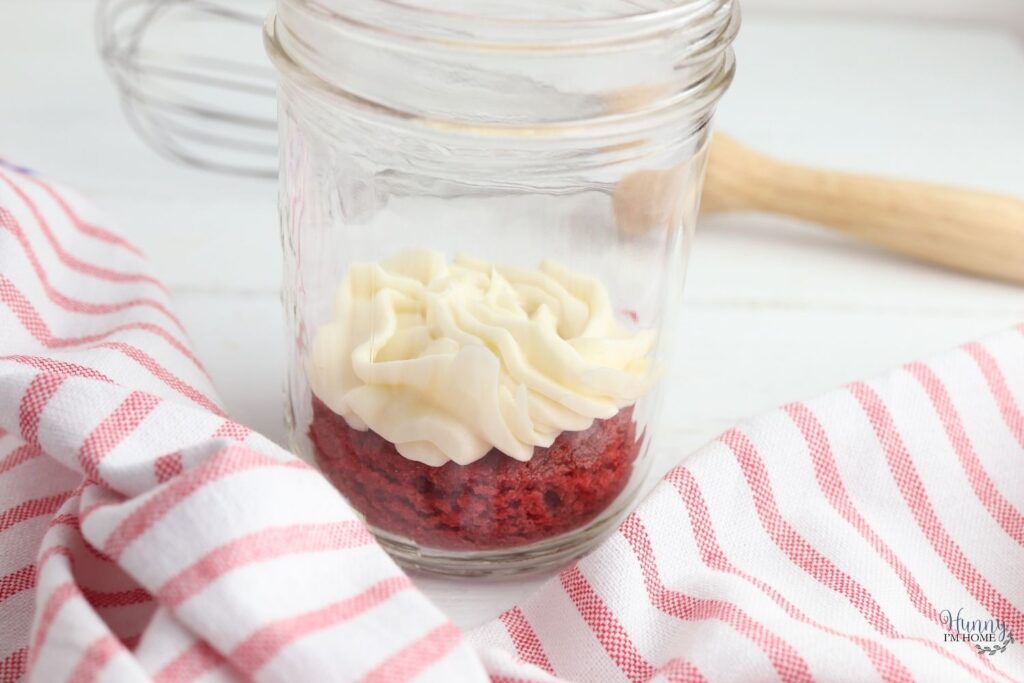
Next, pipe a layer of icing on top of the cake slice. Start by piping a band of icing around the outside of the jar. I found it was easiest to hold the piping bag in place with one hand and slowly spin the jar with the other hand. Then, fill in the center of the cake slice with a final swirl of icing.

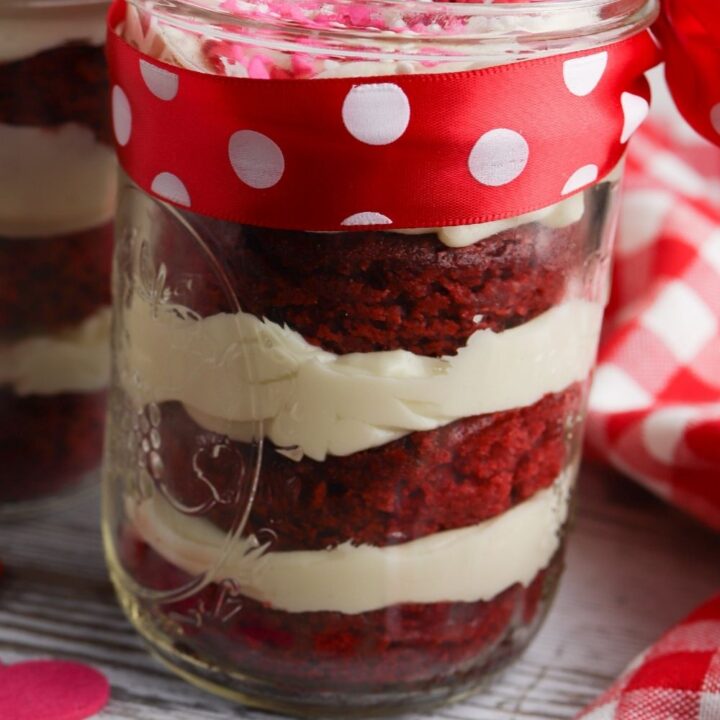
Continue layering the cake slices and cream cheese icing until the jar is full. Then, pipe a final layer of icing on top. At this point, you can decorate your cake in a jar with some Valentine’s Day sprinkles. Or add some cake crumbles to the top. After that, place the lid on top of the jar and seal it.
Since these jarred cakes are made with cream cheese icing, it’s a good idea to keep them refrigerated until you’re ready to deliver your mason jar Christmas gifts.
Cake in a Jar Recipe Ideas
See how simple these cute desserts are to make? That means you can easily whip up your own cake in a jar for each of your friends and family! With these recipe ideas, you can create some amazing layered desserts in a jar for every occasion.

Try different cake and icing combinations. One of the easiest ways to customize your cake in a jar recipe is to layer different caking and icing flavors inside the jars. There are so many amazing combinations you could try to create some delicious desserts for any occasion! Try these recipe ideas for your next cake in a jar:
- Chocolate cake in a jar with chocolate icing
- Funfetti cake (birthday cake in a jar) with rainbow sprinkles on top
- Cookies and cream cake in a jar with layers of Oreo cookies on top of the icing
- Gluten free cake in a jar
Make individual servings. Using a pint jar is a great way to get beautiful layers in your dessert. But the jar is large enough that it holds two servings. If you prefer to make individual cakes, try using a half-pint jar instead. when using a smaller jar, you’ll need to cut your cake slices slightly smaller. Just measure the bottom of the jar to see what size your cake slices need to be cut, then layer the cake and icing in the jar according to the above instructions.
Try crumbling the cake instead of slicing. Using a cookie cutter to slice your cake is a great way to get clean lines for each layer. But if you don’t have a cookie cutter that fits your jars, you can layer the ingredients another way. Simply crumble up the cake pieces and place them in the jar. Then, top each layer of crumbles with icing.
Give your cake in a jar as a gift. This beautiful cake in a jar makes the perfect Valentine’s Day gift! All you have to do is tie a bow around the top of the jar and attach a cute gift tag to create an amazing DIY gift for any of your friends or family members.
Cake in a Jar Recipe
Use red velvet cake and cream cheese icing to create this quick and easy cake in a jar recipe for Valentine's Day.
Ingredients
- 1 box red velvet cake, prepared
- 8 ounces cream cheese, softened
- ½ cup butter, softened
- 1 teaspoon vanilla extract
- 4 cups powdered sugar
- Valentine’s Day sprinkles
- 6 wide-mouth pint jars
Instructions
- Preheat the oven to 350 degrees.
- Prepare the cake mix according to the package instructions. Line a 10x16 inch baking sheet with parchment paper and grease the sides of the pan with nonstick cooking spray.
- Spread the cake batter evenly over the pan and bake in the preheated oven for 30 to 35 minutes, until a toothpick inserted into the center of the cake comes out clean.
- cutter to cut out the cake. Each jar will need three round pieces of cake.
- To prepare the icing, beat together the cream cheese, vanilla extract, and butter until smooth and well combined. Add the powdered sugar and beat until smooth.
- Place one cake round in the bottom of each jar.
- Use a piping bag to pipe a layer of icing on top of the cake. Continue layering cake and icing until the jar is full. Repeat the process with the remaining jars.
- Top each jar with sprinkles, if desired.
Nutrition Information:
Yield: 6 Serving Size: 1Amount Per Serving: Calories: 620Total Fat: 32gSaturated Fat: 20gTrans Fat: 1gUnsaturated Fat: 10gCholesterol: 94mgSodium: 295mgCarbohydrates: 82gFiber: 0gSugar: 78gProtein: 3g
More Amazing Valentine’s Day Ideas:
42 Simple Mason Jar Decoration Ideas
Puppy Love Valentine’s Day Popsicle Stick Craft
If you like this post, you’ll probably like these:


Emily is a midwestern mom of two boys. She loves all things DIY — from home renovations to kids birthday party planning. Whether she’s making a new farmhouse craft for her home or helping her kids with a cool activity, you can bet she’s in the middle of some kind of DIY project (or three) right now!





This is so easy but looks so elegant. Great idea. Pinned!
I just love how pretty this looks! I wouldn’t it be able to eat all that frosting, but it makes a nice gift!
Thanks for sharing your idea at the Homestead Blog Hop!
Laurie
Ridge Haven Homestead
Homestead Blog Hop
Sunday Sunshine Blog Hop
We LOVE Mason Jar Crafts, Emily! We will be featuring you starting Wednesday at the Creative Crafts Linky Party! Pinned and shared!
Creatively, Beth
Thanks so much for the feature, Beth!!
What a great idea for a Valentine’s Day dessert! I am so excited to feature your post at this week’s Tuesday Turn About link party. Thank you so much for sharing!
Thanks so much for the feature this week!!
Could u freeze this?
Mason jars are safe for the freezer, so I don’t see why not! I think they would be fine frozen. I would probably let them thaw in the refrigerator overnight when you’re ready to eat them since the icing has cream cheese in it.
Congratulations, popping in quickly to let you know that your awesome post will be featured at SSPS 346.
Thanks so much for the feature!
Oooh looks delicious! Thanks for joining in on Home Matters Linky Party! I will be featuring your post this week! #HomeMattersParty xx
Thanks so much for the feature!
Thanks so much for sharing with us at Full Plate Thursday, 732. We have enjoyed featuring your post and come back to see us again soon!
Miz Helen
Thanks so much for the feature!