
Red, White, and Blue Jello in a Jar
Jello is a classic treat for any occasion! But when you make Jello in a jar, you can turn a plain snack into a beautiful dessert. This simple red, white, and blue Jello recipe is the perfect way to celebrate the 4th of July. On top of being a delicious mason jar craft, this fun dessert is also one of the best 4th of July party ideas!
This post contains affiliate links, which means I may earn a commission if you purchase something from my link (at no additional cost to you). Thanks for your support!
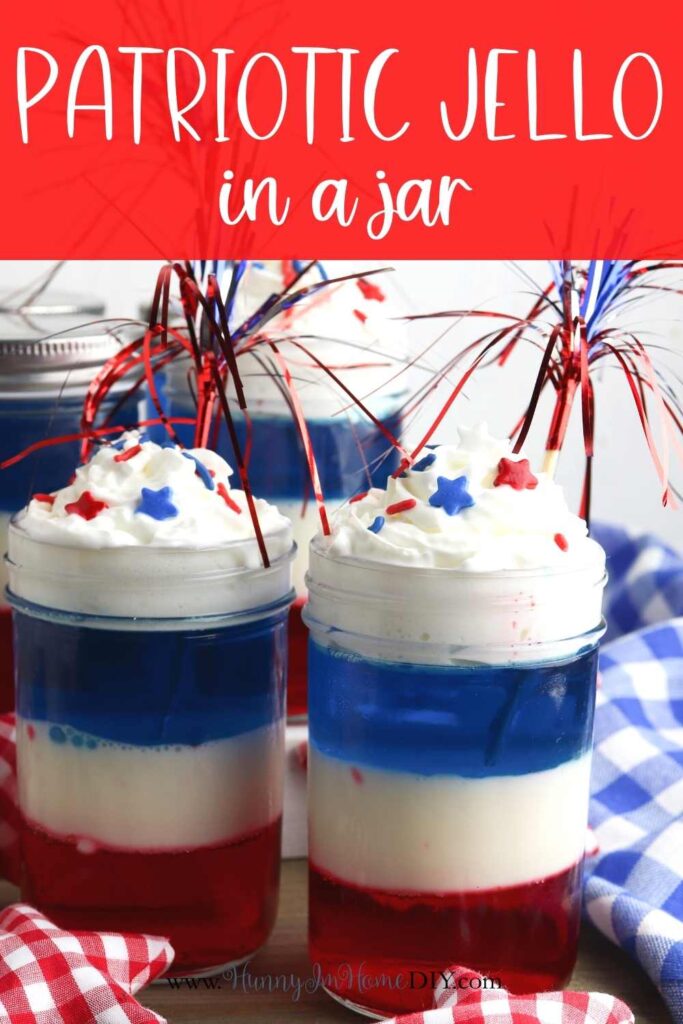
This fun individual dessert features three patriotic layers of Jello. And while it might look complicated to make, you won’t believe how easy it is to put together! All you need is a few ingredients and a little bit of patience to make this pretty 4th of July dessert.
But the thing I love the most about this mason jar recipe is that you can make several treats using just one batch of Jello. Simply mix up the different flavors and use them to make six different jarred desserts.
Jello in a Jar
To make this easy layered Jello in a jar, you’ll need just a few simple ingredients. But the best part about this easy dessert is that you don’t need to bake it!
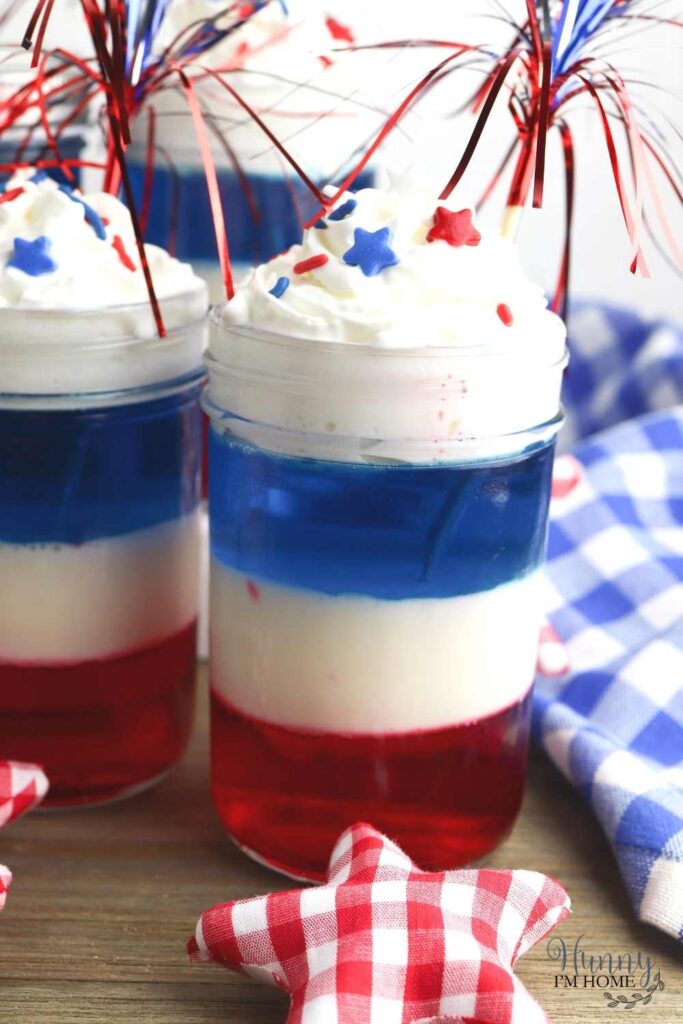
What I love about these no bake Jello jars is how simple they are to make. All you have to do is prepare the Jello filling, then add your patriotic decorations to the top.
To prepare your own Jello in a jar, you’ll need:
- Red Jello: I used strawberry Jello to make the red layer of this dessert, but you can use any red flavor you want, including cherry or Sonic Cherry Limeade flavors!
- Unflavored gelatin: This handy ingredient will help thicken your red and blue layers and help you make the white layer in the center of the dessert.
- Sweetened condensed milk: To make the creamy white layer in the center of the jars, you’ll need to use condensed milk to give it it’s white coloring.
- Blue Jello: For the blue layer, I used berry blue flavor. But any blue flavor will work for the top — including blue raspberry or Sonic Oceanwater gelatin.
- Whipped cream and sprinkles: While these ingredients are optional, using whipped cream and patriotic sprinkles is a simple way to decorate the top of your Jello jars.
On top of making your Jello filling, you’ll need a few other supplies to put this mason jar recipe together. To package your Jello jars, you’ll need:
- Half pint jars: Small half pint jars are the perfect size for an indivual dessert. I suggest using tall, clear jars so that your party guests can easily see the different layers of Jello that make up the dessert.
How to Make Jello Layered Dessert
Since this easy mason jar dessert idea is made up of three layers, you’ll need to take the time to prepare each color. then give each layer time to cool. That means this dessert may take a long time to prepare — but I promise you that it’s super simple to make!

Before you can start layering the Jello in your jars, you need to decide what order you want your colors go to inside your jar. I did red, white, and blue, starting with red on the bottom. So, the first flavor of Jello I prepared was red.
To make the Jello for your jars, you won’t follow the instructions on the package. That’s because you want your gelatin to be slightly thicker and sturdier than traditional Jello to hold up against all the layers on top of it.
To make these Jello jars, combine one 6-ounce package of red Jello with one packet of unflavored gelatin and water. Stir to combine the ingredients until all the gelatin is dissolved.
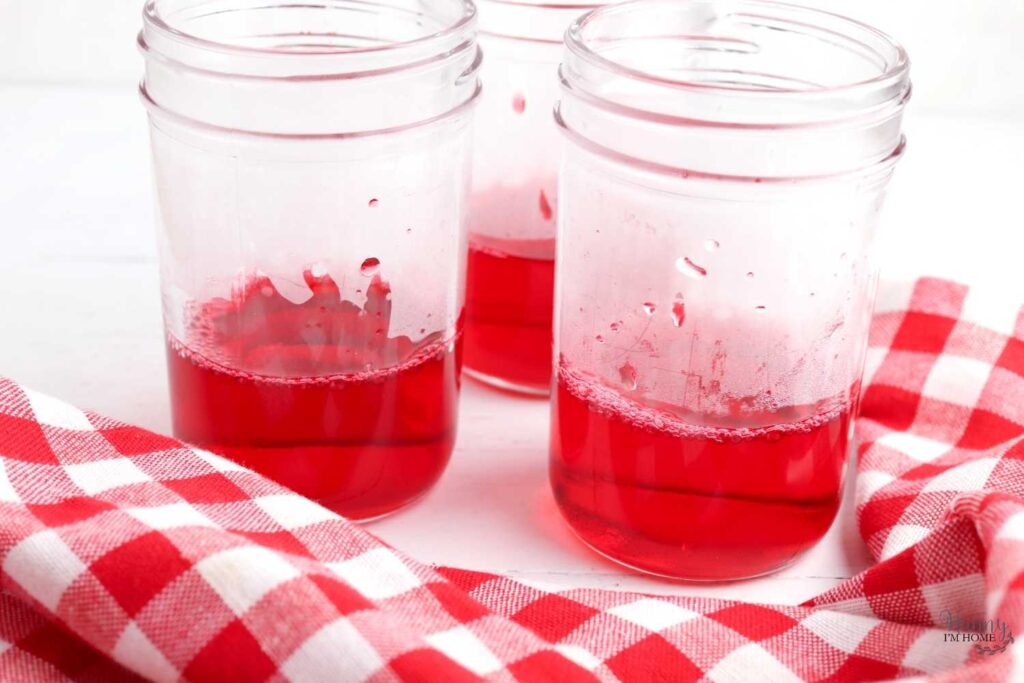
After the gelatin is fully mixed, you can pour the mixture evenly into your six jars. I used around 1/3 cup and one tablespoon of Jello mixture for each jar.
Once all your jars are filled, immediately place them in the refrigerator to chill. This layer will take the longest to set, so you’ll probably need to give your jars around 45 minutes to set before you can add the next layer of Jello.
To make it easier to transfer your Jello jars in and out of the refrigerator, I suggest placing your jars in a cake pan or baking dish instead of trying to move each individual jar in and out of the fridge.
While it will take 30 to 45 minutes for your first Jello layer to set, I suggest immediately making the white Jello layer after you place your jars in the fridge. This will give that layer of Jello time to cool. Allowing the hot Jello to cool will prevent it from melting the red layer after you pour it in and will shorten the chilling time between layers.
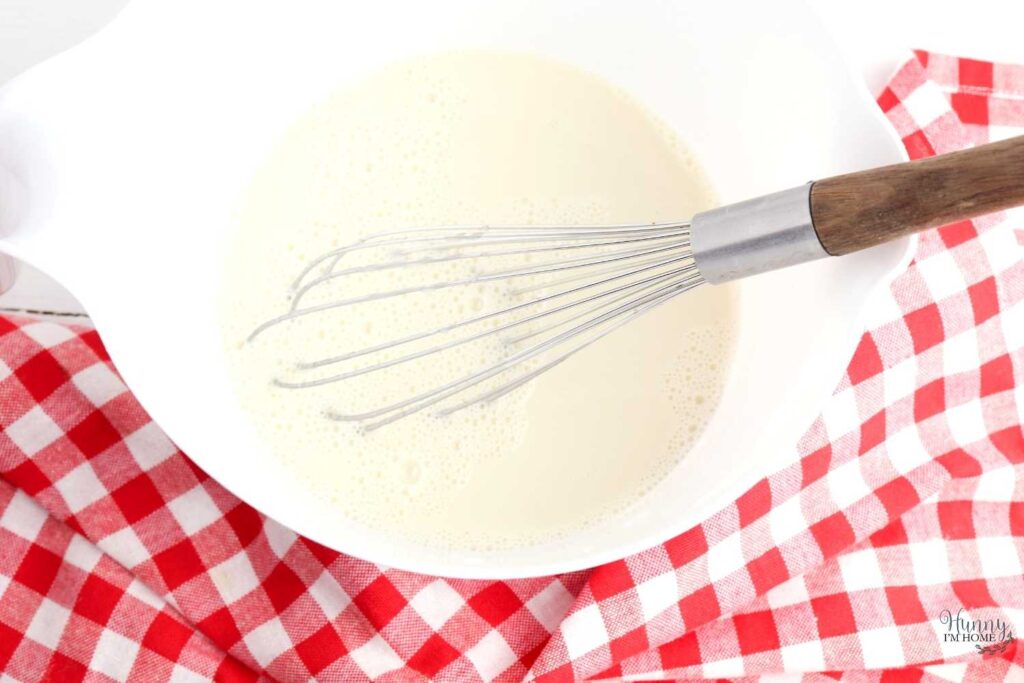
So after you place the red layer in the fridge, prepare the white layer by combining two packets of unflavored gelatin with boiling water and sweetened condensed milk. Whisk all the ingredients together until the gelatin is dissolved. Then, allow the mixture to cool on the counter.

When the red layer has set and is no longer liquid, remove the jars from the refrigerator and carefully pour the white layer on top of the red layer. Again, I used around 1/3 cup and one tablespoon for each jar.
After adding all the white gelatin to the jars, return them to the refrigerator to chill. Since you allowed the white layer to cool slightly before adding it to the jar, it won’t take as long to set. This layer will probably be ready in 20 to 30 minutes.
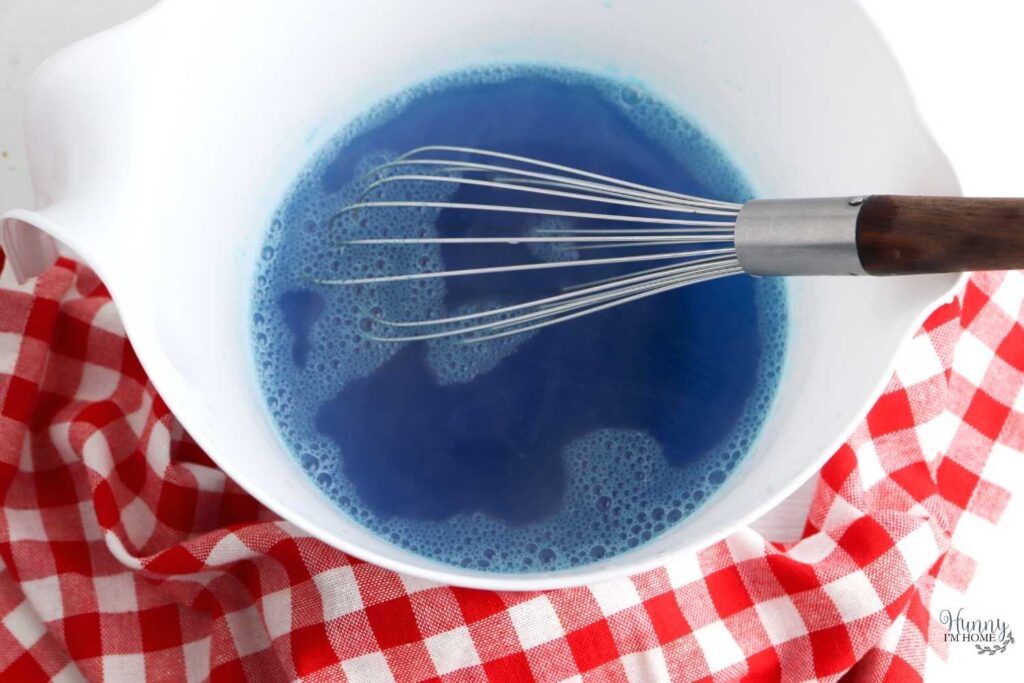
After your white layer is in the jars and chilling in the fridge, immediately start preparing the final blue layer. This layer will be prepared the same way as the red layer. Combine the blue Jello with one packet of unflavored gelatin and boiling water. Stir to combine the ingredients until the gelatin is fully dissolved, then allow the mixture to cool while the white layer sets.
When the white layer is fully set, add the blue layer to the top of the jar. I used 1/3 cup plus one tablespoon blue Jello for each jar. After adding all the blue gelatin to the jars, place them back in the refrigerator.
Once all the layers are added to the jars, allow them to chill for at least 4 hours to fully set.
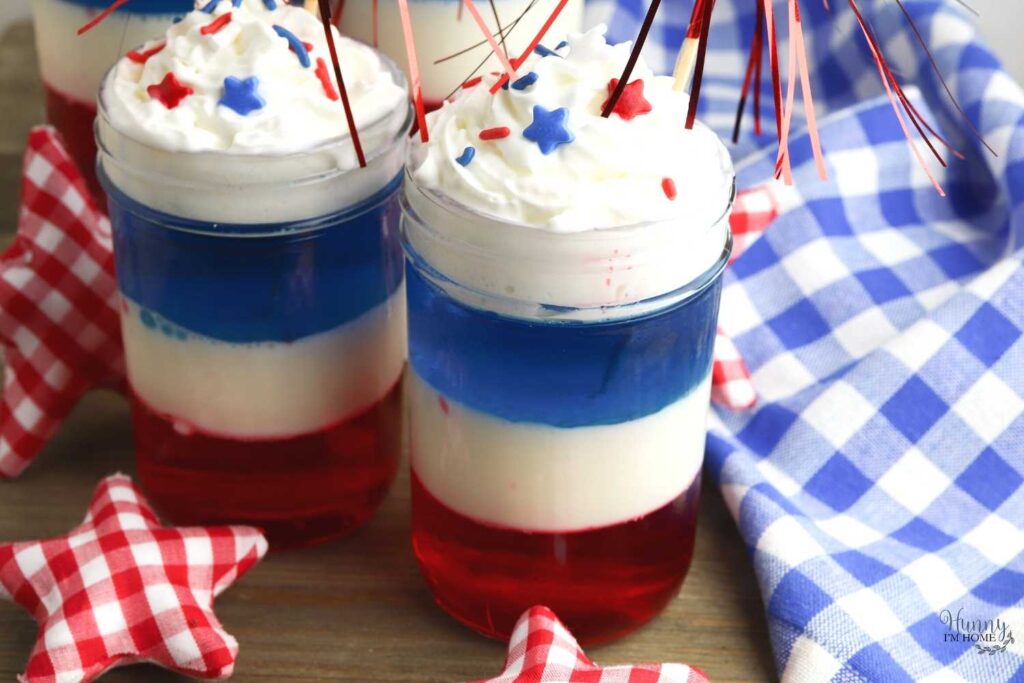
When you’re ready to serve your jars, top each dessert with whipped cream, then add some patriotic sprinkles to the top of each jar. You can also add some cute firecracker picks to the top to give them a festive 4th of July look.
Jello in a Jar Recipe Ideas
See how simple these cute desserts are to make? And they’re sure to make a splash with everyone at your July 4th party!
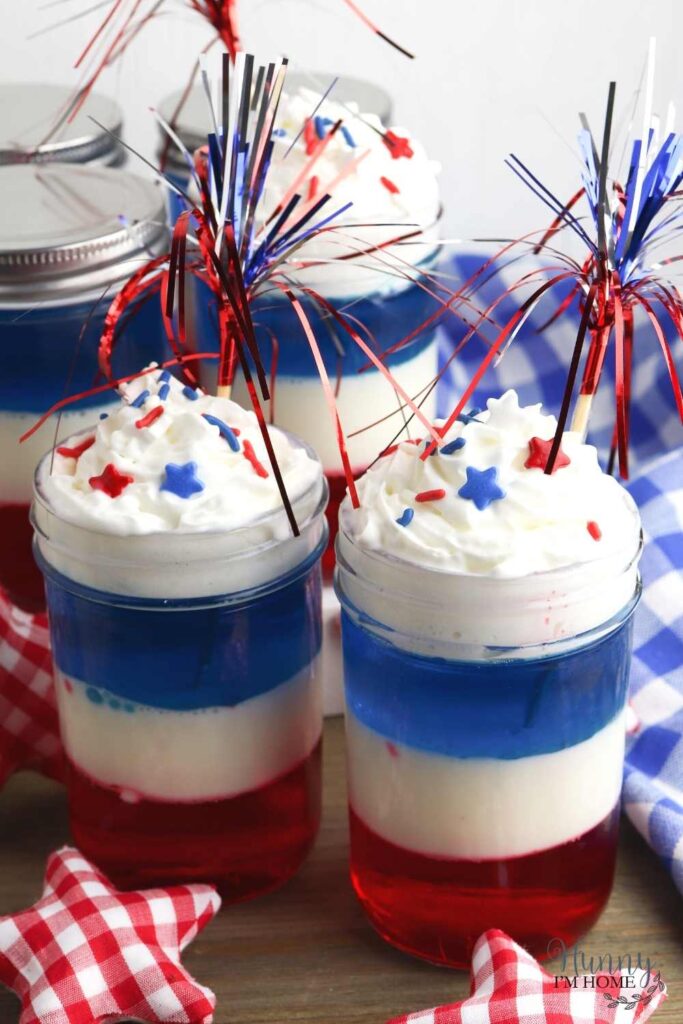
Try different Jello flavors. Using red white and blue Jello is a great way to give your Jello in a jar a patriotic look, but there are so many different ways to create own Jello layered dessert. Try different flavor combinations or use a variety of colors to make rainbow Jello in a jar.
Turn them into gifts. These adorable Jello jars make great gifts! Instead of adding whipped cream on top, simply add a lid to your jars. After that, you can attach a gift tag with some ribbon to create a cute summer gift for your friends and family members.
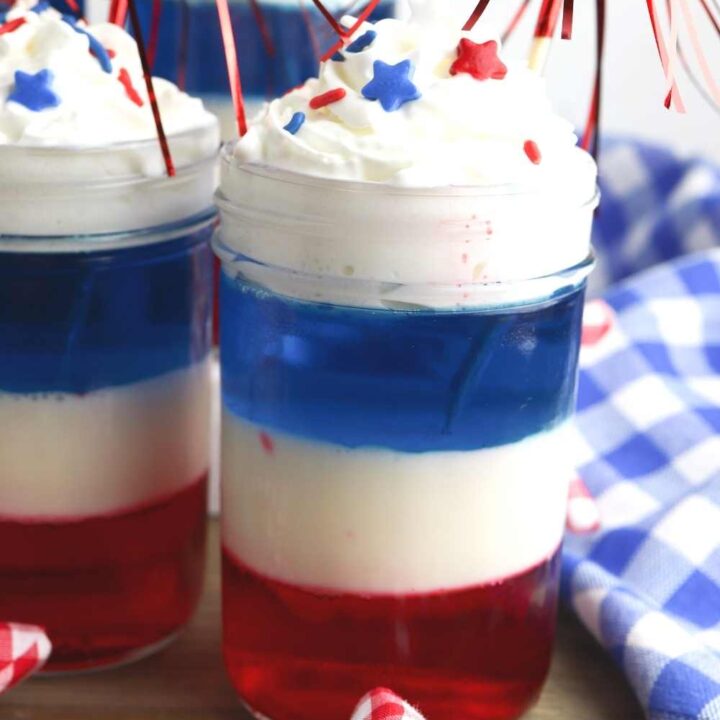
Jello in a Jar Recipe
Create a delicious layered dessert for the 4th of July with this red, white, and blue Jello in a jar recipe.
Ingredients
- 1 6-ounce package strawberry Jello
- 1 6-ounce package berry blue Jello
- 4 packets unflavored gelatin
- 1 14-ounce can sweetened condensed milk
- 5 cups boiling water
- Whipped cream for serving (optional)
- 6 half-pint jars
Instructions
- Whisk together the strawberry Jello, one packet of unflavored gelatin, and 2 cups boiling water. Continue stirring until all the gelatin has been dissolved in the water.
- Pour 1/3 cup of the Jello mixture into each jar.
- Place the jars in the refrigerator to chill for around 40 minutes, until the mixture has begun to set and is no longer liquid.
- While the red Jello is chilling, prepare the white layer by whisking together two packets of unflavored gelatin with one cup boiling water and the sweetened condensed milk. Continue stirring until all the gelatin has been dissolved. Allow the mixture to sit at room temperature to cool until the red Jello is set.
- When the red Jello is set, carefully pour 1/3 cup of the white gelatin mixture over the top of the red.
- Return the jars to the refrigerator to chill for around 20 minutes, until the white layer is set.
- While the white gelatin is setting, prepare the blue layer by whisking together the berry blue Jello, one packet of unflavored gelatin, and 2 cups boiling water. Continue stirring until all the gelatin has been dissolved in the water. Allow the mixture to sit at room temperature to cool until the white gelatin is set.
- When the white gelatin is set, carefully pour 1/3 cup of the blue Jello over the top of the white layer.
- Return the jars to the refrigerator to chill for an additional 3 hours. Top with whipped cream, if desired, before serving.
Nutrition Information:
Yield: 6 Serving Size: 1Amount Per Serving: Calories: 340Total Fat: 8gSaturated Fat: 5gTrans Fat: 0gUnsaturated Fat: 3gCholesterol: 31mgSodium: 156mgCarbohydrates: 57gFiber: 2gSugar: 54gProtein: 12g
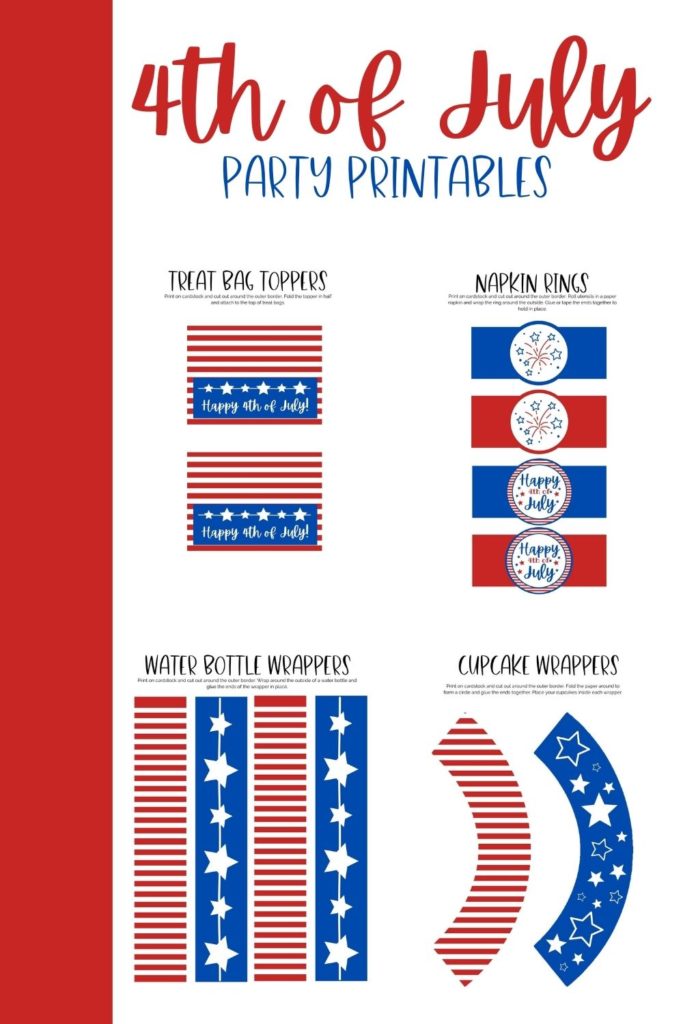
Printable 4th of July Party Decor
More Amazing 4th of July Ideas:
50 Amazing 4th of July Party Supplies
Patriotic Rice Krispies Treats
35 Delicious 4th of July Desserts
If you like this post, you’ll probably like these:


Emily is a midwestern mom of two boys. She loves all things DIY — from home renovations to kids birthday party planning. Whether she’s making a new farmhouse craft for her home or helping her kids with a cool activity, you can bet she’s in the middle of some kind of DIY project (or three) right now!



My boys would love this! It’s been a couple of years since I did some fun 4th of July treats.
http://www.chezmireillefashiontravelmom.com
Quick question. I’d like to make these as gifts. Is it possible to make them so they don’t have to be refrigerated? I’d have to travel with them. Can I preserve the mixture as if I were canning?
I don’t think there is any way to make these without refrigerating them. Once the Jello gets warm, it starts to liquify and the layers would start to bleed into each other. You could probably pack them in a cooler with an ice pack to keep them cool while you’re traveling, though.