
Simple Gluten Free Snowman Cookies
Sugar cookies are a great option for cookies for just about any holiday. But decorating sugar cookies isn’t my strong suit. Luckily, these adorable gluten free snowman cookies look cute. But you don’t have to put much effort into decorating them! These delicious gluten free Christmas cookies are perfect for Christmas celebrations or as a cute snack during the winter. Either way, your family is going to love them!
This post contains affiliate links, which means I may earn a commission if you purchase something from my link (at no additional cost to you). Thanks for your support!

Making cookies with your family is a fun way to spend some time together. But if you’ve ever tried decorating sugar cookies with kids, you know how difficult it can be. From deal with piping bags to cleaning up sprinkles from everywhere, cookie decorating isn’t the best option for families with little kids.
But these cute melted snowman cookies are an easy way to decorate your sugar cookies. In fact, it’s so easy, your kids can help out! That’s why they’re one of my favorite gluten free cookies.

Gluten Free Snowman Cookies
To make these easy gluten free melted snowman cookies, you’ll need just a few simple ingredients — the most important being gluten free sugar cookies. This simple recipe uses my simple sugar cookie dough and a few fun decorations to create an adorable melted snowman on top of your cookies.
To make these easy gluten free cookies, you’ll need:
- Gluten free sugar cookie dough (click the link to get the recipe)
- Marshmallows: Full-size marshmallows will make up the head of your melted snowman.
- Gluten free pretzels: Use gluten free mini pretzels to create the stick arms for your snowman. I used Glutino pretzels for these cookies and they worked perfectly.
- Round sprinkles: The sprinkles I used for my snowman buttons were from a sprinkle assortment pack from Wal-Mart. They’re similar to nonpareils but slightly larger.
- Edible marker: You can find edible markers in the cake decorating section of your favorite store. This Wilton edible ink marker is perfect for drawing faces on your melted snowmen.
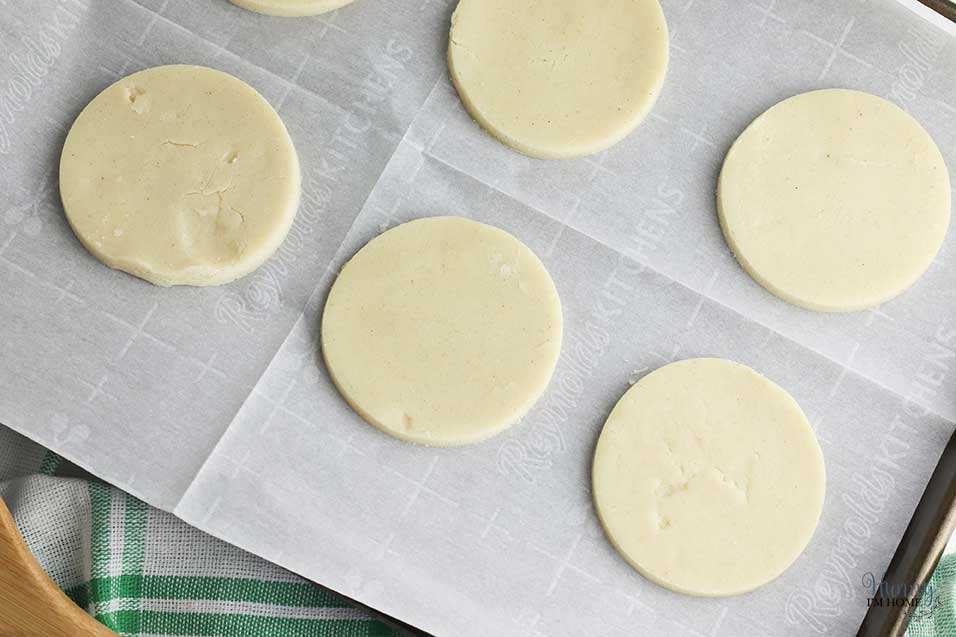
The first step to making your melted snowman cookies is to prepare your sugar cookie dough. Click the link above to get the recipe for my easy sugar cookies. After the dough is prepared and chilled, roll it out and use a round cookie cutter to cut out the shapes for your melted snowmen.
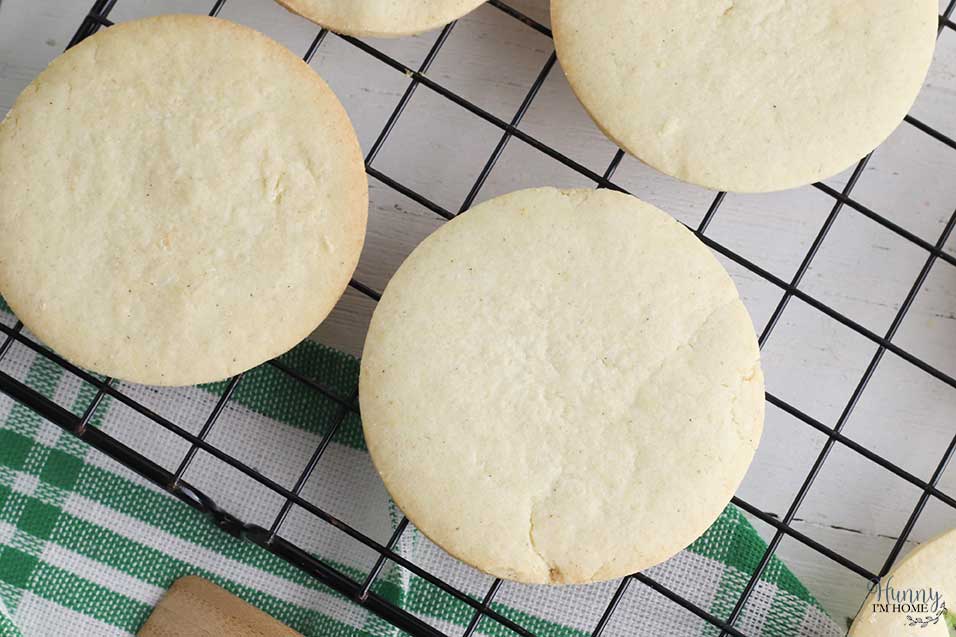
Bake the cookies for around 10 minutes, then remove them from the oven and allow them to cool completely. When the cookies are cool, they’re ready to be turned into cute melted snowmen!

After the cookies are completely cool, spread a thin layer of white icing. I used premade Pillsbury icing (it’s gluten free) to top my sugar cookies.
How to Decorate Melted Snowman Cookies
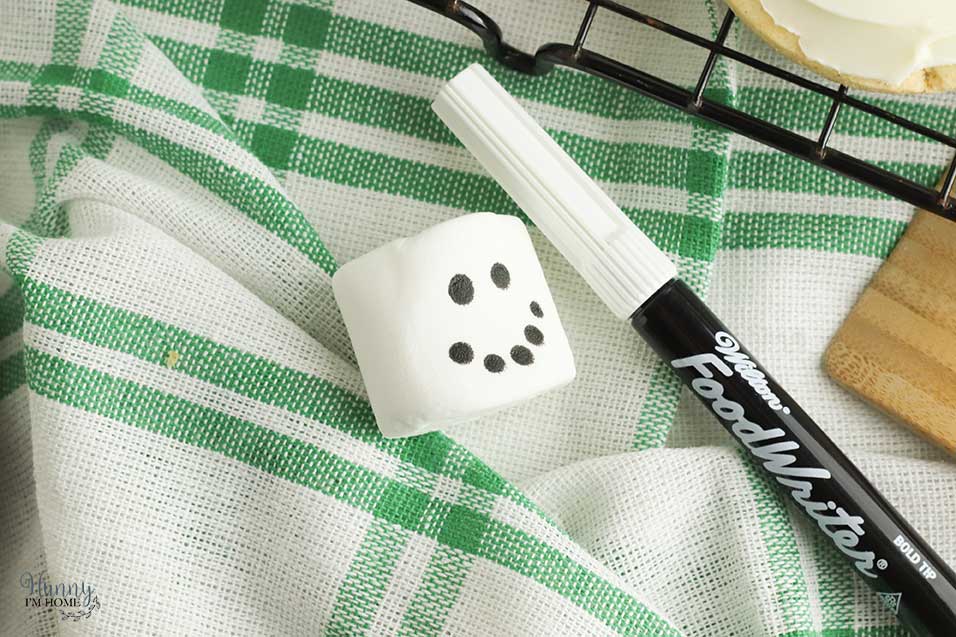
Next, it’s time to have some fun decorating your melted snowman cookies. Start by drawing the faces on your marshmallows. Since this recipe makes 24 cookies, you’ll need to draw faces on 24 marshmallows. Place two dots on the top of the face, then create a smile by drawing a curved line of dots under the eyes.
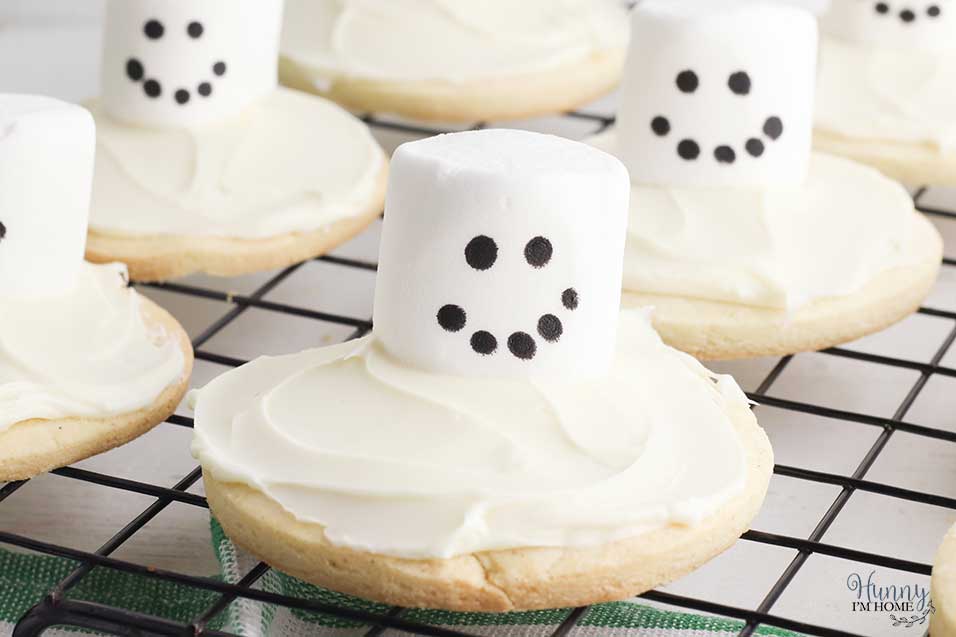
After you decorate a face, place the marshmallow on top of the cookie, close to one edge. Be sure to leave plenty of space in front of the face to add the arms and buttons to your cookie.
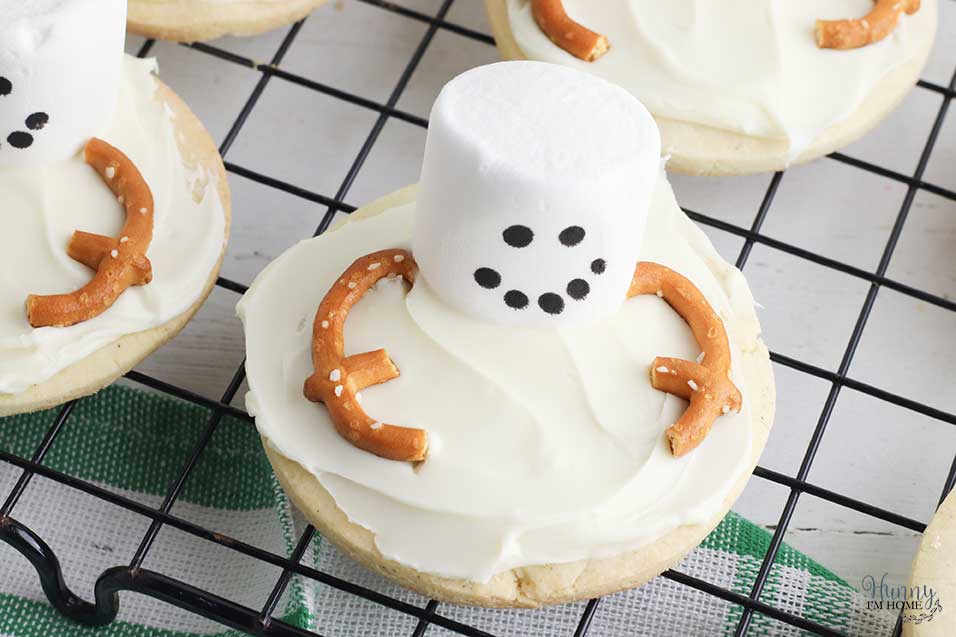
Now we’re going to create some stick arms using gluten free pretzels. To make the arms, just snap your mini pretzels in halve, then place each half on the sides of the marshmallow.
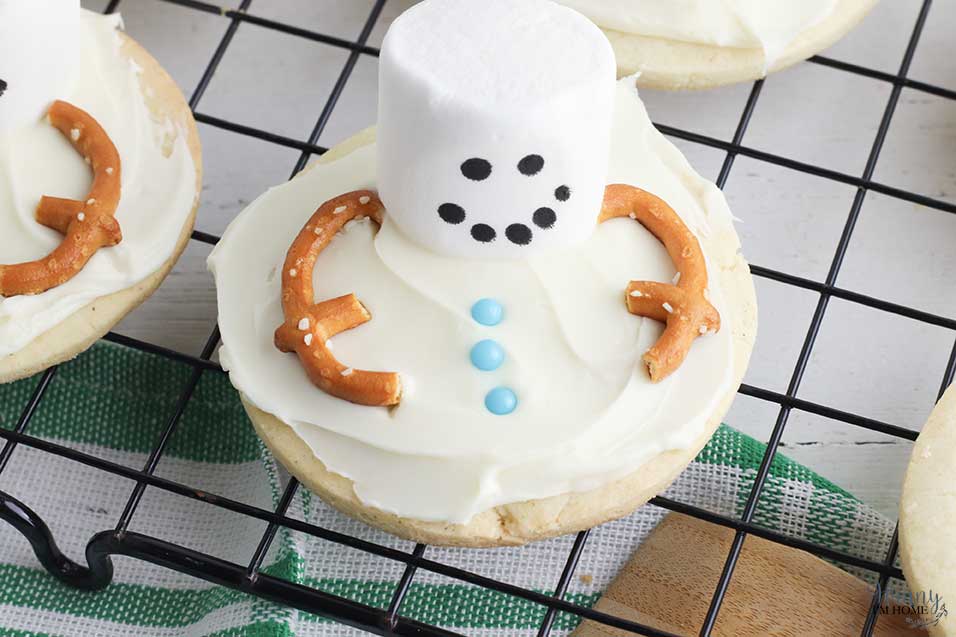
Finish decorating your cookies by adding some button sprinkles in front. Just place a row of three sprinkles down the center of the cookie right in between the two arms.
Snowman Cookie Recipe Ideas
See how easy these gluten free snowman cookies are to make? And since this recipe is so simple, it’s also easy to change up. If you don’t have some of the ingredients at home, keep reading to get some recipe replacements you can use to create your melted snowman cookies.

Can I make replacements to the decorations?
Of course! The decorations I used to create my melted snowman cookies are just suggestions. I fyou don’t have those ingredients on hand, try some of these substitutions instead.
The snowman face. If you can’t find an edible marker at your grocery story, don’t worry! There is a different approach you could take to make the face on your snowman. It’s just a little bit more complicated than drawing the face with a marker. Here’s how to make the face on your snowman marshmallow heads:
- Place 1/2 cup of chocolate chips in a microwave safe bowl. Heat the chocolate in 30 second intervals, stirring between each interval, until it’s fully melted.
- Transfer the melted chocolate to a piping bag and snip off the very end of the point.
- Use the piping bag to draw a face on your marshmallows.
- Allow the chocolate to cool and set before placing them on top of the cookies.
The snowman arms. Instead of using gluten free mini pretzels, you could also use gluten free pretzel sticks for the arms of your snowman. Or use melted chocolate or your edible marker to draw the arms. Just make sure your icing has hardened before you start drawing to prevent the marker from bleeding as you write.
The snowman’s buttons. Sprinkles aren’t the only option for creating buttons for your snowman. You can also use small candies as the buttons, like mini M&Ms or Sixlets.
Do these cookies have to be gluten free?
No! You can make these cookies using traditional ingredients if you don’t need to worry about eating gluten. Just use your favorite sugar cookie recipe or grab a roll of premade cookie dough to create the cookies before you start decorating.

Gluten Free Snowman Cookies
Use traditional sugar cookie dough to make adorable melted gluten free snowman cookies!
Ingredients
- 3 ½ cups gluten free baking flour
- ¼ teaspoon baking soda
- ¾ teaspoon salt
- 1 ½ teaspoon baking powder
- 1 cup (2 sticks) butter, room temperature
- 2 ounces cream cheese, softened
- 1 ¼ cups sugar
- 1 teaspoon vanilla extract
- 1 egg
- White icing
- 24 marshmallows
- 24 gluten free pretzels
- Round sprinkles
- Edible marker
Instructions
- In a medium bowl, whisk together the gluten free flour, baking soda, salt, and baking powder.
- In a separate bowl, beat together the butter, cream cheese, and sugar. Add the vanilla extract and egg and beat until combined.
- Mix in the flour mixture at low speed until dough begins to form.
- Separate the dough into two equal balls and place each in a plastic bag. Press the dough into a disk and chill for at least one hour.
- When ready to bake, preheat oven to 375 degrees and line a baking sheet with parchment paper.
- Roll out the dough on a lightly floured surface until the dough is around ¼ inch thick. Use a round cookie cutter to cut out the dough, then place the cookies on the baking sheet.
- Bake the cookies for 8 to 10 minutes, until the cookies are golden brown on the edges.
- Allow to cool on the pan for five minutes, then transfer them to a wire cooling rack to cool completely.
- When the cookies are cool, ice each cookie with white icing.
- Draw a snowman face on each marshmallow with the edible marker, then place it on top of the cookie.
- Break each gluten free pretzel in half and place on half on each side of the snowman's head as arms.
- Add three sprinkles in front of the snowman's head as buttons.
Notes
Get more tips for baking your gluten free sugar cookies by reading my full recipe post!
Nutrition Information:
Yield: 24 Serving Size: 1Amount Per Serving: Calories: 211Total Fat: 2gSaturated Fat: 1gTrans Fat: 0gUnsaturated Fat: 1gCholesterol: 10mgSodium: 481mgCarbohydrates: 44gFiber: 1gSugar: 16gProtein: 4g
More Delicious Gluten Free Recipes:
Gluten Free Christmas Cookie Bars
One Bowl Gluten Free Ginger cookies
Gluten Free Chocolate Christmas Cookies
If you like this post, you’ll probably like these:




Emily is a midwestern mom of two boys. She loves all things DIY — from home renovations to kids birthday party planning. Whether she’s making a new farmhouse craft for her home or helping her kids with a cool activity, you can bet she’s in the middle of some kind of DIY project (or three) right now!


2 Comments