
Simple Recipe for Peanut Butter Granola Bars
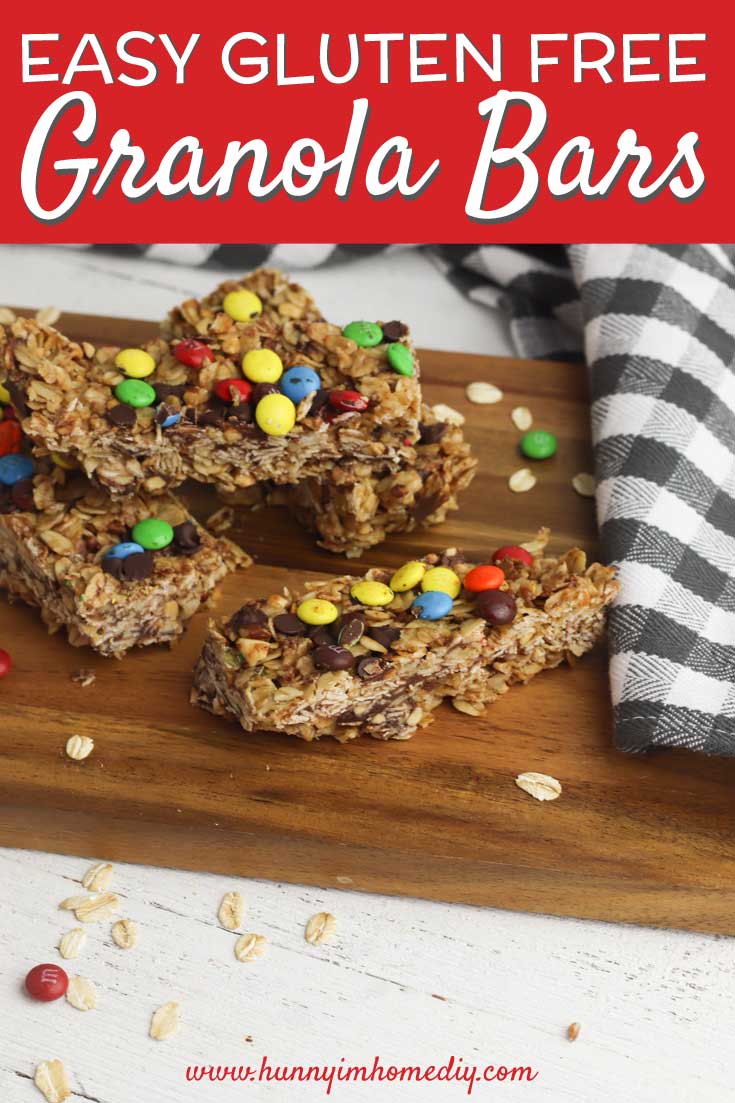
Granola bars are one of my family’s favorite snacks. But it’s difficult to find good gluten free granola bars in the store. Luckily, it’s easy to make your own granola bars at home. After you try this simple recipe for peanut butter granola bars, you won’t purchase those store-bought granola bars ever again!
This post contains affiliate links, which means I may earn a commission if you purchase something from my link (at no additional cost to you). Thanks for your support!
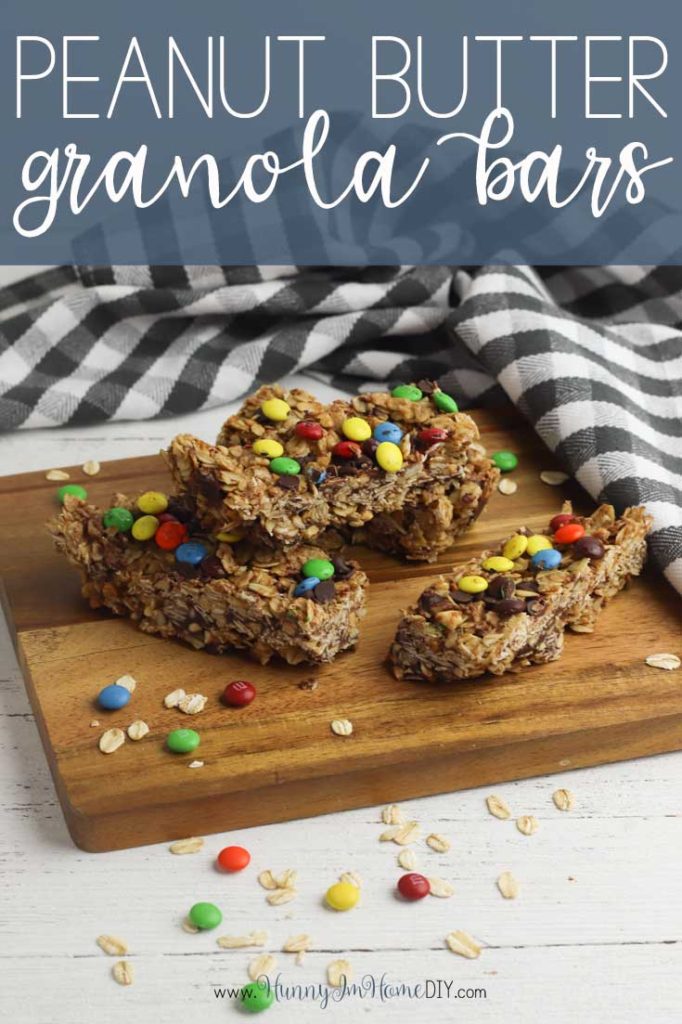
This easy recipe for peanut butter granola bars is made with simple ingredients. They’re delicious, low in sugar, and make a healthy alternative to other sweet treats your kids may be craving.
But my favorite part about this recipe is that they’re gluten free granola bars. And while these granola bars may be a little healthier than other sweet treats, I’m sure even the pickiest eaters in your family will love them!
Recipe for Peanut Butter Granola Bars
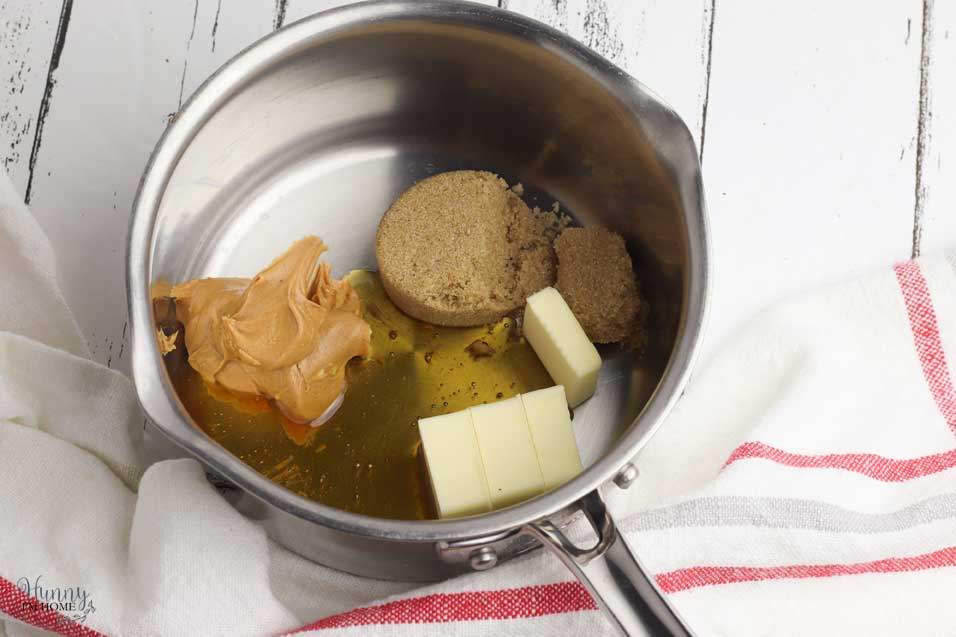
To make these easy gluten free granola bars, you’ll only need a few simple ingredients:
- Gluten free oats
- Chopped nuts
- Butter
- Peanut Butter
- Honey
- Brown sugar
- Vanilla
- Salt
- Chocolate chips
- Chocolate candy
While this recipe for peanut butter granola bars is no-bake, you will need to heat the peanut butter sauce on the stove before mixing all the ingredients together. So, grab a small saucepan and add your peanut butter, butter, brown sugar, and honey. Heat the ingredients over medium-low heat, stirring constantly. When the peanut butter is melted and the ingredients are mixed well, remove the pan from the stove.
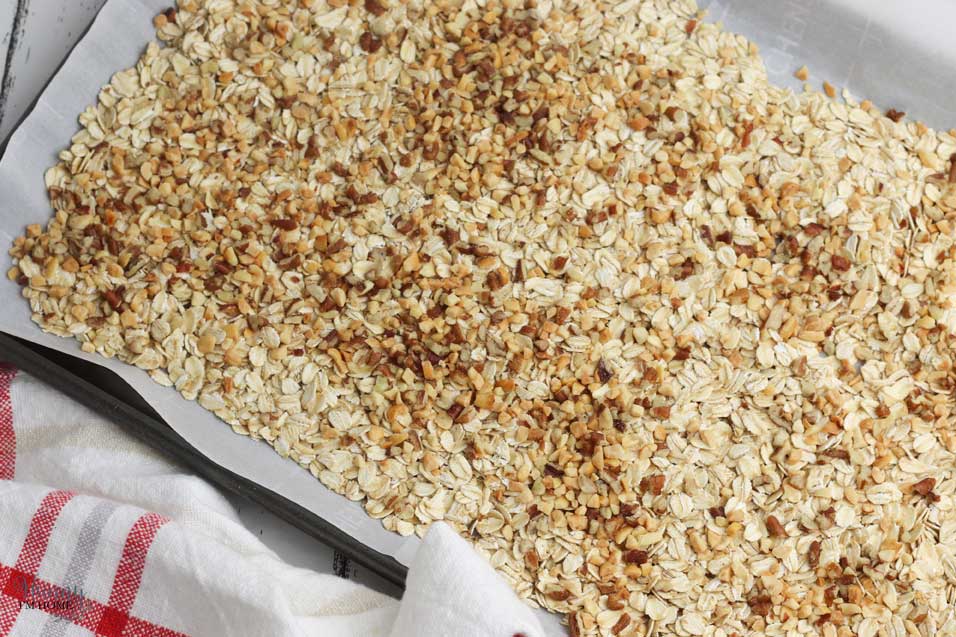
While your peanut butter sauce is cooking, take a few minutes to roast your oats and nuts in the oven. Toasting the oats and nuts will bring out the flavor in both ingredients, so don’t skip this step! It’s so easy — just spread the oats and nuts over a large baking sheet and place it in the oven for around 10 minutes.
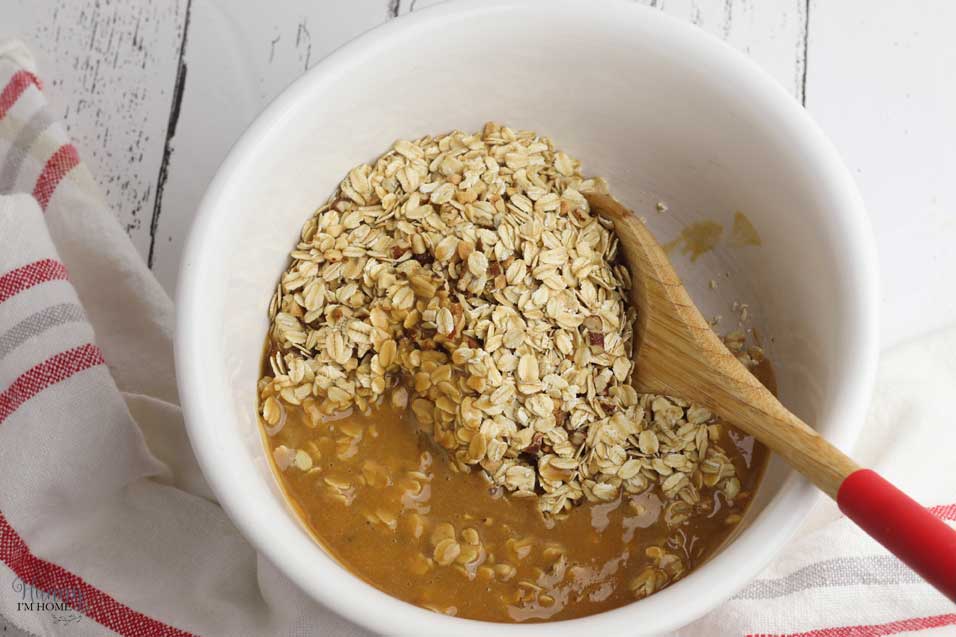
Add the toasted oats and nuts to a large bowl and cover them with the melted peanut butter sauce. Stir all the ingredients together until they’re well combined.
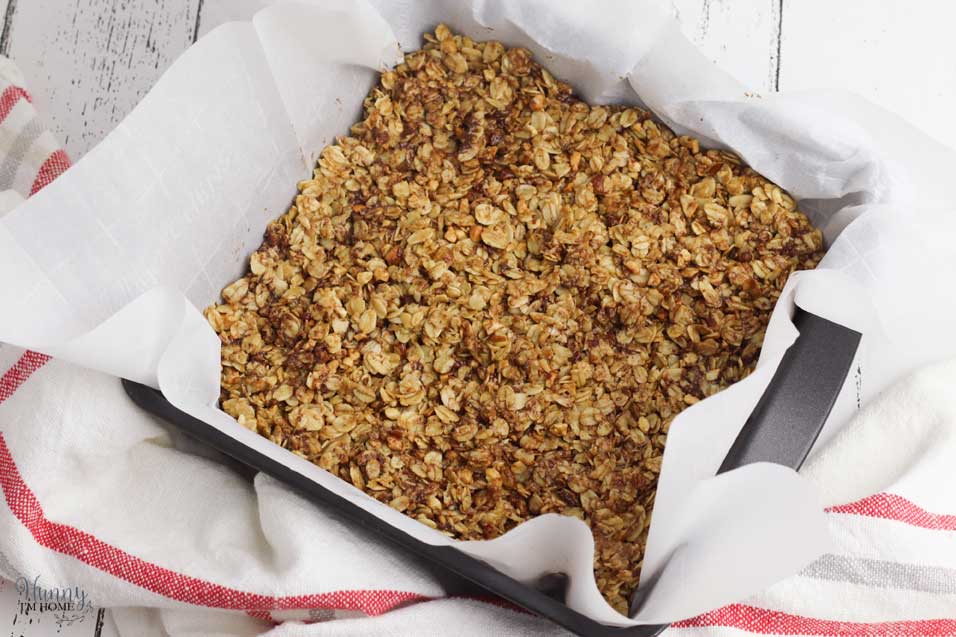
The next step in this recipe for peanut butter granola bars is to pour the mixture into a pan. Spread the oat mixture over the pan and use your fingers to press the gluten free granola bars into the pan until they are solid.
To make removing the bars from the pan super easy, line it with parchment paper before adding the oat mixture. Let the edges of the parchment paper hang over the edges of the pan so you can easily pull the bars out of the pan when they’re set.
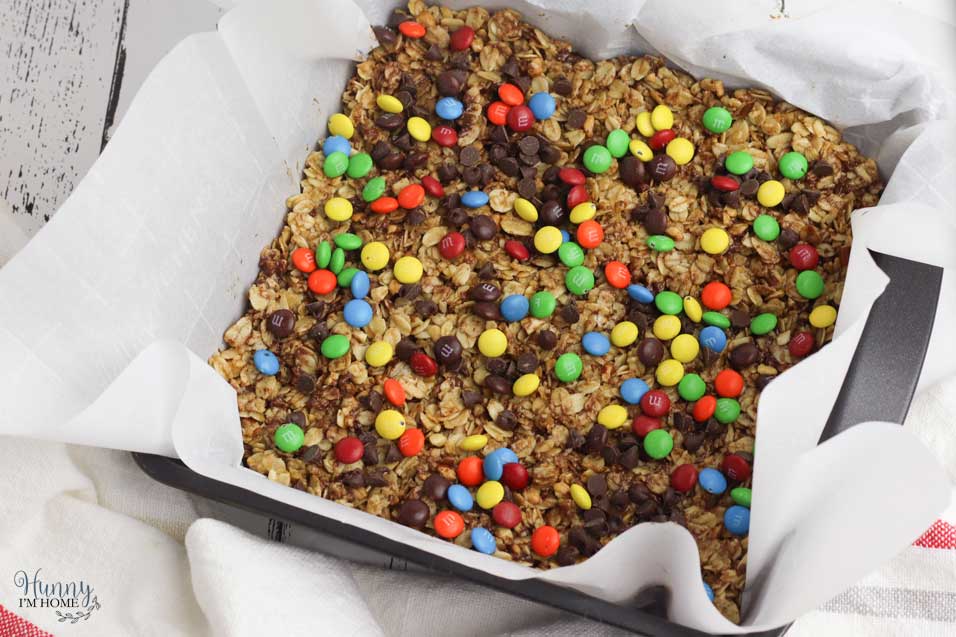
Finally, add chocolate chips and chocolate candy to the top of your gluten free granola bars. Give your bars a few minutes to cool before adding the chocolate chips and candy to the top to keep them from melting. Then, use your hand to press the ingredients into place. Note: if you’re trying to cut back on the amount of sugar in your diet, these chocolate chips are totally optional! The bars will still taste great without them!
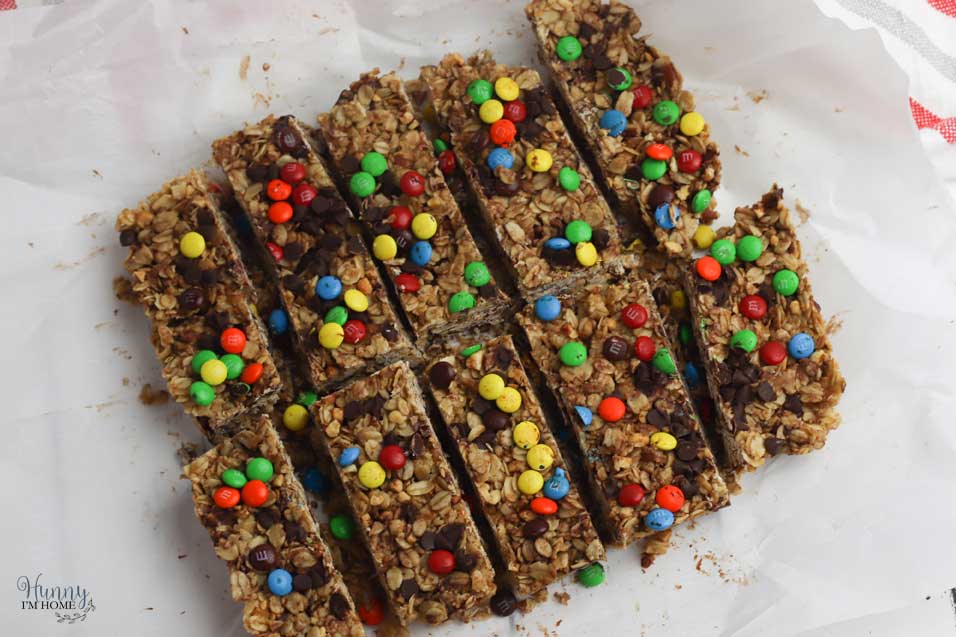
After adding the chocolate chips, place the peanut butter granola bars in the fridge to chill for at least an hour. When the bars have set, remove them from the refrigerator and pull the bars out of the pan by grabbing the edges of the parchment paper and lifting up. Place the granola bars on a flat surface and use a large knife to cut the bars.
Gluten Free Granola Bar Variations
This easy recipe for peanut butter granola bars is delicious and simple! But one of the best things about this quick recipe is that you can change up the ingredients to make it your own!
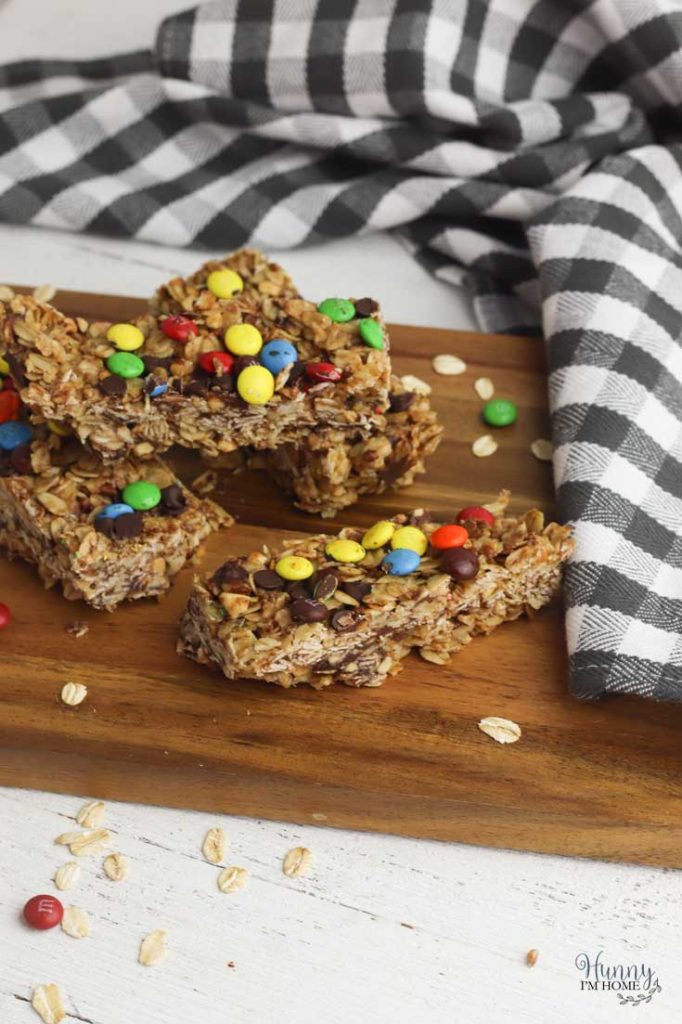
Add Different Toppings
Chocolate chips and candy taste great on top of these gluten free granola bars, but there are tons of other additions you can make to this recipe, like:
- Flavored chocolate covered candies. I sprinkled some plain mini M&Ms over the top of the bars to add a pop of color and make them a little more festive. But flavored chocolate candies would also taste great! If you’re trying to make these bars gluten free, be sure to stick with plain, peanut, or peanut butter M&Ms.
- Dried fruit. For a healthier topping, try adding dried fruit to the top of the bars instead of chocolate. Raisins or dried cranberries would taste great and reduce the amount of sugar in the recipe!
- Nuts. Since this recipe has peanut butter in it, adding nuts on top would enhance the flavor even more. Chopped peanuts, almonds, or pecans would all be delicious on top of your Cheerio bars.
- Butterscotch chips. I love the combination of butterscotch and peanut butter! Mix some butterscotch chips with the chocolate chips on top of your Cheerio bars to add even more flavor to this recipe.
Swap out the peanut butter
If your kids are allergic to peanut butter, there are a couple of substitutions you can make. Swap out the peanut butter in this recipe for almond butter. Or use Nutella — just be sure to cut down on the amount of sugar used. Nutella is much sweeter than peanut butter and has a thinner consistency, so you won’t need as much sugar to sweeten the bars.
Mix in cereal
Cereal is another great addition to make to your gluten free granola bars. Just make sure you choose a gluten free cereal to mix in. Plain Cheerios in the yellow box would be a great choice for this recipe for peanut butter granola bars. They’re made with whole grains, are gluten free, and are low in sugar. That makes them the perfect base for a healthy snack bar. But you can swap out plain Cheerios for pretty much any other gluten free cereal! Chocolate Cheerios would be delicious!

Gluten Free Peanut Butter Granola Bars
This easy recipe for peanut butter granola bars is delicious and gluten free, making it a perfect kid-friendly snack.
Ingredients
- 2 ½ old fashioned rolled oats
- ½ cup chopped peanuts and pecans
- ¼ cup honey
- ¼ cup unsalted butter
- ¼ cup peanut butter
- 1/3 cup brown sugar
- 1 teaspoon vanilla extract
- ¼ teaspoon salt
- ½ cup chocolate chips, plus more for topping
- ½ cup mini chocolate candies (M&Ms)
Instructions
- Preheat oven to 350 degrees.
- Line a baking sheet with parchment paper and spread the rolled oats and chopped nuts over the parchment paper. Bake in preheated oven for 10 to 15 minutes.
- In a small saucepan, combine the honey, butter, peanut butter, and brown sugar. Cook over medium-low heat until the butter and peanut butter are melted. Stirring occasionally to combine ingredients.
- Remove from heat and stir in the vanilla extract and salt.
- Pour roasted oats and nuts in a large bowl. Add the peanut butter mixture and stir to combine.
- Allow the oat mixture to cool for 10 to 15 minutes, then stir in the chocolate chips.
- Line an 8x8 baking pan with parchment paper. Pour the oat mixture into the pan and press the mixture down into the pan until solid.
- Top the oat mixture with additional chocolate chips and chocolate candies. Press the candy into the top of the mixture to secure it in place.
- Place the granola bars in the refrigerator to cool for at least an hour.
- Before serving, remove the granola bars from the pan by pulling the edges of the parchment paper. Place on a flat surface and use a sharp knife to cut the granola into 10 bars.
Nutrition Information:
Yield: 10 Serving Size: 1Amount Per Serving: Calories: 298Total Fat: 17gSaturated Fat: 7gTrans Fat: 0gUnsaturated Fat: 8gCholesterol: 14mgSodium: 124mgCarbohydrates: 33gFiber: 3gSugar: 23gProtein: 6g

If you like this post, you’ll probably like these:


Emily is a midwestern mom of two boys. She loves all things DIY — from home renovations to kids birthday party planning. Whether she’s making a new farmhouse craft for her home or helping her kids with a cool activity, you can bet she’s in the middle of some kind of DIY project (or three) right now!




Yummy! I can’t wait to try out these bars. And thanks for including variations to try – I’m going to start with dried cranberries.
Looks similar to a recipe our family makes—only we sub coconut sugar for the brown sugar. YUM!
These look yummy! I love making things ahead of time and these would be perfect for a road trip or hiking!
Oh my gosh, these look a zillion times better than those Chewy bars I devour. I have to try these out!
I love how simple these look to make. They look really delicious too – definitely going to try this recipe soon!
-Jennifer
https://jennifermaune.com