DIY Lego Jars for a Birthday Party
Hosting a LEGO birthday party is a simple party theme that kids of any age will love! That means if your kid is a fan of building blocks, this party theme is sure to be a hit. But the best part about this easy theme is that you can save tons of money by making your own party supplies! With these easy
This post contains affiliate links, which means I may earn a commission if you purchase something from my link (at no additional cost to you). Thanks for your support!

Not only are these cute Lego mason jars so easy to make, you can use them after your party is over, too. Add them to your party decor, then use them to store your kid’s markers, pencils, pens, or even their LEGOs!
DIY Lego Jars
These cute DIY Lego Jars will make the perfect addition to the rest of your DIY LEGO party decorations. We used the painted glass jars to hold the silverware and straws at our party. But you can use them in a variety of different ways at your own celebration!
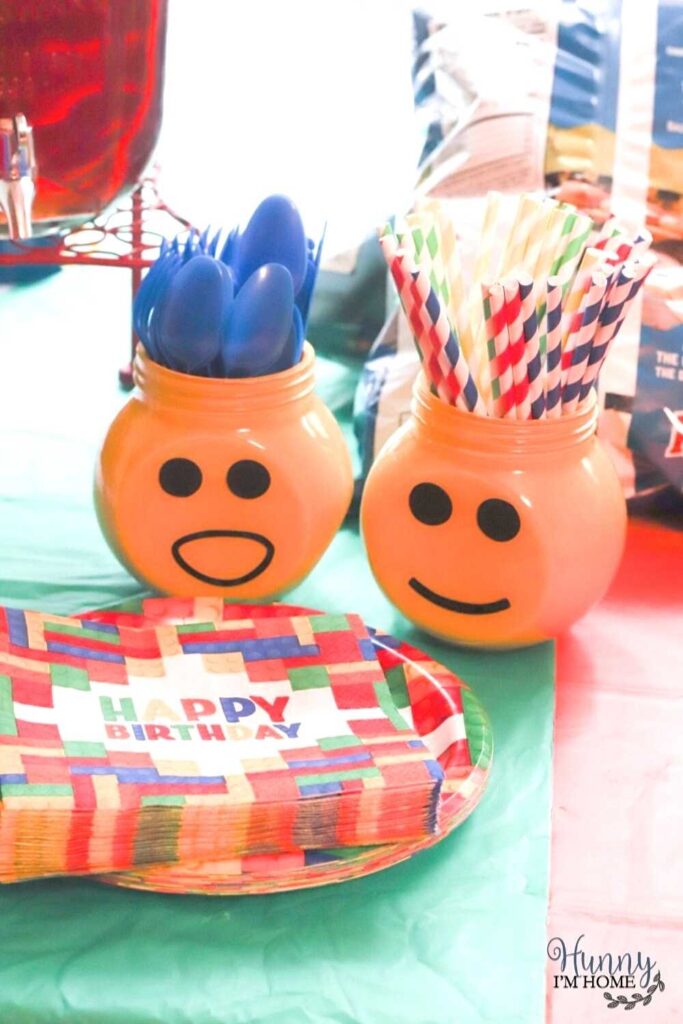
These DIY Lego party decorations are quick and easy to make — especially if you have a Cricut at home! To make your own LEGO jars at home, you’ll need:
- Glass jars. I found these round glass jars at Dollar Tree in the kitchen section. But you can find similar jars at most craft stores.
- Paint. To give your LEGO jars the look of a minifigure head, use bright yellow paint. To paint the jars, I used acrylic craft paint.
- Black vinyl. To make the face on the front of your minifigure jars, you’ll need to use black vinyl. Any vinyl will work with this craft project. You can even get vinyl at Dollar Tree to make this a budget-friendy party decoration.
- Cricut. To cut the pieces for the faces on the front of the jars, you’ll need to use your Cricut to cut the vinyl.
How to Make a Lego Jar
These fun DIY party decorations are a great way to add some custom decor to your party table. And since you can use these jars after the party, they’re the perfect craft to work on today!
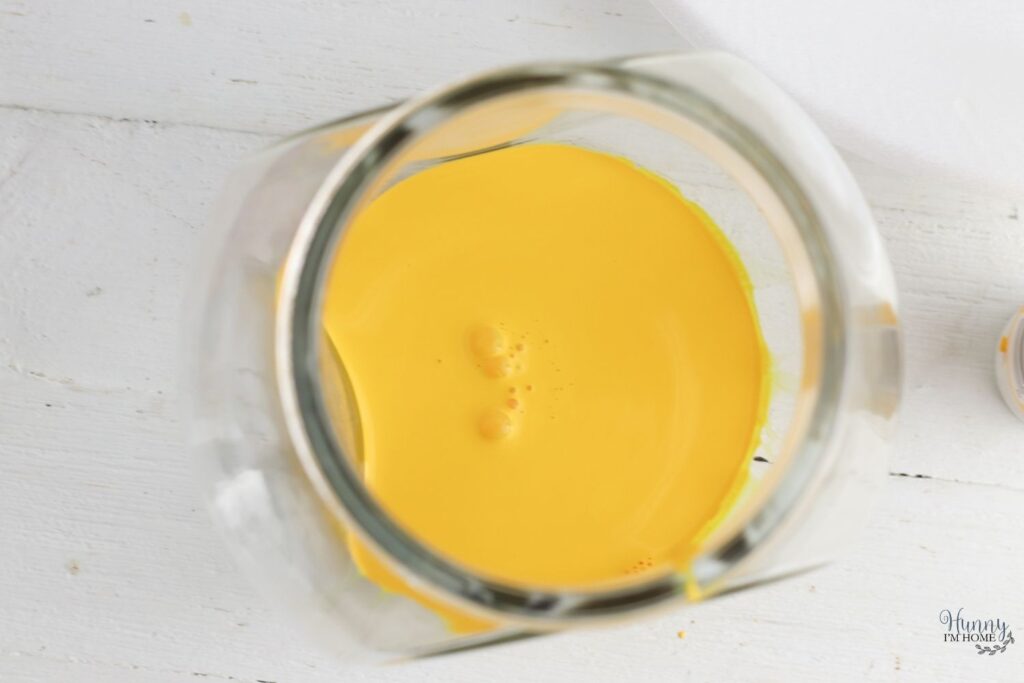
The first step to making these decorations is to paint your jars. To get a smooth coat on the glass, I suggest painting the inside of the jar. It’s a simple and mess free painting method that’s perfect for this LEGO project.
Start by adding a liberal amount of paint to the bottom of the jar. Then, add around one tablespoon of water to the jar to help the paint spread a little easier. Stir the water into the paint slightly with a paint stirrer or skewer.
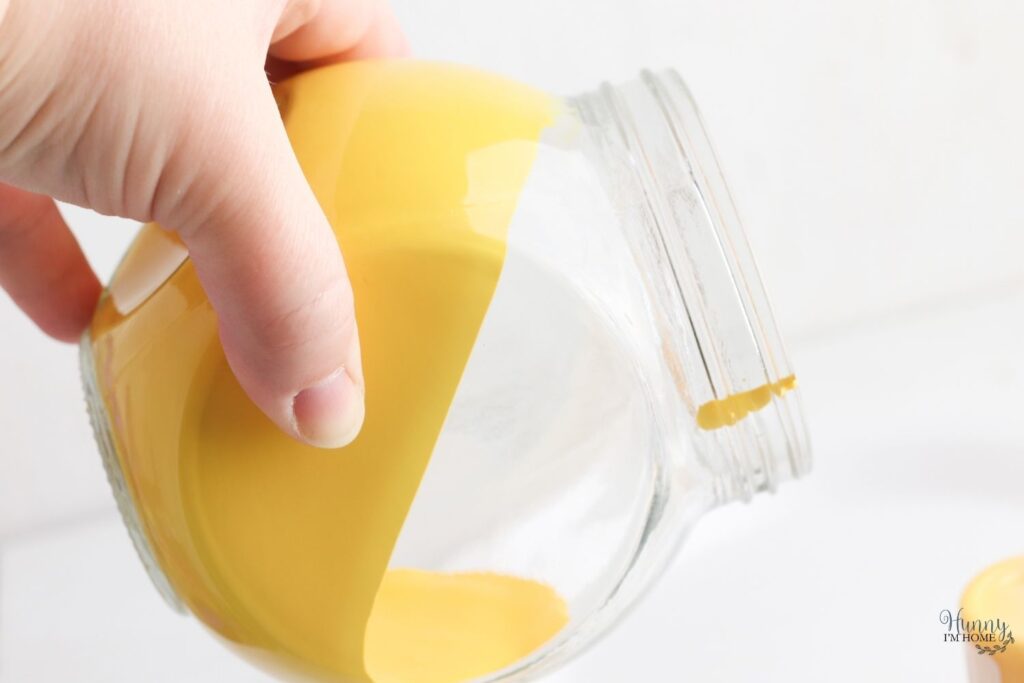
After adding the paint to the jar, lift the jar up and rotate it around in a circle slowly to help the paint spread along the sides of the jar. You can add more paint to the jar, if needed, to help cover all the sides.
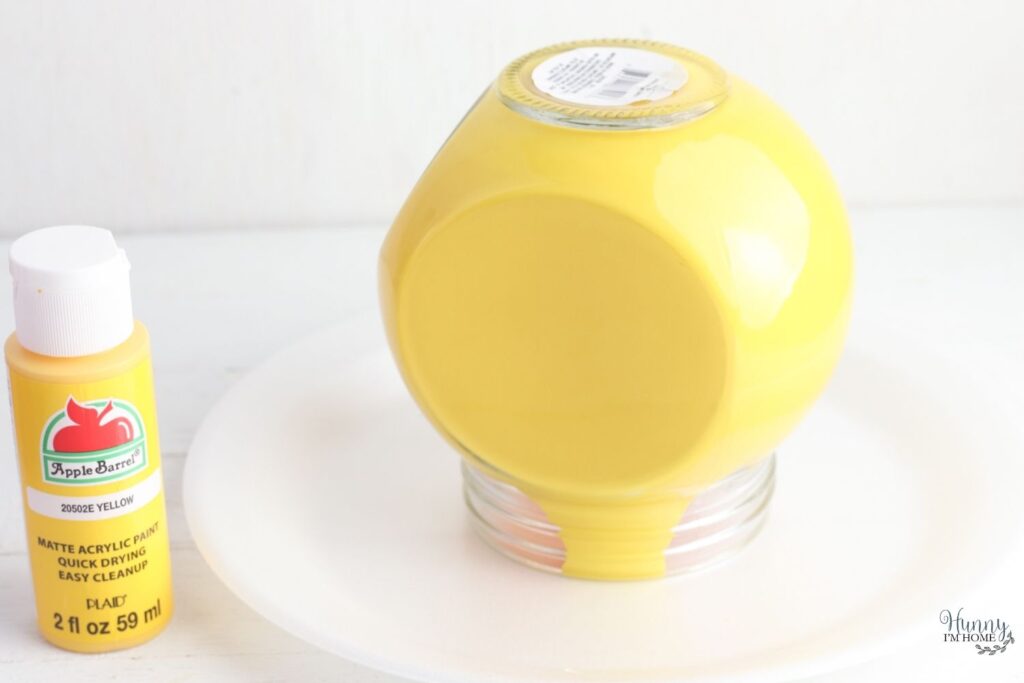
Once the paint has covered all the sides, flip your jar upside down over a paper plate to help the excess paint drip out. You’l need to let your jar sit upside down for a few hours to give it time to start drying.
After around four hours of dripping, you can flip your jar right side up to allow air to flow inside the jar to speed up the drying process. I suggest waiting a full day before using your jars at your party, so make sure you leave plenty of drying time for this craft!
LEGO Minifigure SVG
To turn these bright yellow jars into cute minifigure heads, you’ll need to grab my minifigure face SVG. Keep reading to see how to get your own downloadable file.
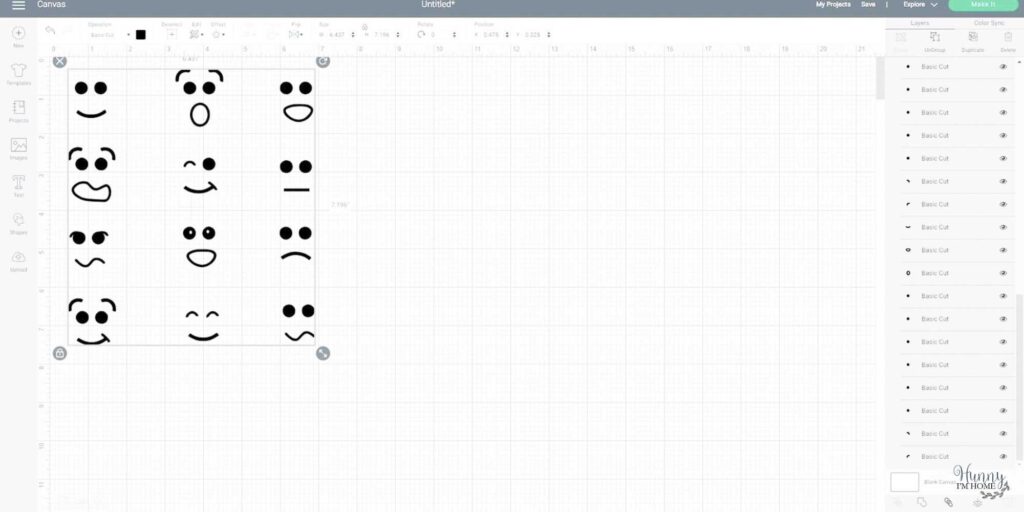
To make the the faces for your LEGO jars, you’ll need to grab my LEGO minifigure face SVG. Head over to my shop to download your file, then keep reading to see how to use this download to finish putting this fun party craft together.
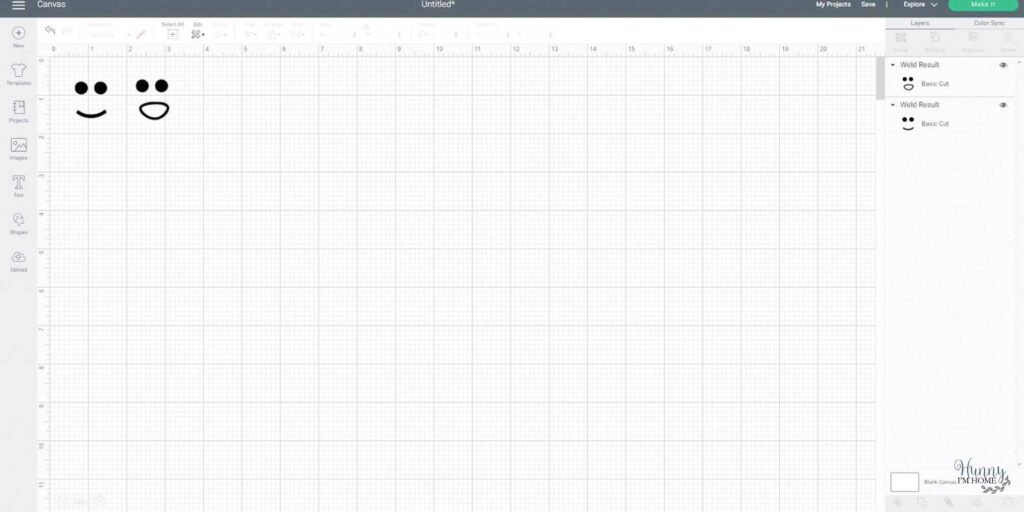
Once you download your SVG file, unzip the the folder and extract the SVG. Then, upload the file into Design space.
After that, you can select which faces you want to use on your own LEGO jars by using your mouse to select each piece of the face you want. Drag it aside, then select all the other faces you don’t want and delete them.
Next, group each piece of the face together and weld them to ensure they cut correctly when you’re ready to use your Cricut to cut the vinyl.
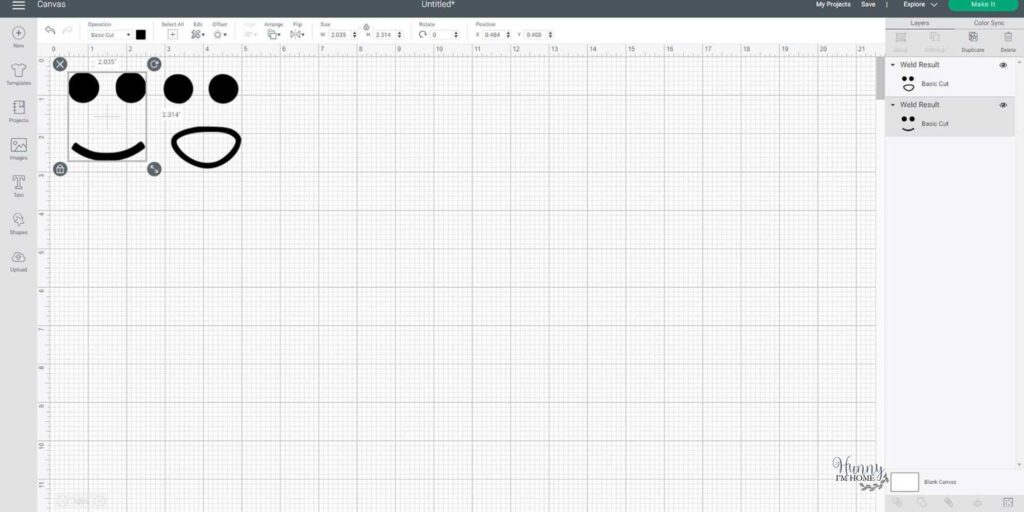
Depending on the size of the jars you’re using, you may need to resize the faces to fit. If you’re using the same jars from Dollar Tree as I did, you can resize each face to be around 2×3 inches.
Once you have the designs resized, load the black vinyl onto your cutting mat, set the Cricut to vinyl, and hit the Make It button in Design Space.

After the Cricut is finished cutting, use your weeding tool to remove the extra vinyl from around the face. Then, you can place a piece of transfer paper over the top of the face to make it easier to transfer the face to the front of your jar.
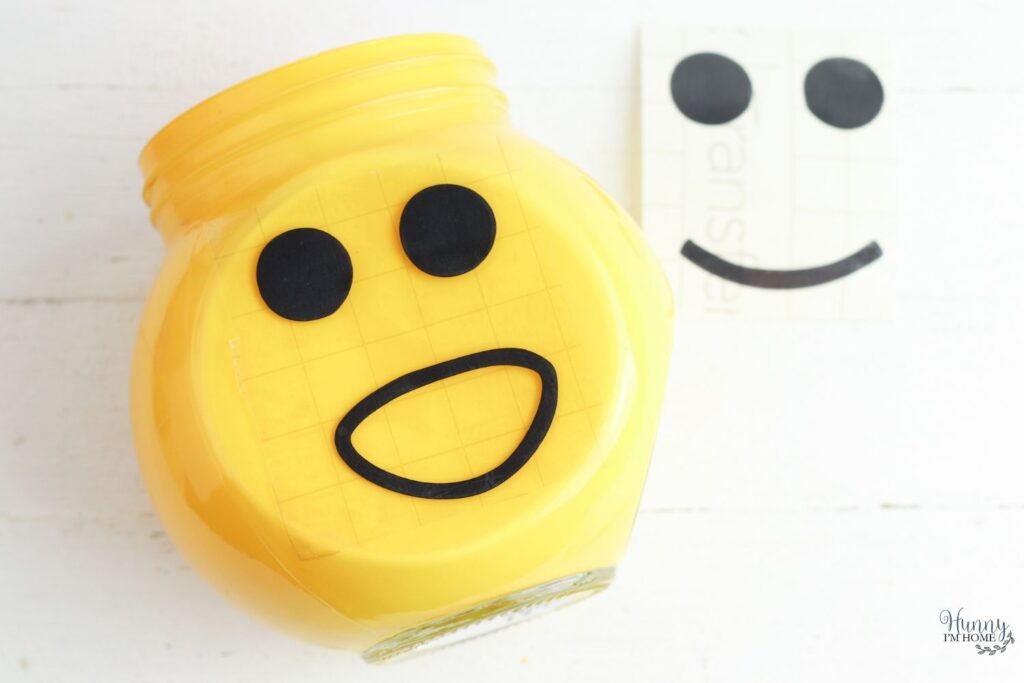
After that, the only thing left to do is center the face on the jar and transfer the vinly to the glass.
If you’re having issues with the vinyl sticking to the glass, try rubbing the area with a little bit of alcohol. This will remove the waxy glaze that covers the outside of some jars, which may keep the vinyl from sticking properly. After the alcohol has dried (which will only take a couple seconds), try transfering the vinyl to the jar again.
DIY Lego Party Decoration Ideas
After you put your LEGO jar together, there are so many different ways to use them! Try these DIY LEGO party decoration ideas to come up with some fun ways to decorate your party table with your DIY lego boxes.
- Add some straws and utensils. At our party, we used these jars to hold plastic utensils and straws. They’re the perfect size for holding all those must-have items for enjoying your LEGO party food.
- Dress up your balloon weights. Balloon weights are a great way to hold your balloons in place and keep them from floating away. But they’re not very pretty! Luckily, these little jars are perfect for hiding the weights. Simply tie the balloons trings to the weight, then place the weight inside the jars to cover them up.
- Stack them as decorations. Instead of filling the jars, why not use them as decorations? Simply stack up your LEGO jars on the table to add a cute DIY decoration to your party table.
- Use the jars after your party. Unlike most DIY party decorations, these jars have tons of great uses after the party is over! My favorite way to use our LEGO jars is as organizers on my son’s desk. The boxes are perfect for holding small items, like markers, pencils, and scissors. And they make great storage containers for LEGOs, too!

DIY LEGO Jars
Use these DIY LEGO jars to decorate your birthday party using supplies from Dollar Tree.
Materials
- Glass jars
- Yellow acrylic paint
- Black vinyl
Tools
- Cricut
- Weeding tool
- Transfer tape
Instructions
- Pour the paint inside the jar and add a small amount of water. Lightly stir the water into the paint, then lift the jar and rotate it to coat the sides of the jar with paint.
- Flip the jar upside down on top of a plate and allow the paint to drip out.
- When the inside of the jar has started to dry, flip it rightside up and allow it to dry completely, around 12 hours.
- Upload the LEGO face SVG into Design Space and select the face style you want to use. Delete all the other faces.
- Group the elements of the face together and weld it.
- Load the black vinyl on a cutting mat and set the Cricut to cut vinyl. Cut the design and weed out the extra vinyl
- Use transfer tape to transfer the face design to the front of the jar.
More Fun Lego Activities:
Lego Popsicle Stick Catapult Activity
Lego Parachute Coffee Filter Activity
If you like this post, you’ll probably like these:


Emily is a midwestern mom of two boys. She loves all things DIY — from home renovations to kids birthday party planning. Whether she’s making a new farmhouse craft for her home or helping her kids with a cool activity, you can bet she’s in the middle of some kind of DIY project (or three) right now!