
Easy Floral Felt DIY Farmhouse Tray
When you decorate your home in farmhouse style, there are tons of great do-it-yourself opportunities. From dressing up old things you find at a thrift store to creating your own decorations from scratch, there are a variety of great farmhouse DIY projects you can make. This pretty floral DIY farmhouse tray is a simple craft you can make in an afternoon to help you keep your tabletop organized in style.
This post contains affiliate links, which means I may earn a commission if you purchase something from my link (at no additional cost to you). Thanks for your support!

This simple craft is so easy to make, which means it’s perfect for beginner sewers. Even older kids can get in on the fun with this quick and easy project.
Looking for more rustic craft ideas? Check out these mason jar crafts to find more fun projects to make for your home.
Felt Valet Tray Supplies
This easy felt valet tray is a great way to keep your change and keys organized in your entryway or on your nightstand. And since you only need a handful of supplies, you can put it together in under an hour.
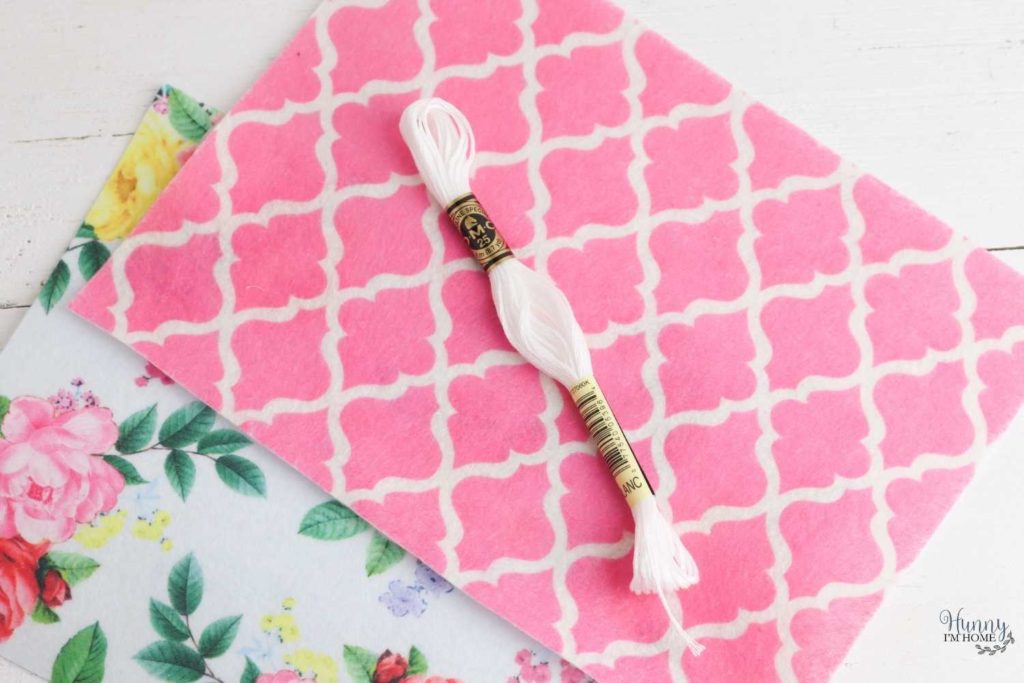
You only need four supplies to make this simple farmhouse craft. Here’s what you’ll need to make your own farmhouse valet tray:
- Patterned felt: I was able to find this patterned felt at Hobby Lobby and thought it was perfect for making a felt valet tray!
- Embroidery thread: I chose white thread to match the background of my floral felt. But you could use any color that complements your fabric.
- Embroidery needle: Since you’ll be sewing a thick fabric with a thick thread, it’s a good idea to have a large needle for this project.
- Buttons: Dress up each corner of your tray with some buttons. Again, I used white buttons to match my fabric, but colorful buttons would make a great addition to your tray.
How to Make a DIY Farmhouse Tray
After you have all your supplies ready to go, you can start sewing! Even if you have never sewn anything before, you should be able to tackle this project with ease.
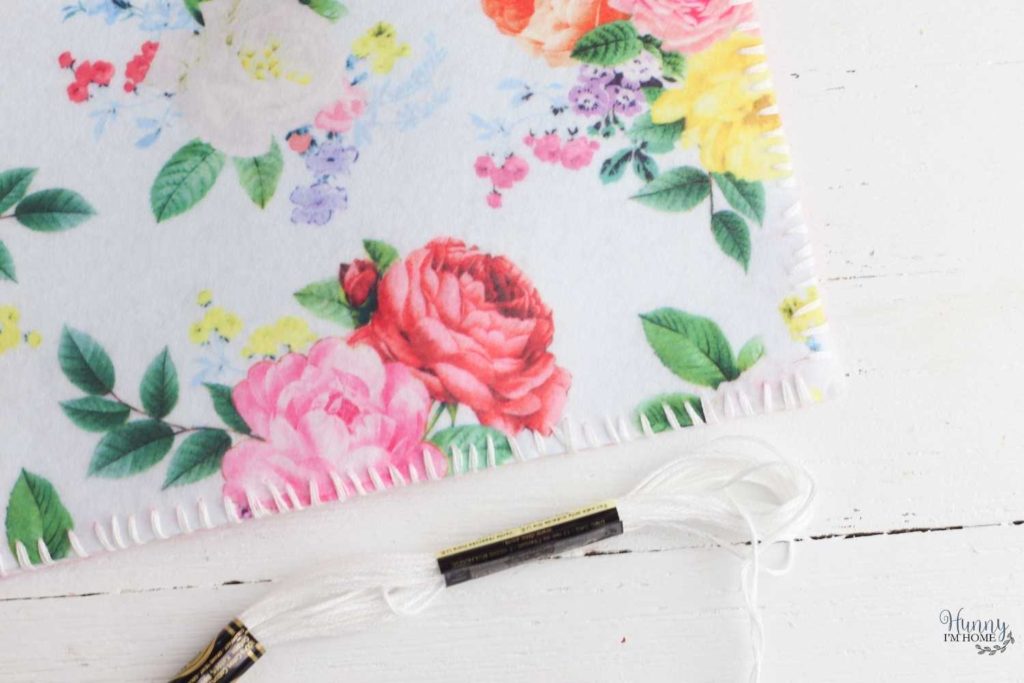
Start by cutting your felt to the size you want your tray to be. Then cut enough embroidery thread to go around the tray twice. This will ensure you have enough thread for sewing and knotting. Thread one end of the thread through the eye of the needle, then double knot the other end.
Line up the two pieces of felt on top of each other, then pull back one corner and pull the needle through the corner of only one piece of fabric. This will help you hide your knot.
After that, loop the needle over the edge and back through the bottom, this time going through both pieces of fabric. Continue looping, making sure to push your needle through around the same length of space from the edge so your seam is even.
Keep sewing all the way around the edge of the fabric until you reach the corner you started in. This time, make sure your knot is on the inside fabric, as close to the corner as possible.
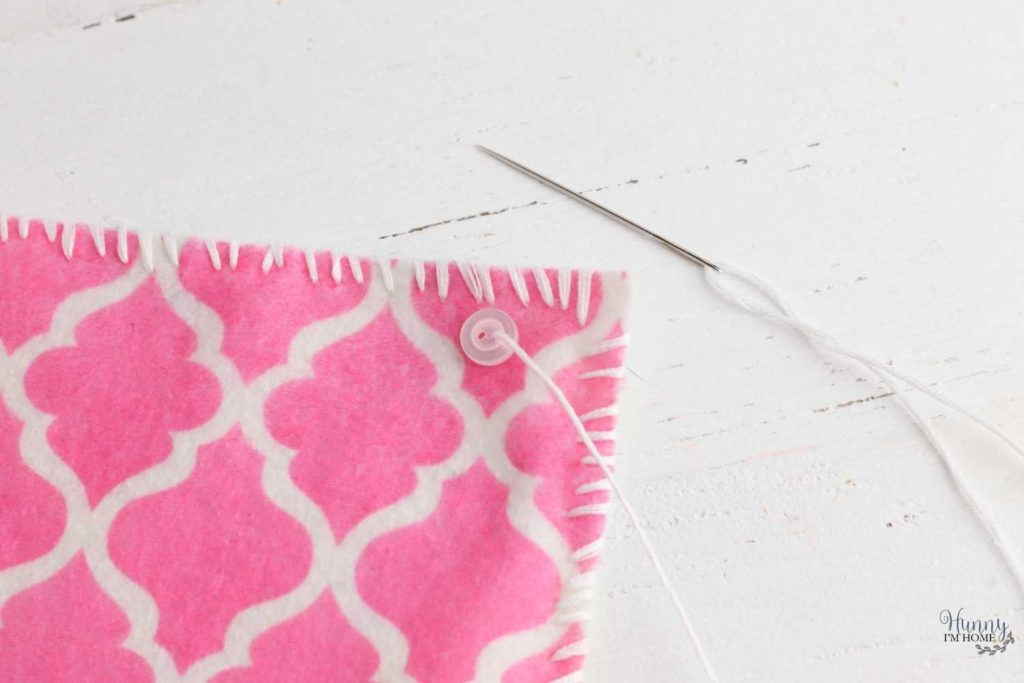
After you have your seam finished, it’s time to turn the flat fabric into a tray. Start by placing your button near one corner on the outside of your tray, moving it to the side slightly. Thread your needle through the corner, making sure your knot is on the inside of the tray.
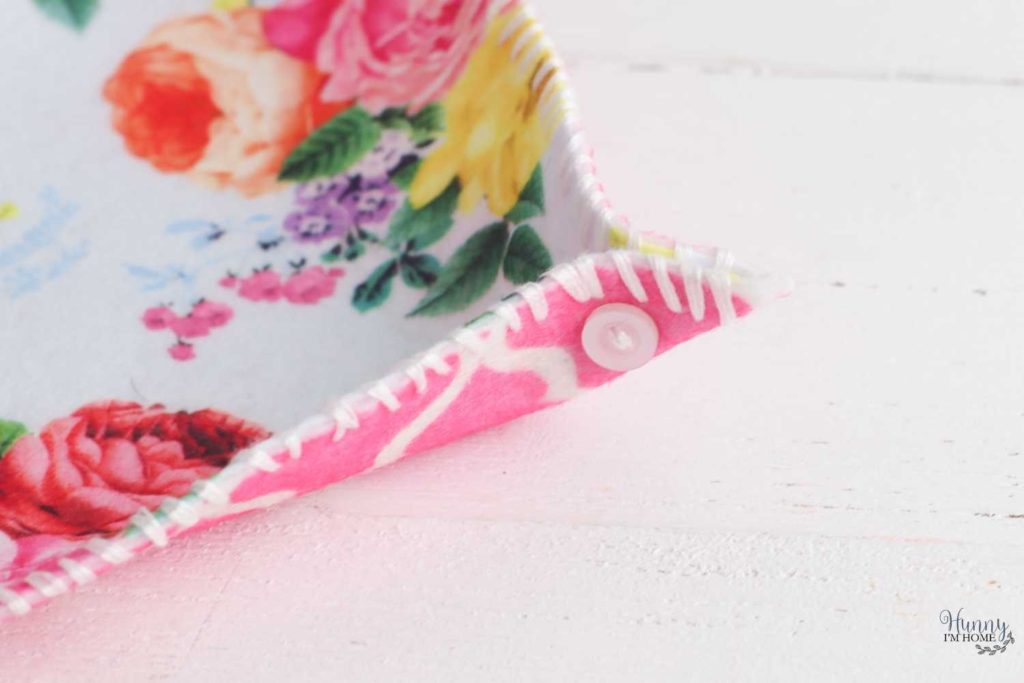
When your button is in place, pinch the two edges closest to the corner together and hold it in place while you pull your needle through both sides. Then, thread the needle back through into the hole of the button. Continue threading through the button and fabric until it seems secure.
After that, pull your needle through the button and into the center of the tray (not all the way through to the other side). Tie a knot in the end of the thread and tuck it in under the folded corner.
Repeat this process with the remaining three corners of your tray.
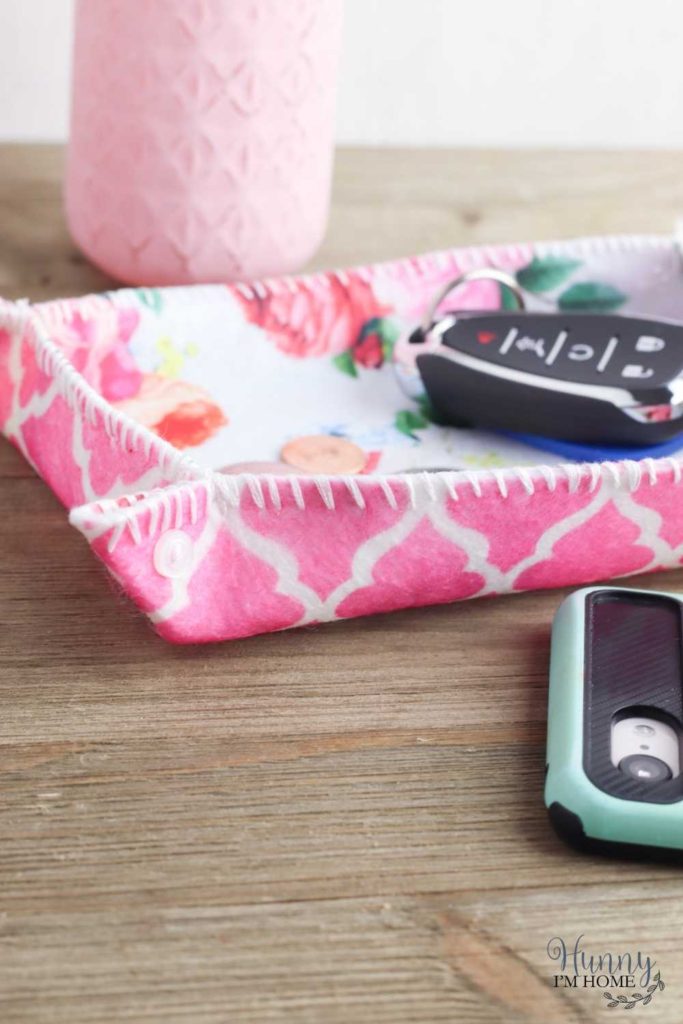
After you have all your corners sewn, you can start using your tray wherever you want! There are tons of great uses for this simple farmhouse tray. Try using it in these spots:
- Entryway. Place the tray in your entryway to hold spare change, keys, and other odds and ends.
- Nightstand. Keep your spare change and other small items in the tray on your nighstand to keep it from getting cluttered.
- Dresser. Store your everyday jewelry in your valet tray on top of your dresser to keep it handy.
- Office. Place your farmhouse tray on your desk to hold small office supplies, like paperclips and pens.
- Bathroom. Gather up your bobby pins and hair ties and store them in the valet tray to keep from losing them.
Farmhouse Felt Tray Ideas
With so many different ways to use this simple tray, you’ll want to make one for every room in your home! Change up the look of your trays to match your home’s decor with some of these easy ideas:

Use solid colors. If you can’t find floral felt where you are, you can also make this with solid colors. Make sure the felt is thick and sturdy to ensure it stands up after it’s sewn. Neutral colors are a great option when making this tray, allowing you to blend it with the rest of your decor.
Add handles. Another fun way to dress up your valet tray is to add handles. You can use rope or leather to decorate the sides of your tray with some handles by sewing the handles onto each side.
Decorate with text. Use your Cricut to add vinyl text to the inside of your tray. You could add a funny or inspirational message inside your tray to decorate it and give it a personal touch.
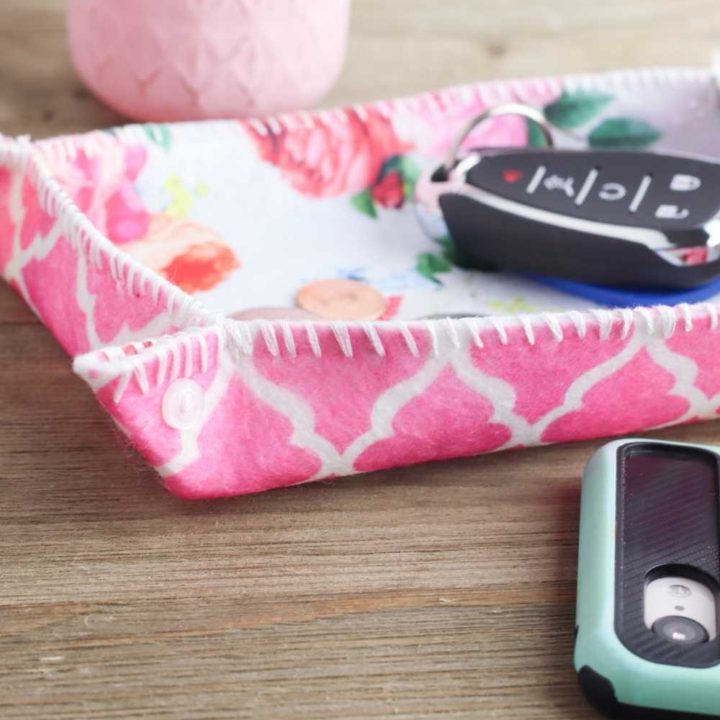
DIY Farmhouse Tray
Use felt to create a simple DIY farmhouse tray to organize your home.
Materials
- 2 pieces of patterned felt
- Embroidery thread
- 4 small buttons
- Embroidery needle
Instructions
- Trim the felt to the size you would like your tray to be.
- Line the pieces up with both patterns facing outward.
- Sew the pieces together by looping the embroidery thread over the edge of the fabric.
- When the pieces have been sewn together around each edge, place a button on the side of one corner and thread the needle through. Pinch the sides of the corner together and sew the button on, threading the needle through each side of the corner to hold it together. Repeat the process on each corner.
More Easy Craft Ideas:
20 Easy Dollar Tree Crafts
Painted Farmhouse Bench
Spring Farmhouse Porch
12 Amazing Free Farmhouse Printables
If you like this post, you’ll probably like these:



Emily is a midwestern mom of two boys. She loves all things DIY — from home renovations to kids birthday party planning. Whether she’s making a new farmhouse craft for her home or helping her kids with a cool activity, you can bet she’s in the middle of some kind of DIY project (or three) right now!




I love the flower pattern. Pretty, useful and simple craft, it’s perfect! Thanks for sharing it! #HomeMattersParty