
Delicious Gluten Free Peanut Butter Blossoms
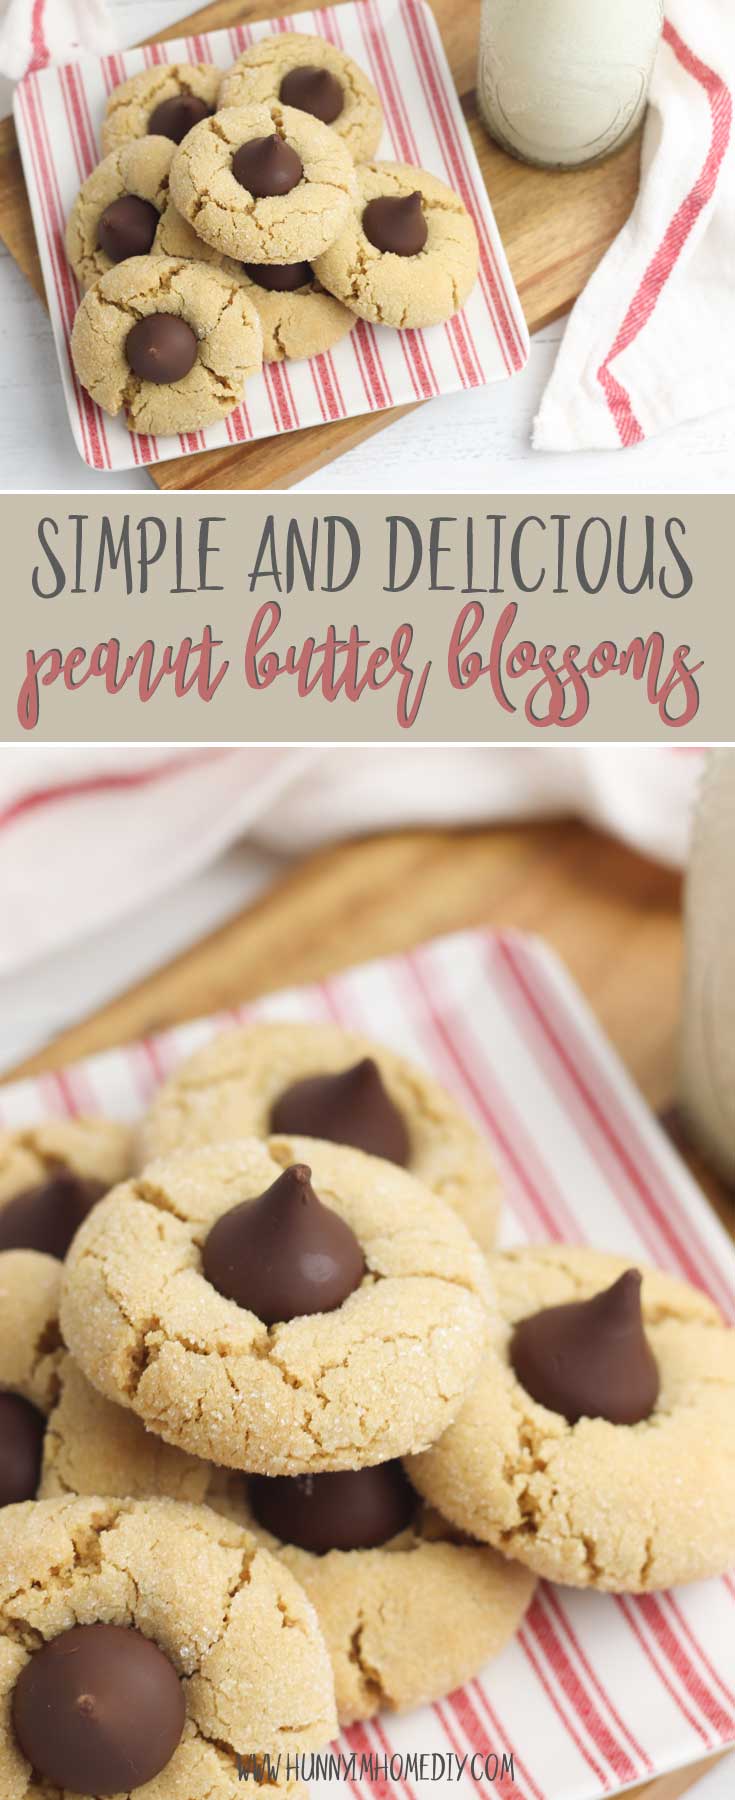
Cooking baking season will be here before you know it. And if you’re gluten free, indulging in holiday cookies can be difficult. But with these delicious gluten free peanut butter blossoms, you can enjoy a yummy holiday cookie without worrying about gluten! They’re one of the best gluten free Christmas cookies I’ve made.
This posts contains affiliate links, which means I may earn a commission if you purchase something from my link (at no additional cost to you). Thanks for your support!

I struggled with gluten free baking for a while after I made the switch to going gluten free. But now that I’ve found my rhythm, I love experimenting with gluten free recipes. And this recipe for gluten free peanut butter cookies are one of my family’s favorite gluten free cookie recipes.
The combination of melted chocolate on top and chewy peanut butter cookies makes these gluten free peanut butter blossoms a wonderful option for gluten free Christmas cookies this holiday season.

How to Make Gluten Free Peanut Butter Blossoms
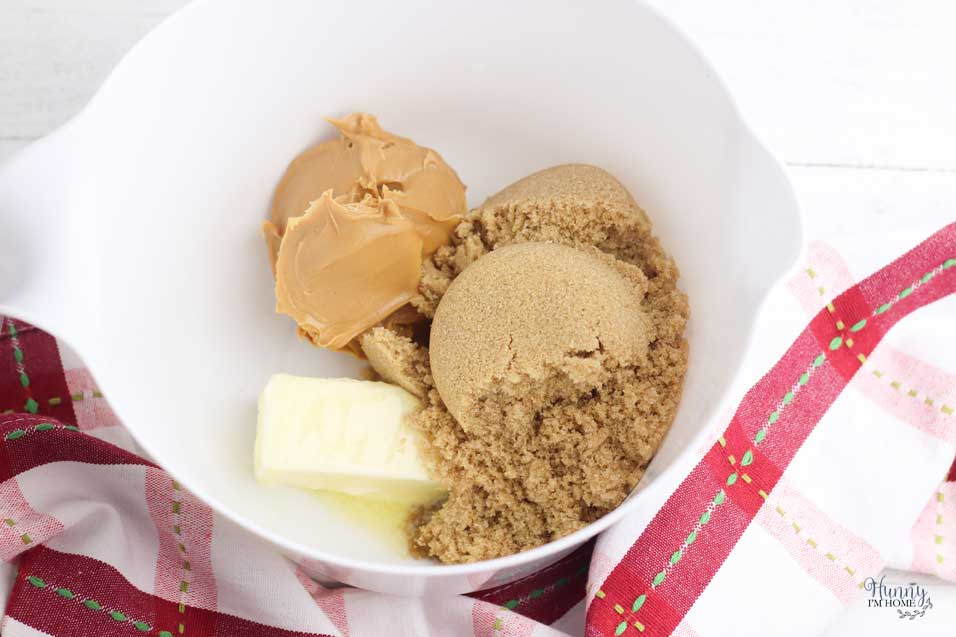
The first step to making these yummy gluten free peanut butter blossoms is to mix the butter, peanut butter, and sugar together. Use a hand mixer or stand mixer to beat the ingredients together until smooth and fluffy.
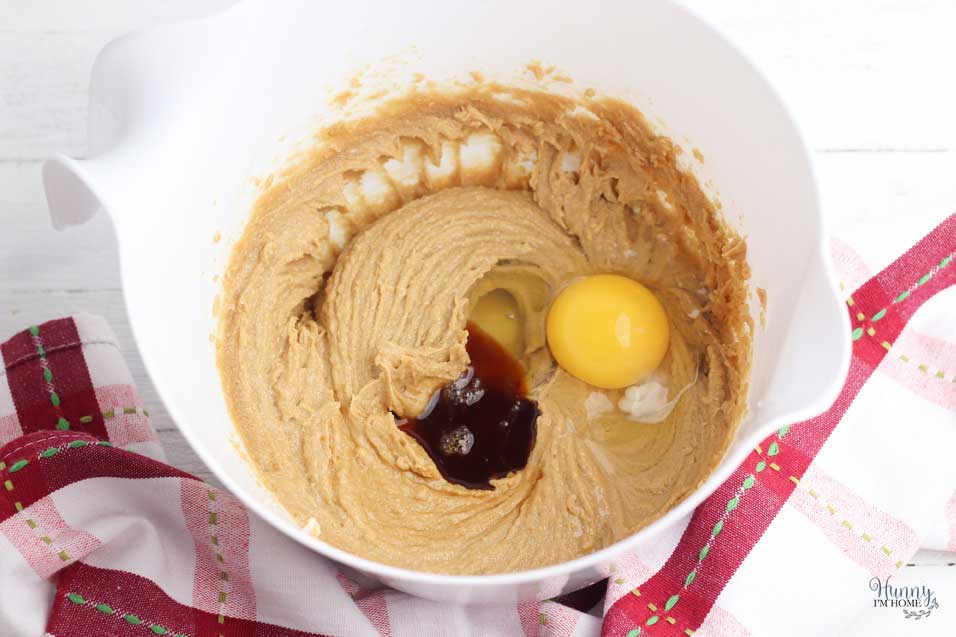
Next, add an egg and some vanilla extract (and don’t forget to make sure your vanilla is gluten free before adding it in!). Beat the ingredients together again until just combined.

In a separate bowl, whisk together your gluten free flour, baking powder, and salt. Wondering which gluten free flour I use? I love Bob’s Red Mill Gluten Free 1-to-1 Baking Flour!
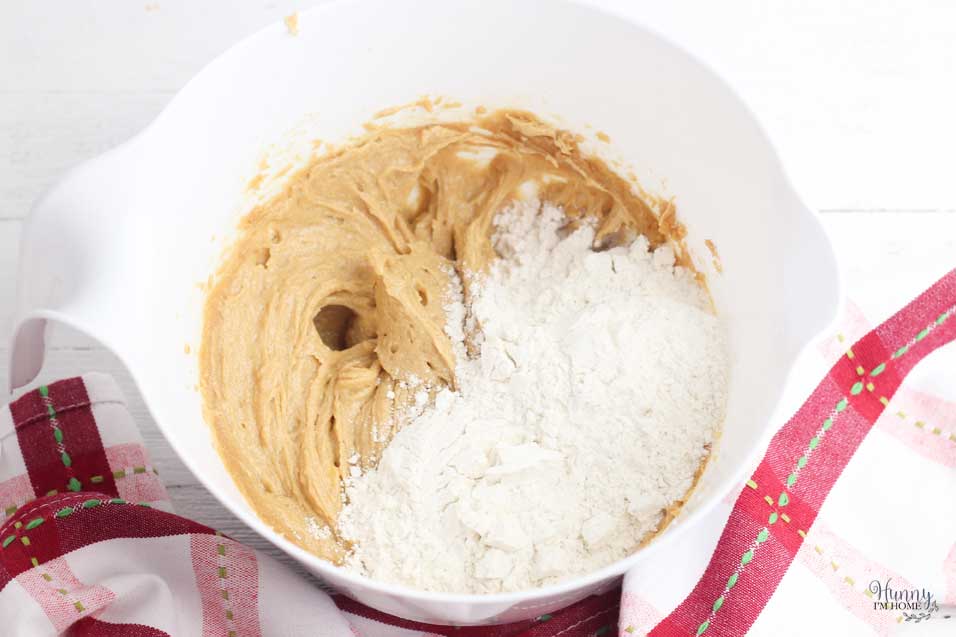
Finally, add the dry ingredients to the wet ingredients. It’s best to use a spoon for this step because the batter will become thick once you start incorporating the ingredients.
Bake the Gluten Free Peanut Butter Blossoms
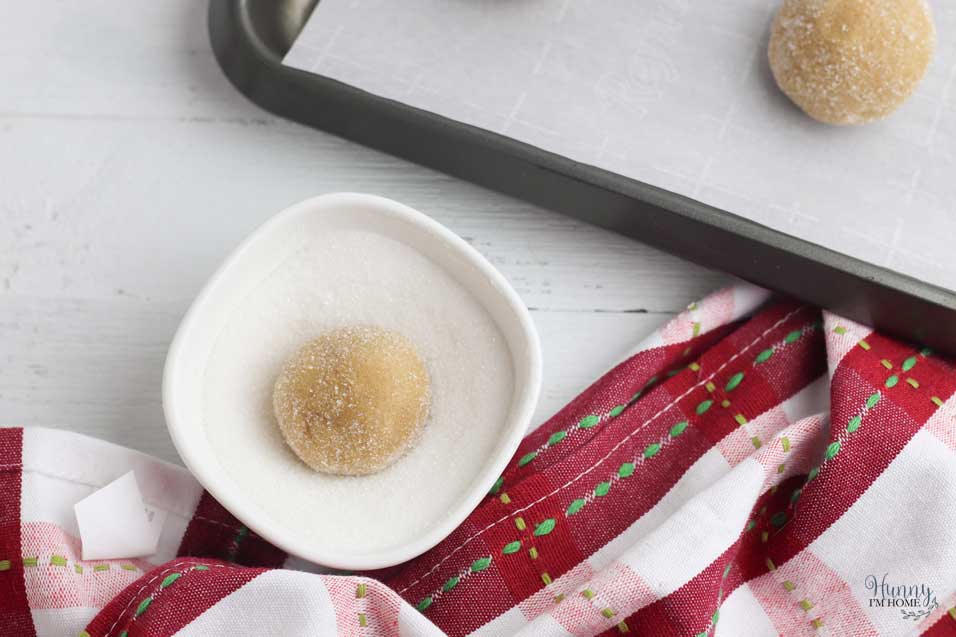
Use a tablespoon or cookie scoop to scoop out balls of dough. Roll the dough between your hands to form an even ball. Before placing your gluten free peanut butter blossoms in the oven, take a few minutes to roll each dough ball in a little bit of white sugar. This will create a delicious crunchy crust on your cookies!
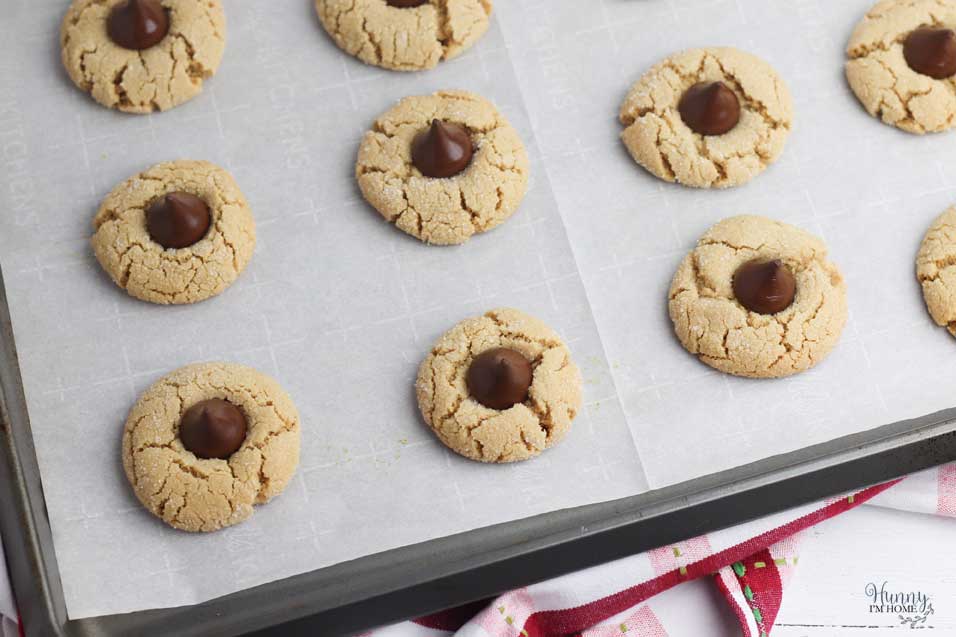
Place each rolled ball onto a baking sheet lined with parchment paper and bake for eight to 10 minutes. When the cookies are just starting to brown, remove them from the oven and press a Hershey’s Kiss into the center of each cookie. Then, place the cookies back in the oven for around two minutes to give the Kisses time to melt slightly.
Allow the cookies to cool on the baking sheet for a few minutes, then transfer the gluten free peanut butter blossoms to a wire rack to cool completely before you enjoy them!
Gluten Free Peanut Butter Cookie Variations
While these yummy gluten free peanut butter cookies are delicious as-is, sometimes you want a little variety. Here are some simple variations you could make on these gluten free peanut butter blossoms:
Change Up the Candy on Top
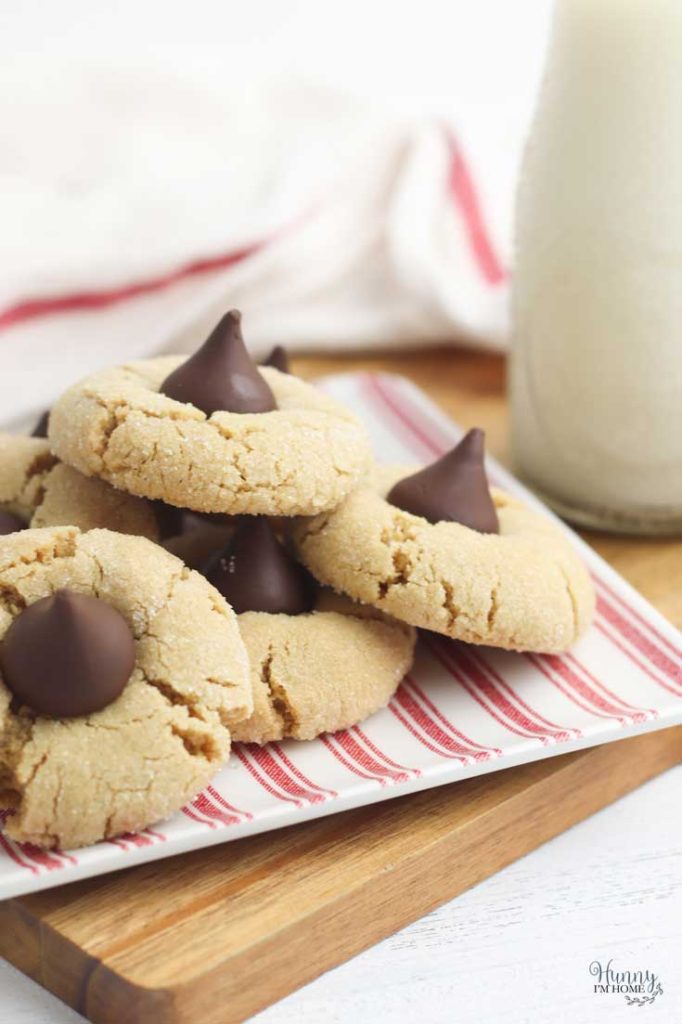
One of the easiest ways to change this recipe is to swap out the Hershey’s Kisses on top of the cookies for a different candy. I used dark chocolate Kisses on my gluten free peanut butter blossoms and they were delicious, but you could also use a different variation of Hershey’s Kiss (milk chocolate, almond, or caramel, for example) or Hershey’s Hugs. Or add mini Reese’s cups to the top for even more peanut butter flavor.
Make Them Chocolate
Up the chocolate flavor in these cookies by adding unsweetened cocoa powder to the batter. To add cocoa power, simply replace 1/4 cup of gluten free flour with 1/4 cup unsweetened cocoa powder and continue the recipe as usual.
Add Some Color
Want to make your gluten free peanut butter cookies a little more festive for the holidays? Instead of using plain white sugar to roll your cookies in before baking, use red and/or green sanding sugar instead. This will give your cookies a fun pop of color perfect for your next holiday celebration.
Gluten Free Peanut Butter Blossoms
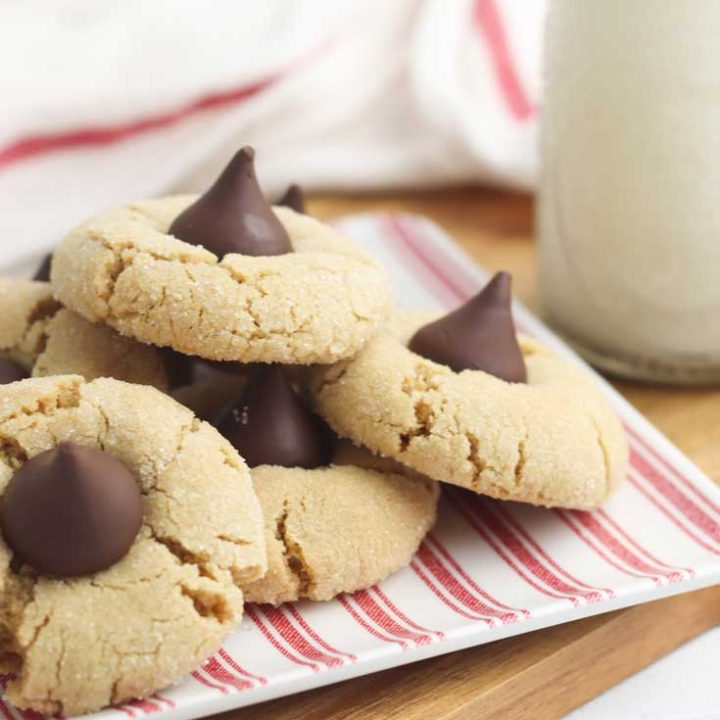
These delicious gluten free peanut butter blossoms make great Christmas cookies or just a yummy everyday gluten free snack.
Ingredients
- 1 ¾ cups gluten free baking flour
- 1 teaspoon baking soda
- 1 teaspoon salt
- ½ cup smooth peanut butter
- ½ cup one stick unsalted butter, softened
- 1 cup brown sugar, packed
- 1 egg
- 1 tablespoon vanilla extract
- 1/3 cup white sugar
- 24 dark chocolate Hersey’s Kisses, wrappers removed
Instructions
- In a medium bowl, whisk together gluten free baking flour, baking soda, and salt. Set aside
- In a large bowl, add peanut butter, softened butter, and brown sugar. Beat to combine. Add the egg and vanilla extract and beat until smooth.
- Add the flour mixture to the peanut mixture one cup at a time, beating between each addition.
- Place the dough in the refrigerator to chill for at least 30 minutes.
- While the dough is chilling, preheat oven to 375 degrees and prepare a baking sheet by lining with parchment paper.
- After the dough has chilled, use a tablespoon or cookie scoop to scoop out dough and form each scoop into a ball.
- Place white sugar in a small bowl and roll each dough ball in the sugar until coated. Place each coated dough ball on the prepared baking sheet two inches apart to allow for spreading.
- Bake cookies 8 to 10 minutes, or until the cookies are golden brown and puffy.
- Remove the cookies from the oven and press a Kiss into the center of each cookie. Place the cookies back in the oven for 2 more minutes.
- Remove the cookies from the oven and allow to cool on the baking sheet for five minutes before removing to a wire cooling rack to cool completely.
Nutrition Information:
Yield: 24 Serving Size: 1 gramsAmount Per Serving: Calories: 292Total Fat: 16gSaturated Fat: 9gTrans Fat: 0gUnsaturated Fat: 6gCholesterol: 21mgSodium: 180mgCarbohydrates: 34gFiber: 2gSugar: 25gProtein: 4g
If you like this post, you’ll probably like these:


Emily is a midwestern mom of two boys. She loves all things DIY — from home renovations to kids birthday party planning. Whether she’s making a new farmhouse craft for her home or helping her kids with a cool activity, you can bet she’s in the middle of some kind of DIY project (or three) right now!




2 Comments