
Red, White, and Blue 4th of July Oreos
When you’re hosting a 4th of July party, you have to have some fun patriotic snacks to serve at your summer celebration! Whether you’re looking for red, white, and blue treats for the kids or cute party favors to pass out to the adults, these quick and easy 4th of July Oreos are sure to be a hit at your next get-together. And the best part is that they’re a no-bake recipe you can whip up with just a few minutes of prep work.
This posts contains affiliate links, which means I may earn a commission if you purchase something from my link (at no additional cost to you). Thanks for your support!

Coming up with red, white, and blue food to serve at all your summer parties doesn’t have to be difficult! Because who wants to make a complicated dessert when you could be enjoying the beautiful summer weather? That’s why I love these patriotic Oreos so much!
To make your own red, white, and blue Oreos, all you have to do is coat the cookies in melted chocolate, then decorate them with patriotic chocolate and sprinkles! How easy is that?
4th of July Oreos
This quick recipe will allow you to make a big batch of 4th of July chocolate covered Oreos all at once. That means these treats are perfect for any summer party!

When you’re searching for 4th of July cookie ideas, chocolate covered Oreos are the way to go! They’re quick and easy to make, and there’s no need to heat up your house by turning on your oven. To make these yummy treats, you’ll need:
- Double Stuf Oreos
- White and red candy melts
- Red, white and blue sprinkles
- Paper straws
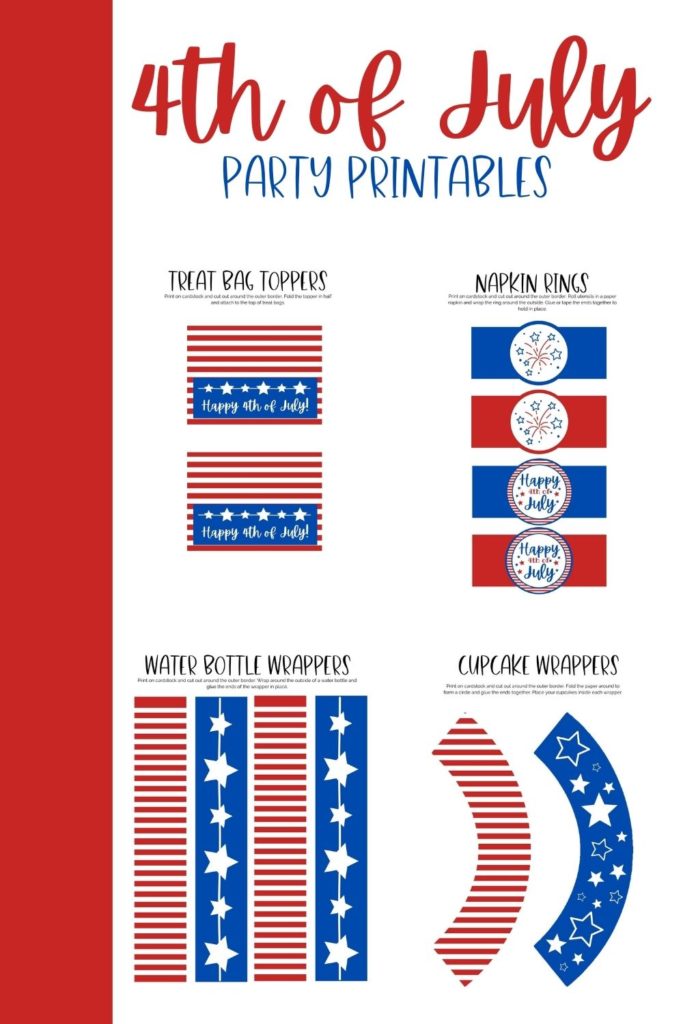
Printable 4th of July Party Decor
How to Make 4th of July Oreos
You’re going to love how quick and easy these patriotic snacks come together. That means they’re perfect for just about any summer occasion — from a backyard BBQ on Memorial Day to fireworks watching on the 4th of July.

The first step to creating these fun Oreo pops is to add the paper straw sticks. I suggest using Double Stuf Oreos when making Oreo pops because the extra filling helps hold the sticks in place.
Start by cutting your paper straws in half so they aren’t so long. Then, pinch one end of the straw between your fingers to flatten it. This will make sliding the stick into the filling a little easier and help to keep your cookies from breaking.
Once the end of the stick is flattened, carefully slide it into the filling in the center of the Oreo. Be sure to work slowly to keep the cookies from breaking!

After all your Oreo pops are ready to go, melt the white chocolate according to the package instructions. Once the chocolate is fully melted, you can start dipping!
Place the Oreo in the center of your bowl and use a spoon to drizzle chocolate over the top, making sure both sides of the cookie are fully coated.
Then, carefully lift the Oreo out of the chocolate using a fork. Lightly tap the handle of the fork on the side of the bowl to help the extra chocolate drip off the cookie.
Once all the extra chocolate has been removed, slowly slide the cookie off the fork and onto a piece of wax or parchment paper to set. I’ve found it’s helpful to use a toothpick to help lightly push the cookie off the fork if it get stuck.

You’ll need to give your chocolate covered Oreos at least one hour to cool and set at room temperature before you start decorating.
Did you know you can melt chocolate directly in a piping bag? First, check on the box of your piping bags (I always use Wilton bags) to make sure they’re safe for the microwave. Then, fill the bag to the fill line with your red melting chocolate. Once the white chocolate on your cookies has hardened, melt the red chocolate according to the package instructions.
Cut the tip off of your piping bag and drizzle the red chocolate over the top of your Oreos. While the chocolate is still soft, immediately decorate the top of your cookies with sprinkles. You’ll need to work quickly because the red chocolate will harden fast. And if it gets hard, the sprinkles won’t stick!
After all your Oreos are decorated, give them around 30 minutes to cool and set before serving.
Patriotic Oreo Recipe Ideas
See how simple it is to make your own chocolate covered Oreos for Independence Day? They’re such a fun 4th of July party idea for kids!

These simple serving ideas and decorating suggestions are a great way to adapt this patriotic recipe to suit your party’s theme or your guest’s preferences. Try these ideas the next time you make your own party treats:
- Add some blue chocolate. It’s always hard for me to find blue melting chocolate in my grocery store! But if you can get your hands on some, why not add a drizzle of blue chocolate on top of your Oreos, too?
- Make them party favors. These sweet snacks make the perfect party favors! Add them to your list of 4th of July party supplies you’ll need to host the best celebration on the block.
- Leave off the paper straws. Adding a stick to make Oreo pops is a fun way to serve your chocolate covered cookies — especially if you have kids at your party. But you can easily leave them off and serve the cookies without any stick at all!
How Do You Store Chocolate Covered Oreos?
These fun treats are perfect for making ahead because they keep for a long time! You can store your chocolate covered Oreos in an airtight container for up to one week. Make sure to place a piece of parchment paper between the layers in your container to keep them from sticking together!
But if you plan on making them for a party, I wouldn’t suggest prepping them more than a day in advance. The longer they sit, the higher the chances that your red chocolate will start to bleed into the white chocolate. And the sprinkles will start to fall off after storing them for a long period of time.

Red, White, and Blue 4th of July Oreos
With the help of red chocolate and sprinkles, you can make these red, white, and blue 4th of July Oreos for your next party!
Ingredients
- 24 Double Stuf Oreos
- 1 8 ounce package white candy melts
- 1/3 cup red candy melts
- Red, white and blue sprinkles
- Paper straws
Instructions
- Cut the paper straws in half and flatten one end slightly. Carefully slide the flattened end of the straw into the icing in the center of each Oreo.
- Prepare the white candy melts according to the package instructions. Dip the Oreos into the melted chocolate and remove from the bowl with a fork. Lightly tape the handle of the fork on the edge of the bowl to remove excess chocolate.
- Place the coated cookies on a piece of parchment or wax paper and allow to cool and harden, for around 30 minutes.
- When the white chocolate is hardened, melt the red candy according to the package instructions and transfer it to a piping bag.
- Drizzle the red chocolate over the top of the cookies, then immediately top with sprinkles while the chocolate is still soft.
- Allow the red chocolate to cool and harden before serving, around 30 minutes.
Nutrition Information:
Yield: 24 Serving Size: 1Amount Per Serving: Calories: 53Total Fat: 0gSaturated Fat: 0gTrans Fat: 0gUnsaturated Fat: 0gCholesterol: 0mgSodium: 7mgCarbohydrates: 13gFiber: 0gSugar: 8gProtein: 0g
More Easy Recipe Ideas:
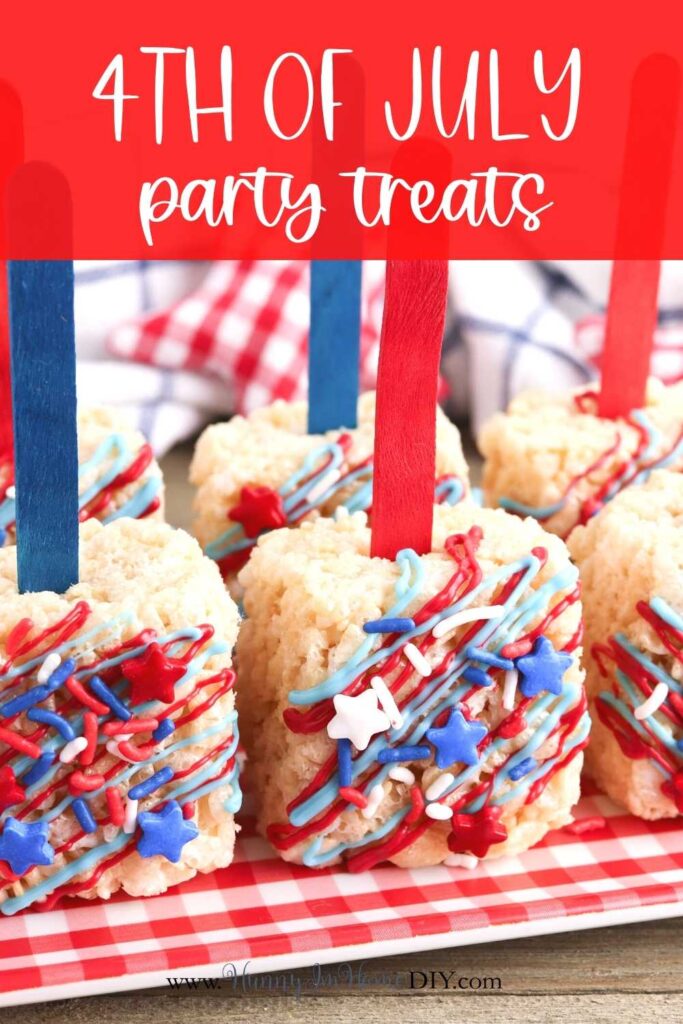
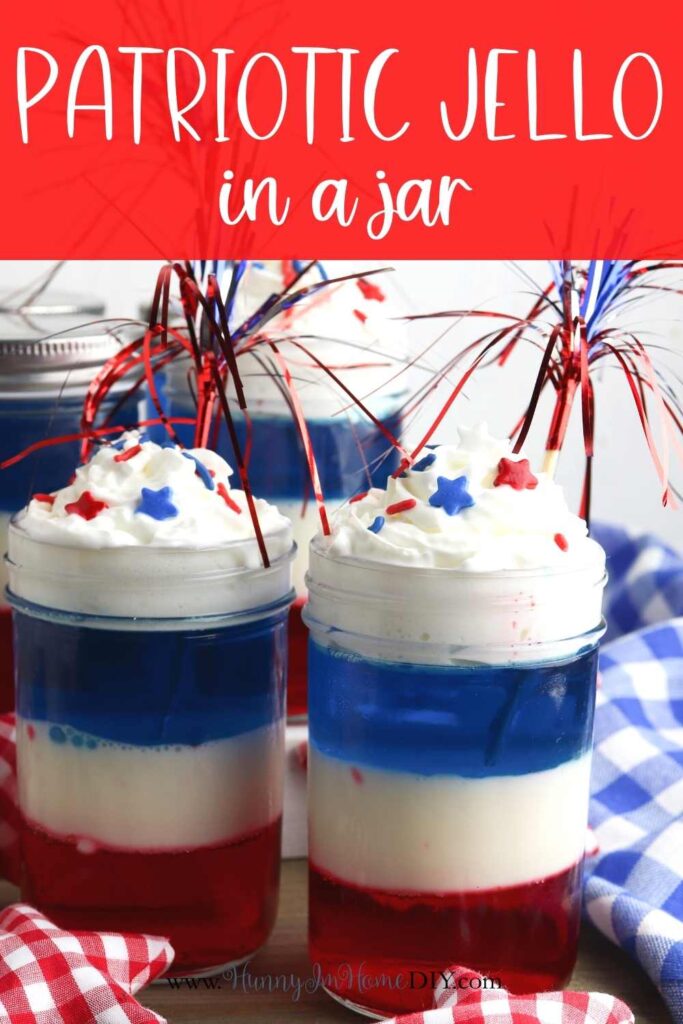
No Bake 4th of July Mason Jar Dessert
Fire Cracker Sugar Cookie Pizza
Red, White and Blue 4th of July Cupcakes
4th of July Candy Bar Wrappers
If you like this post, you’ll probably like these:


Emily is a midwestern mom of two boys. She loves all things DIY — from home renovations to kids birthday party planning. Whether she’s making a new farmhouse craft for her home or helping her kids with a cool activity, you can bet she’s in the middle of some kind of DIY project (or three) right now!





I absolutely love these and will definitely be making them soon 🙂
Your post is so wonderful – so yummy and fun! I would love to invite you to link up your project at Whimsy Home Wednesdays to inspire others and have a chance to be featured https://fifthsparrownomore.com/whimsy-home-wednesday-blog-link-party-no-32/
Very cute and yummy. A fun treat with a patriotic theme. I am happy to feature your red, white and blue 4th of July Oreos at Love Your Creativity.
Thanks so much for the feature!
Aww… they look so cute Emily!
Thank you for sharing this recipe at the Create, Bake, Grow & Gather party this week. I’m delighted to be featuring your patriotic 4th of July Oreo recipe at the party tonight and also pinning.
Hug,
Kerryanne
Thanks so much for the feature!