
Hostess Style Gluten Free Ding Dong Recipe
When I decided to go gluten free a few years ago, I thought I’d be giving up some of my favorite treats forever. But over the years, I’ve learned a few gluten free baking tricks that have mad it possible for me to enjoy just about any treat I want! The only catch is — I have to make them myself. After nailing a recipe for my favorite Little Debbie cookie, I decided to work on a snack cake recipe. And this gluten free Ding Dong recipe doesn’t disappoint! Keep reading to learn how to make your own gluten free Ding Dongs.
This posts contains affiliate links, which means I may earn a commission if you purchase something from my link (at no additional cost to you). Thanks for your support!
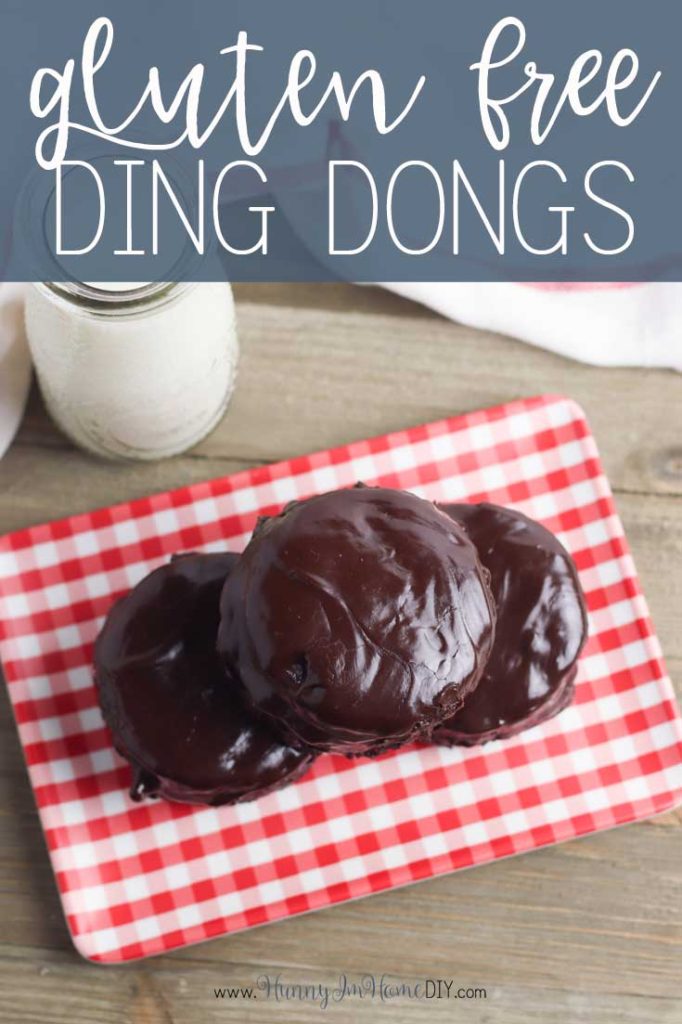
Making your own gluten free treats is the best way to enjoy your favorite snacks without the gluten. My all-time favorite sweet treat has always been Little Debbie Oatmeal Creme Pies. So, after I perfected a recipe for gluten free oatmeal creme pies, I decided to tackle another sweet treat I love — Ding Dongs!

This recipe starts with a delicious, moist chocolate cake. Then, you add a sweet marshmallow creme filling in the middle. And finish it off with a rich chocolate glaze on the top! What could be better than that?
The key to making this gluten free ding dong recipe is picking the right flour. When baking, I always use Bob’s Red Mill 1-to-1 Gluten Free Baking Flour. The consistency of this flour is the closest I’ve found to traditional flour, making it the perfect choice for gluten free baking.

Make the Chocolate Cakes

Let’s get started! First, preheat your oven to 325 degrees. You’ll also need to prepare a baking sheet to bake your cake. Using a 10×16 baking sheet is perfect. You’ll get just the right thickness on your cakes!
Now, grab a large mixing bow and whisk together the eggs and buttermilk. Then, add the oil and vanilla and whisk to combine.
Did you know you can make your own buttermilk if you don’t have any on hand? Simply add 1 tablespoon of vinegar per one cup of regular milk. Stir to combine, then allow the mixture sit for a few minutes. The milk will thicken up as it sits, making it the same consistency and sourness of buttermilk!
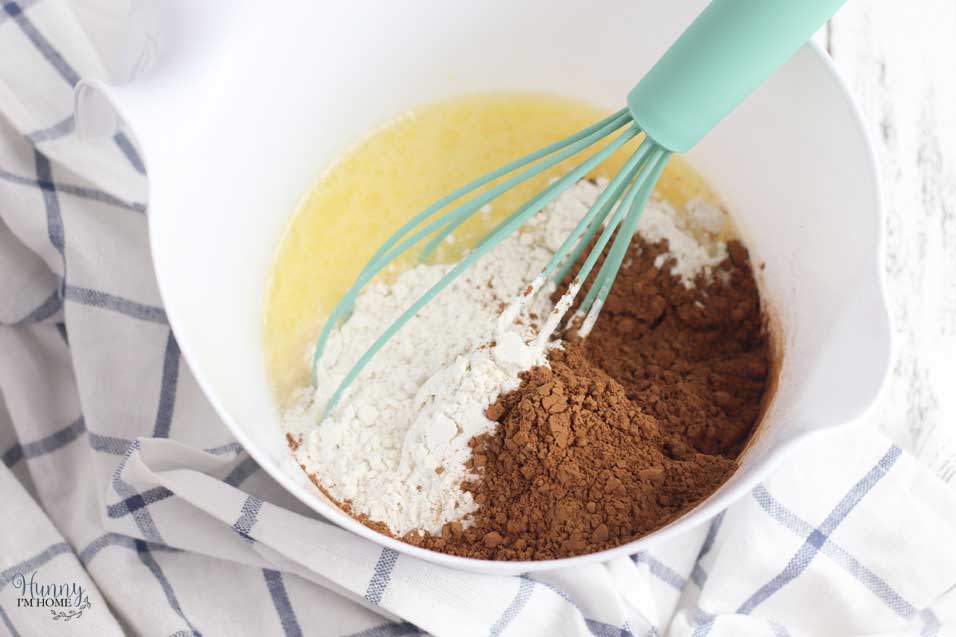
Now it’s time to add your dry ingredients. Pour the gluten free flour, baking soda, cocoa powder, sugar, and salt into the bowl. Whisk until it’s smooth.
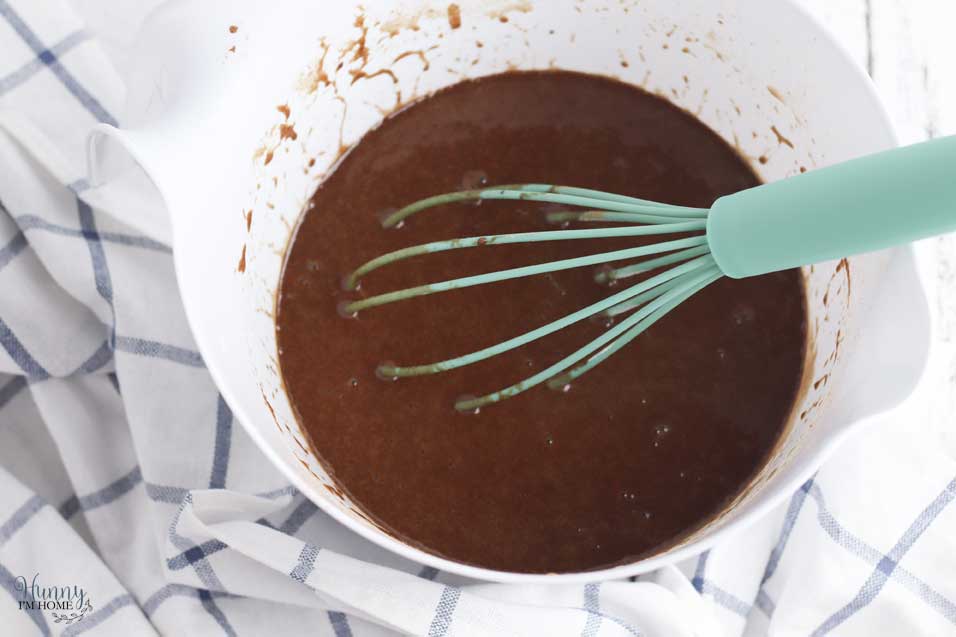
Finish by adding hot water to the batter. Slowly add the water 1/3 a cup at a time, mixing between each addition. The hot water will react with the cocoa powder in your batter to deepen the chocolate flavor and make the cake extra moist when it’s finished baking!

After all the water has been mixed into the batter, pour it over your prepared baking sheet. Spread the batter evenly over the sheet and bake for 30 to 35 minutes. The cake will be done when a toothpick inserted in the center comes out clean.
When the cake is finished baking, allow it to cool in the pan for 10 minutes. Then, flip the cake over onto a larger pan lined with parchment paper to cool completely.
Make the Marshmallow Filling for Your Gluten Free Ding Dongs
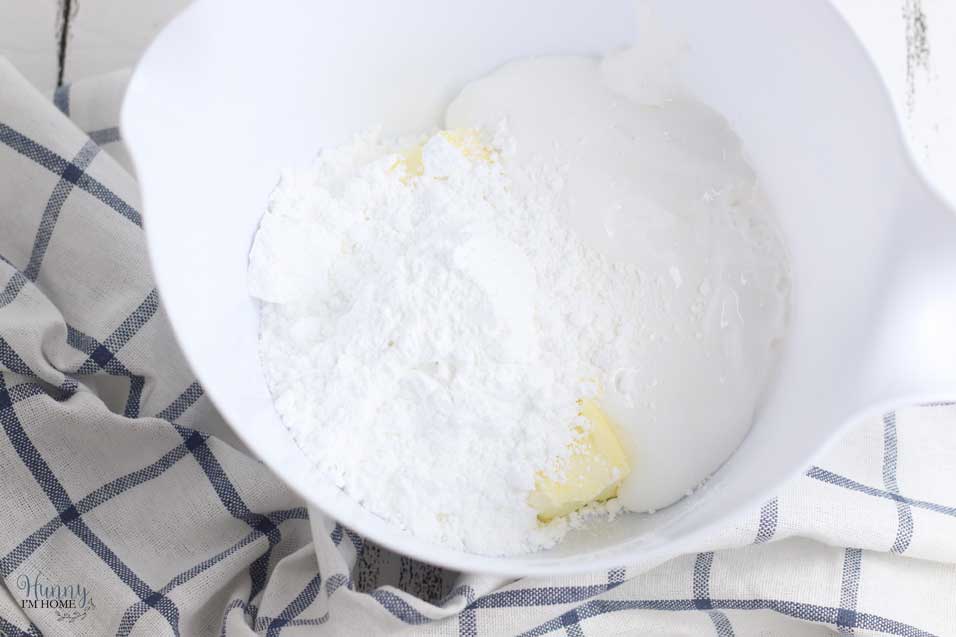
This gluten free ding dong recipe also has a creamy marshmallow filling inside each cake. To make your marshmallow filling, combine butter, marshmallow creme, powdered sugar, and vanilla in a medium bowl.
Beat the ingredients until smooth and fluffy. Then, wait until your chocolate cake is completely cool before proceeding to the next step.
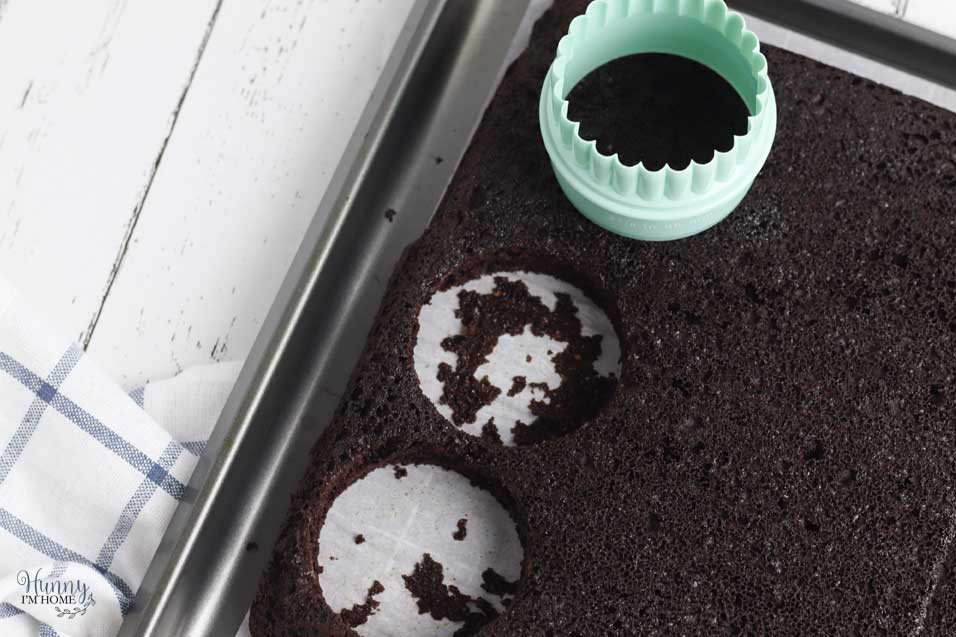
After the cakes have cooled completely, grab a 2.5-inch round cookie cutter. Use the cutter to cut 15 round cakes and place each cake on a flat surface.
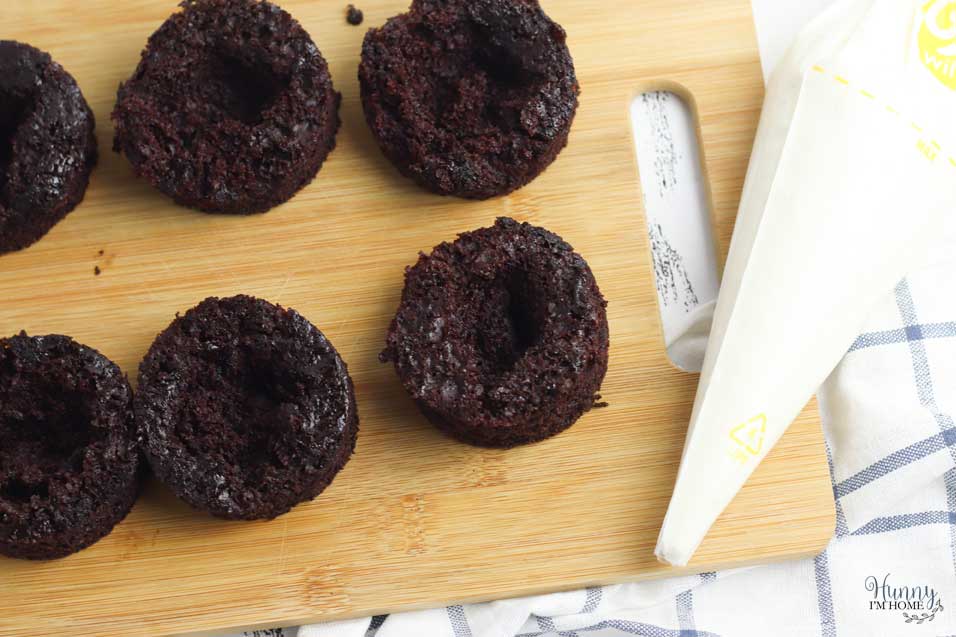
Using a small spoon, scoop out the center of 10 cakes. As you scoop, be careful to leave a thin layer of cake on the bottom to hold the marshmallow filling in place.
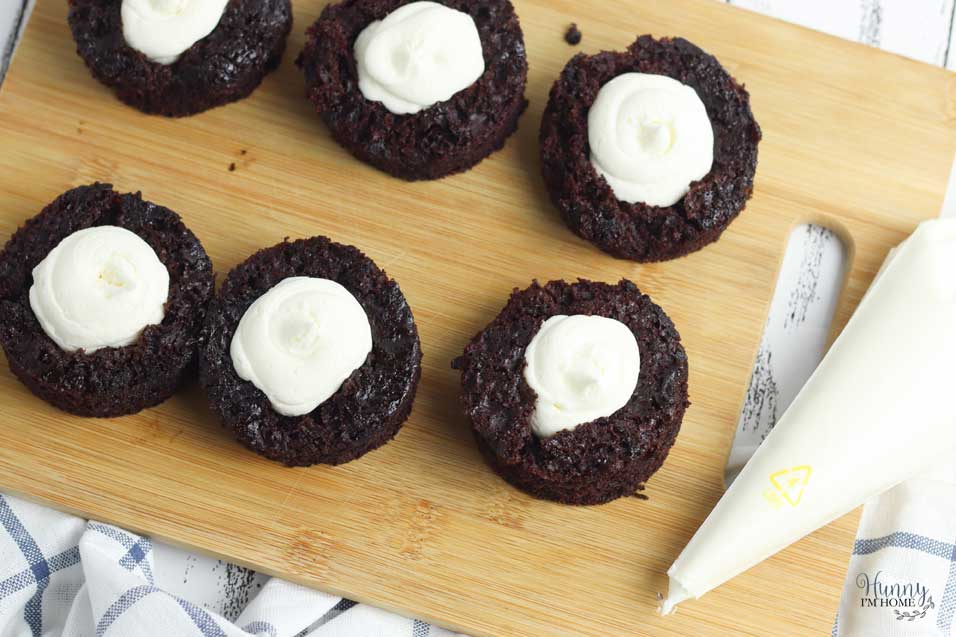
To add the filling to your cakes, place the filling in a piping bag. Then, use the piping bag to add a thick layer of cream to the center of each cake.
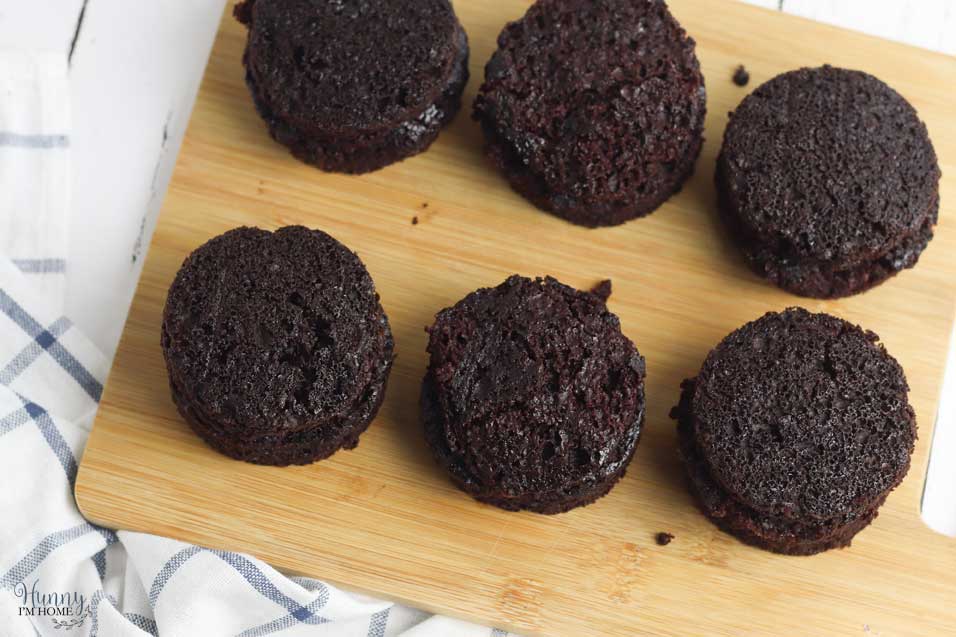
Remember earlier when I told you to cut out 15 cakes? But you only filled 10 of them? Well now it’s time to use those remaining 5 cakes! Using a serrated knife, slice each of those five cakes in half and place one half on top of each filled cake. Then, set your cakes aside because it’s time to make the chocolate glaze to go on top.
The Chocolate Glaze in Your Gluten Free Ding Dong Recipe
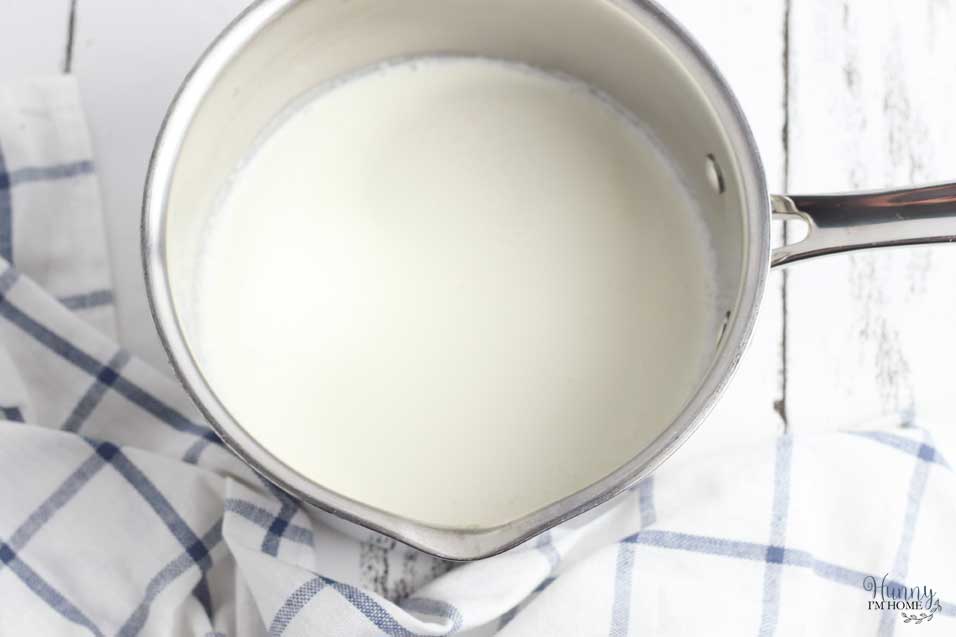
To make the chocolate glaze in this gluten free ding dong recipe, start by pouring heavy cream and sugar in a small saucepan. Heat the mixture over medium heat until it begins to boil.

While the heavy cream mixture is heating, chop your chocolate into small chunks. Place the chocolate in a heat-safe bowl, then pour the heavy cream mixture over the top. Stir until all the chocolate is melted.

Rest your chocolate cake on the edge of a metal spatula. Then, pour the chocolate mixture over the top of cake. Using your spoon, smooth the chocolate over the top and around the sides to make sure the entire cake is covered.
Place the chocolate covered cakes on a flat surface to cool. As the chocolate cools, it will also set. And when the chocolate has finished setting, these delicious gluten free Ding Dongs are ready to eat!


Gluten Free Ding Dongs
This gluten free ding dong recipe tastes just like traditional Hostess Ding Dongs! You won't believe these are gluten free Ding Dongs!
Ingredients
Ingredients for the Cakes:
- 2 large eggs
- 1 cup buttermilk
- ½ cup vegetable oil
- 2 teaspoons vanilla extract
- 2 cups gluten free baking flour
- 2/3 cup unsweetened cocoa powder
- 2 teaspoons baking powder
- 2 teaspoons baking soda
- 2 cups sugar
- 1 teaspoon salt
- 1 cup hot water
Ingredients for the Filling:
- ½ cup butter, room temperature
- 1 7- ounce container marshmallow crème
- 1 cup powdered sugar
- 1 teaspoon vanilla
Ingredients for the Shell:
- 6 ounces high quality chocolate
- ½ cup heavy cream
- 4 tablespoons sugar
Instructions
Instructions for the Cakes:
- Preheat oven to 325 degrees and prepare a 10X16 pan by lining with parchment paper and spraying the pan and paper with cooking spray.
- In a large bowl, whisk together the eggs and buttermilk until combined. Add the oil and vanilla and whisk to combine.
- Add flour, cocoa powder, baking soda, sugar, and salt. Whisk until smooth.
- Pour hot water into batter 1/3 a cup at a time, mixing between each addition.
- Pour batter into pan and evenly spread across the pan.
- Bake for 30 to 35 minutes or until a toothpick inserted into the center comes out clean.
- Allow to cool on the pan for 10 minutes, then flip the cake over onto a larger pan lined with parchment paper to cool completely.
- When the cakes are cool, use a 2.5-inch biscuit or cookie cutter to cut 15 round cakes. Place the cakes on a flat surface.
- Using a small spoon, scoop the center out of 10 cakes, being careful to leave a thin layer of cake long the bottom. Using a serrated knife, cut the remaining five cakes in half lengthwise to serve as toppers for each cake.
Instructions for the Filling:
- Combine butter, marshmallow crème, powdered sugar, and vanilla in a medium bowl. Beat until smooth and fluffy.
- Place filling in a piping bag and pipe into center of each cake.
- Top each cake with a thin slice of cake and press to secure.
Instructions for the Shell:
- Chop chocolate into small chunks and place in a heat-safe bowl.
- Place heavy cream and sugar in a small saucepan. Heat over medium heat until it begins to boil.
- Pour boiling cream over chocolate and stir until all the chocolate is melted and all ingredients are combined.
- Place each cake on the end of a metal spatula or pie server. Pour the chocolate sauce over the top of the cake and place the cake on a flat surface to set. Continue the process until all 10 cakes are coated.
Nutrition Information:
Yield: 10 Serving Size: 1 gramsAmount Per Serving: Calories: 685Total Fat: 31gSaturated Fat: 13gTrans Fat: 1gUnsaturated Fat: 16gCholesterol: 80mgSodium: 729mgCarbohydrates: 97gFiber: 2gSugar: 78gProtein: 7g


If you like this post, you’ll probably like these:


Emily is a midwestern mom of two boys. She loves all things DIY — from home renovations to kids birthday party planning. Whether she’s making a new farmhouse craft for her home or helping her kids with a cool activity, you can bet she’s in the middle of some kind of DIY project (or three) right now!



2 Comments