Quick & Easy Dollar Tree Skull DIY
When you’re getting you’re home ready for Halloween, you can’t forget to add a candy bowl for the trick or treaters! With this easy Dollar Tree skull DIY, you can make a spooky candy holder with just two dollar store items. And the best part about this easy Dollar Tree craft is that you can put it together in under fiv eminutes for less than $3!
This posts contains affiliate links, which means I may earn a commission if you purchase something from my link (at no additional cost to you). Thanks for your support!

Since you only need two items from the dollar store to make this easy Dollar Tree skull candy bowl, you can put this Halloween craft together with just a few minutes of prep work.
You can find everything you need to make this easy Dollar Tree Halloween craft at your local dollar store. That means you can put this fun candy dish DIY Project together for under $3!
Dollar Tree Skull DIY
You’re going to love how easy it is to put together your own spider web candy bowl. And after you put it together, all you have to do is fill it up with candy for your trick or treaters!
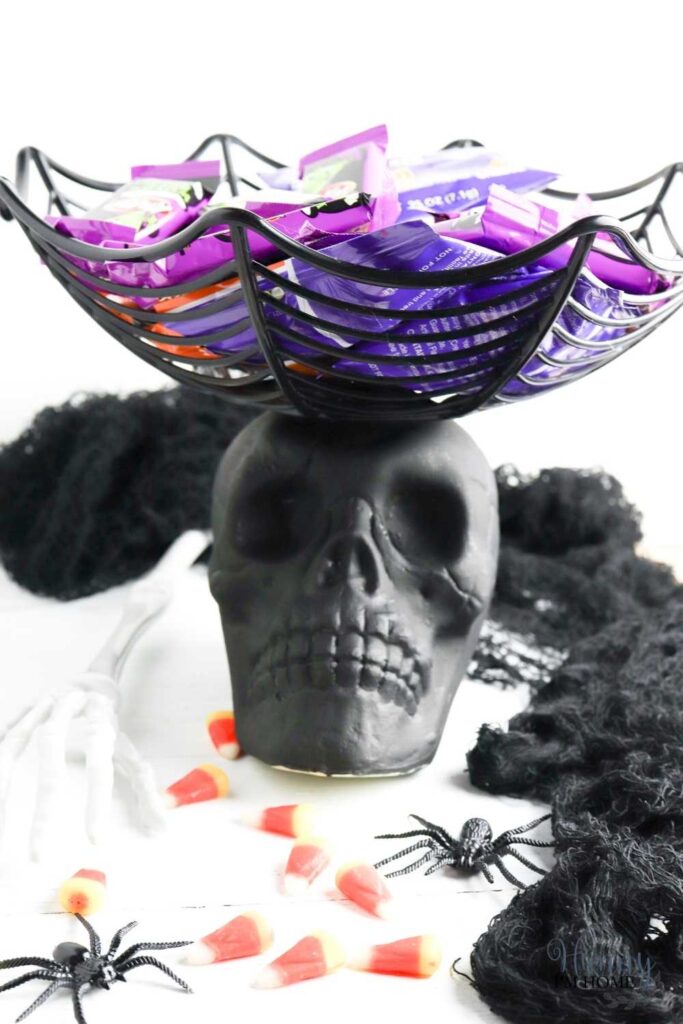
To make your own skull candy dish, you’ll need just a few simple dollar store items, including:
- Dollar Tree plastic skull. Find the plastic skulls in the seasonal section of the store, which is usually right when you walk in the door of your Dollar Tree.
- Dollar Tree spiderweb candy dish. I used a spider web candy dish, but any Halloween candy bowl would work for this fun project.
- Black paint. To make your skull match your bowl, use black paint to cover the entire skull. I used chalk paint for this part of the craft, but spray paint or acrylic craft paint would also work.
Do I have to use supplies from Dollar Tree to make this craft?
No! Any skull and candy dish will work for this project, so you can pick your favorite supplies from any store you want.
How to Make a Dollar Tree Skull Candy Dish
This DIY candy dish is so simple to make, which means it’s perfect for a last minute Halloween decoration. So, what are you waiting for? Get to your Dollar Tree and grab your supplies so you can make your own right now!

Before you can put your Dollar Tree candy dish together, you’ll need to take some time to paint your skull. It took three coats of chalk paint to fully cover the entire skull, making sure to let it dry completely in between each coat.

Once the paint is dry on your skull, all that’s left to do is attach the candy dish to the top. Use your hot glue gun to add a large dollop of glue to the top of the skull. Make sure the candy bowl is centered on top of the skull, then press it into place.
After that, you can use your hot glue gun to add more glue between the spider webs to help hold the bowl tightly on top of the skull.
Continue holding the bowl in place and lightly pressing it down until the glue cools and hardens completely.
DIY Dollar Tree Skull Ideas
After your Dollar Tree skull craft is finished, all that’s left to do is fill it up! Use these ideas for filling your spiderweb bowl for Halloween.

After you put your skull candy dish together, it’s time to fill it up! Use these filler ideas to make the most of your easy Dollar Tree craft.
- Candy
- Halloween snacks
- Mini skulls
- Spiderwebs and spiders
- Mini pumpkins
- Homemade treats
- Glitter pumpkins and skulls

DIY Dollar Tree Skull Candy Dish
You only need two dollar store supplies to make this Dollar Tree Skull DIY candy dish for Halloween.
Materials
- Dollar Tree plastic skull
- Dollar Tree spiderweb candy dish
- Black paint
Tools
- Paintbrush
- Hot glue gun
Instructions
- Paint the plastic skull black and allow the paint to dry completely.
- Glue the spiderweb candy dish to the top of the skull using the hot glue gun.
More Easy Craft Ideas:
Dollar Tree Trick or Treat Pumpkins
Creepy Halloween Mason Jar Lanterns
If you like this post, you’ll probably like these:


Emily is a midwestern mom of two boys. She loves all things DIY — from home renovations to kids birthday party planning. Whether she’s making a new farmhouse craft for her home or helping her kids with a cool activity, you can bet she’s in the middle of some kind of DIY project (or three) right now!