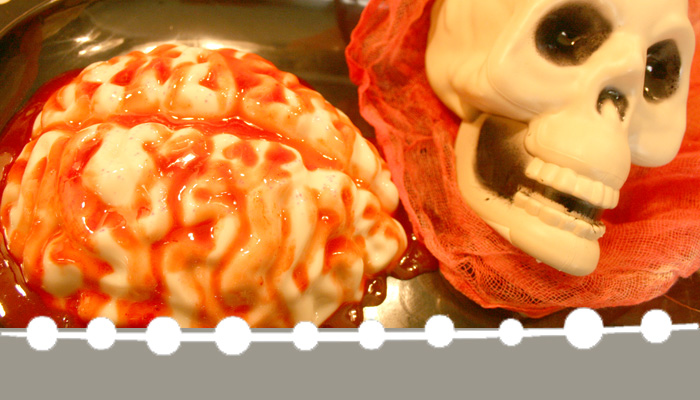
Bloody Eyeball Halloween Oreo Treats
Making cute recipes for your Halloween party can be so much fun! But it can also be be difficult and time consuming if you aren’t careful. But with these Halloween Oreo treats, you don’t have to worry about spending extra time in the kitchen! That’s because you can whip them up with just five ingredients and a few minutes of prep work. Just make your cookie balls, add some fake blood, and top it with a candy eye to prepare these simple snacks for your fall get-together.
This posts contains affiliate links, which means I may earn a commission if you purchase something from my link (at no additional cost to you). Thanks for your support!

You won’t believe love how quick and easy these Oreo eyeballs are to make! And since they taste so amazing, they’re going to be your kids’ favorite Halloween appetizers!
Our favorite part about making this cute Halloween party food recipe is that there’s no baking involved. Just combine two simple ingredients to make the Oreo balls, then decorate with melted chocolate and candy eyes.
Halloween Oreo Treats
Once you see just how simple it is to make these adorable Oreo ball eye balls, you’re going to add them to your Halloween party menu year after year!

This easy Halloween Oreo treat recipe is so simple to make! But the best part about this no bake snack is that you probably already have everything you need to make them! To create your own Oreo ball eyes you’ll need:
- Oreo cookies. To make these Oreo treats, you’ll need to start with Oreo cookies. You can use regular or Double Stuf Oreos, or even gluten free Oreos, to make your cookie balls.
- Cream cheese. Make sure to start with softened cream cheese when preparing this dessert. Taking the time to wait for your cream cheese to come to room temperature will make stirring and forming your Oreo balls much easier.
- White chocolate. You can use your favorite white chocolate bars or chips to decorate your Oreo balls, or use white melting chocolate or almond bark. It’s totally up to you!
- Candy eyes. For best results, I suggest using large candy eyes to prepare these eyeball treats. They look much better than the small candy eyes.
- Red gel icing. To create the blood on your eyeballs, you’ll also need red gel icing. In a pinch, you could also use red gel food coloring, but that makes these treats much messier to eat.
How to Make Halloween Oreo Treats
On top of being simple to make, these easy Halloween treats are also super versatile! You could make them for your next Halloween party, serve them as dessert after a fun Halloween family dinner, or whip them up as a cute Halloween-themed after school snack for your kids.
However you plan to serve these Halloween Oreo eyeballs, I’m sure everyone will love them! So what are we waiting for? Let’s learn how to make these easy no bake treats!
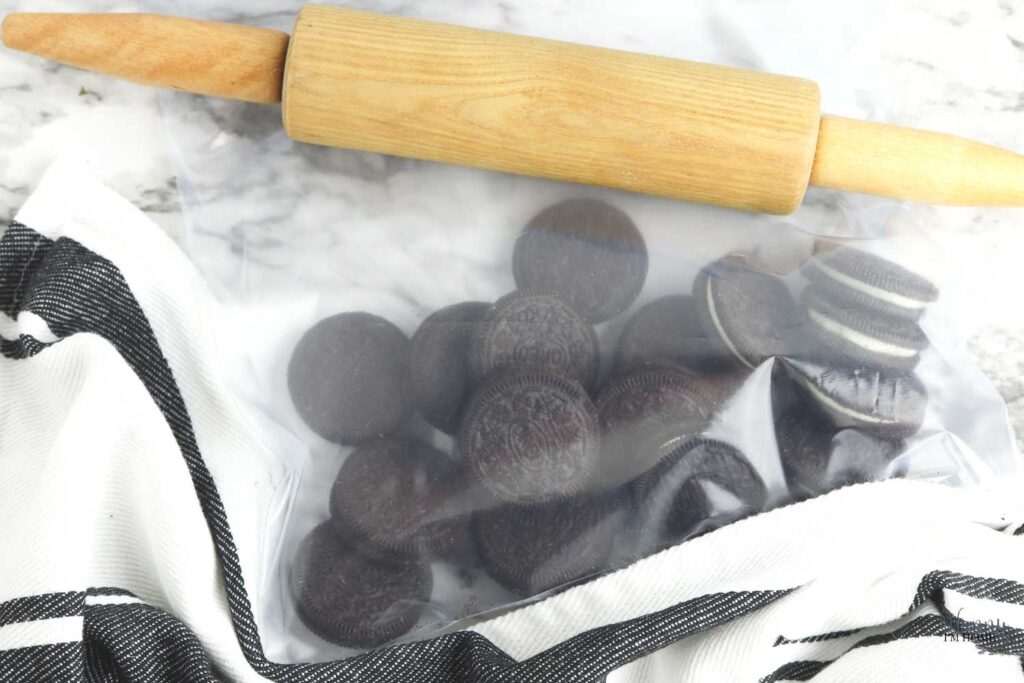
To make these cute Oreo treats, you’ll need to start by crushing your cookies. There are two easy ways to crush Oreos:
- In a food processor. Simply place the cookies in the bowl of your food processor and pulse the blades until the cookies are finely ground. This will give you the most uniform crumbs.
- With a rolling pin. If you don’t have a food processor, just add the cookies to a large zip-top bag. Seal the top and roll a rolling pin over the top of the cookies. Rotate the bag every once in a while to help you evenly crush the cookies. Continue rolling until all the cookies are finely crushed.
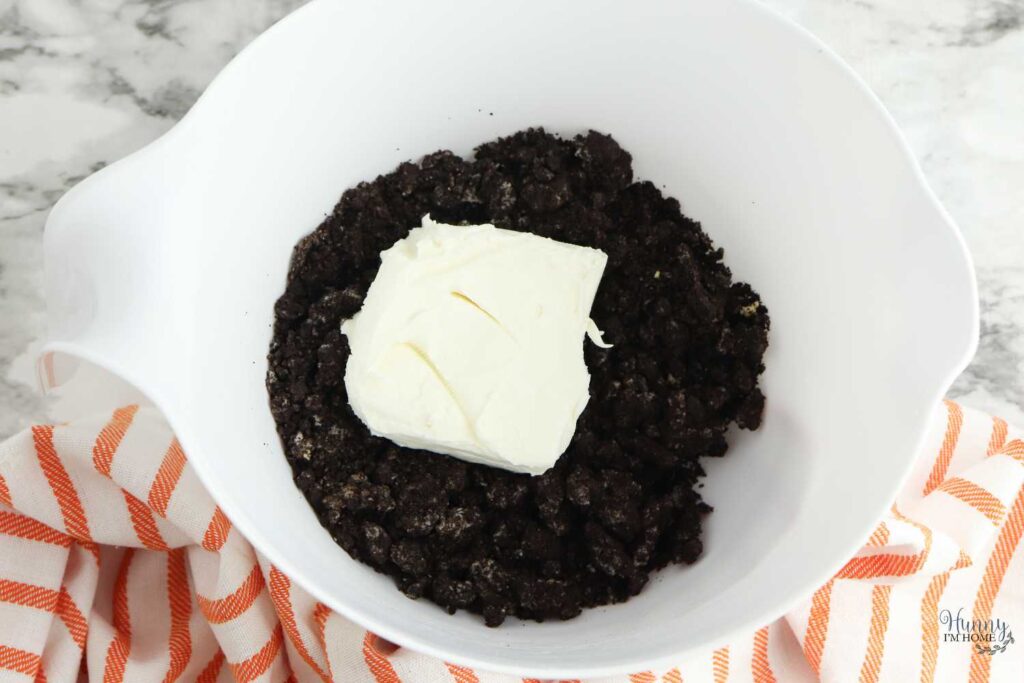
Next, add the softened cream cheese to the bowl with the crushed Oreos. Stir to mix the two ingredients together until a thick paste begins to form.
Make sure you start with softened cream cheese when doing this step! You can leave your cream cheese on the counter for around 1 hour before preparing to help the cheese soften to room temperature. Or place the cold cream cheese in the microwave for around 30 seconds to soften it more quickly.

Once the cream cheese and cookies are well blended, use a tablespoon or cookie scoop to form the mixture into balls. After scooping out the cookie mixture, roll it between your hands until a smooth ball forms.
Place the Oreo balls on a plate or baking sheet and continue rolling until all the cookie mixture has been formed into balls.
After that, you can place them in the refrigerator to chill for at least one hour before you start decorating your treats.
How to Make Halloween Oreo Treats
On top of being simple to make, these easy Halloween treats are also super versatile! You could make them for your next Halloween party, serve them as dessert after a fun Halloween family dinner, or whip them up as a cute Halloween-themed after school snack for your kids.
However you plan to serve these Halloween Oreo eyeballs, I’m sure everyone will love them! So what are we waiting for? Let’s learn how to make these easy no bake treats!
To make these cute Oreo treats, you’ll need to start by crushing your cookies. There are two easy ways to crush Oreos:
- In a food processor. Simply place the cookies in the bowl of your food processor and pulse the blades until the cookies are finely ground. This will give you the most uniform crumbs.
- With a rolling pin. If you don’t have a food processor, just add the cookies to a large zip-top bag. Seal the top and roll a rolling pin over the top of the cookies. Rotate the bag every once in a while to help you evenly crush the cookies. Continue rolling until all the cookies are finely crushed.
Next, add the softened cream cheese to the bowl with the crushed Oreos. Stir to mix the two ingredients together until a thick paste begins to form.
Make sure you start with softened cream cheese when doing this step! You can leave your cream cheese on the counter for around 1 hour before preparing to help the cheese soften to room temperature. Or place the cold cream cheese in the microwave for around 30 seconds to soften it more quickly.
Once the cream cheese and cookies are well blended, use a tablespoon or cookie scoop to form the mixture into balls. After scooping out the cookie mixture, roll it between your hands until a smooth ball forms.
Place the Oreo balls on a plate or baking sheet and continue rolling until all the cookie mixture has been formed into balls.
After that, you can place them in the refrigerator to chill for at least one hour before you start decorating your treats.
How to Decorate Halloween Oreo Treats
Now that you have your Oreo cookie balls formed and ready to go, it’s time to turn them into spooky eyeballs! Follow these instructions for decorating your treats with melted chocolate and candy eyes.

Start by melting your white chocolate according to the package instructions. There are a few different white chocolate options you can choose from for decorating your Oreo balls, depending on what you have on hand. To coat the cookie balls, you can use:
No matter what you decide to use to coat the Oreo balls in chocolate, follow the instructions for melting the chocolate on the packaging.
Then, dip the Oreo balls in the melted chocolate, making sure to coat all sides of the ball. Use a fork to remove the ball from the chocolate, then lightly tap the handle of the fork on the side of the bowl to help the excess chocolate drip off.
After that, transfer the chocolate coated cookie ball to a piece of parchment paper to let it set and harden. Continue this process until all the eyeballs have been decorated.

Once the chocolate has hardened on the Oreo balls, you can decorate them with your candy eyes and red gel icing. First place a large drop of red icing on the top of the ball, then press the candy eye into the icing. Next, drip the icing around the sides of the eye to create blood droplets.
You can serve your Oreo eye balls immediately or store them in the refrigerator until you’re ready to enjoy them.
Halloween Oreo Treat Recipe Ideas
This simple recipe is so quick and easy to make! And you can adjust the ingredients to use what you already have on hand.

Try these easy recipe ideas and substitutions to create a quick treat for your family while spending Halloween at home or dessert for your Halloween party.
- Make gluten free Halloween Oreo treats. It’s easy to turn this no bake snack into a gluten free treat! Just use gluten free Oreos or gluten free chocolate sandwich cookies in place of the regular Oreos in the recipe. And don’t forget to check the label of all the other ingredients (especially the candy eyes) before using them to make your GF snacks!
- Use spooky candy eyes. Want to give your Oreo cookies an even scarier look? Try decorating them with bloodshot candy eyes!
Are You Supposed to Refrigerator Oreo balls?
Yes. Oreo cookie balls should be refrigerated since they’re prepared with cream cheese. In addition to storing the Oreo balls in the fridge after they’re prepared, you’ll also need to chill them before you start decorating to keep your balls from falling apart.
Why Are My Oreo Balls Falling Apart?
Oreo cookie balls are super easy to make. But there is one common issue that many people face when making these no bake treats, and that’s the fact that their cookie balls easily fall apart.
Luckily, there are two easy fixes you can use to help keep your Oreo balls intact.
- Add more cream cheese. If you the Oreo balls are falling apart while you’re forming the balls, that probably means your mixture is too dry. Try adding a small amount of cream cheese to the bow and mixing it well. Then, roll the balls again. They should start sticking together more easily with a little added moisture.
- Chill the balls longer. If your cookie balls are falling apart while you’re decorating them, that means they aren’t cold enough. These cookie balls soften quickly, so it’s a good idea to work in batches to help keep them from falling apart as you decorate. If the balls start to get too soft, just put them back in the fridge and let them chill for a little while longer before you continue decorating.
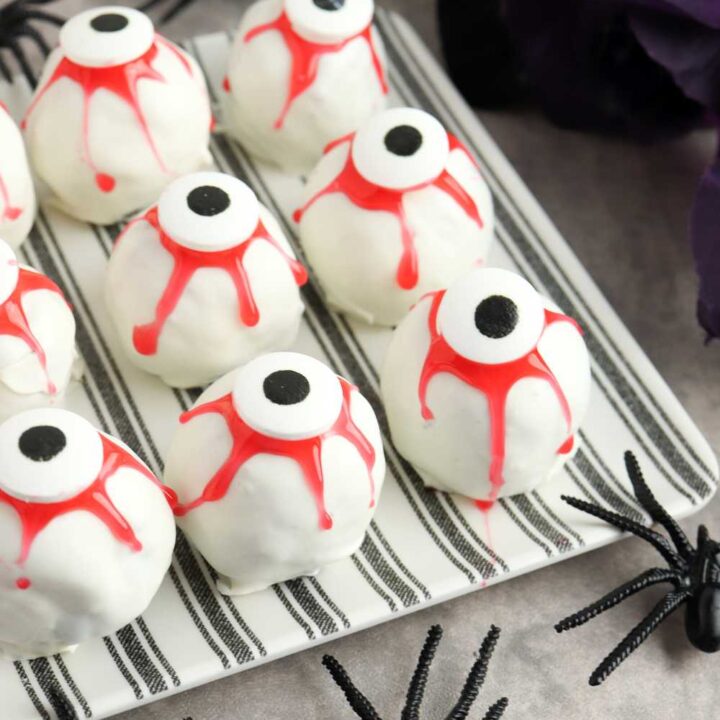
Halloween Oreo Treat Recipe
Turn cookie balls into spooky Halloween Oreo treats with the help of fake blood and candy eyes using this fun recipe.
Ingredients
- 36 Oreos
- 8 ounces cream cheese, softened
- 1 12 ounce package white candy melts
- 30 large candy eyes
- Red decorating gel
Instructions
- Place the Oreo cookies in a large bag and crush them with a rolling pin. Or put the cookies in your food processor and pulse until they're finely crushed.
- Pour the crushed cookies into a bowl and add the softened cream cheese. Stir to mix until the ingredients come together and start to form a thick paste.
- Use a tablespoon or small cookie scoop to form Oreo the mixture into 30 balls.
- Place the cookie balls on a flat board or plate and chill them in the refrigerator for at least one hour or up to overnight.
- When the Oreo balls are solid, melt the candy according to the package instructions.
- Dip each ball in the candy until fully coated, then transfer the cookie ball to a parchment paper lined baking sheet.
- Return the white chocolate coated Oreo balls the refrigerator to chill for another 30 minutes, until the candy has hardened.
- Decorate the top of each Oreo ball with red decorating
gel, then press a candy eye into the top of the gel. Drip more gel around the candy eye, if desired. - Serve immediately or chill until ready to serve.
Nutrition Information:
Yield: 30 Serving Size: 1Amount Per Serving: Calories: 162Total Fat: 5gSaturated Fat: 2gTrans Fat: 0gUnsaturated Fat: 3gCholesterol: 8mgSodium: 86mgCarbohydrates: 28gFiber: 0gSugar: 17gProtein: 1g
More Halloween Recipe Ideas:
Vampire Donuts Halloween Themed Breakfast
Jack-O-Lantern Halloween Punch for Kids
If you like this post, you’ll probably like these:


Emily is a midwestern mom of two boys. She loves all things DIY — from home renovations to kids birthday party planning. Whether she’s making a new farmhouse craft for her home or helping her kids with a cool activity, you can bet she’s in the middle of some kind of DIY project (or three) right now!