
Rustic Farmhouse Mason Jar Lid Wreath
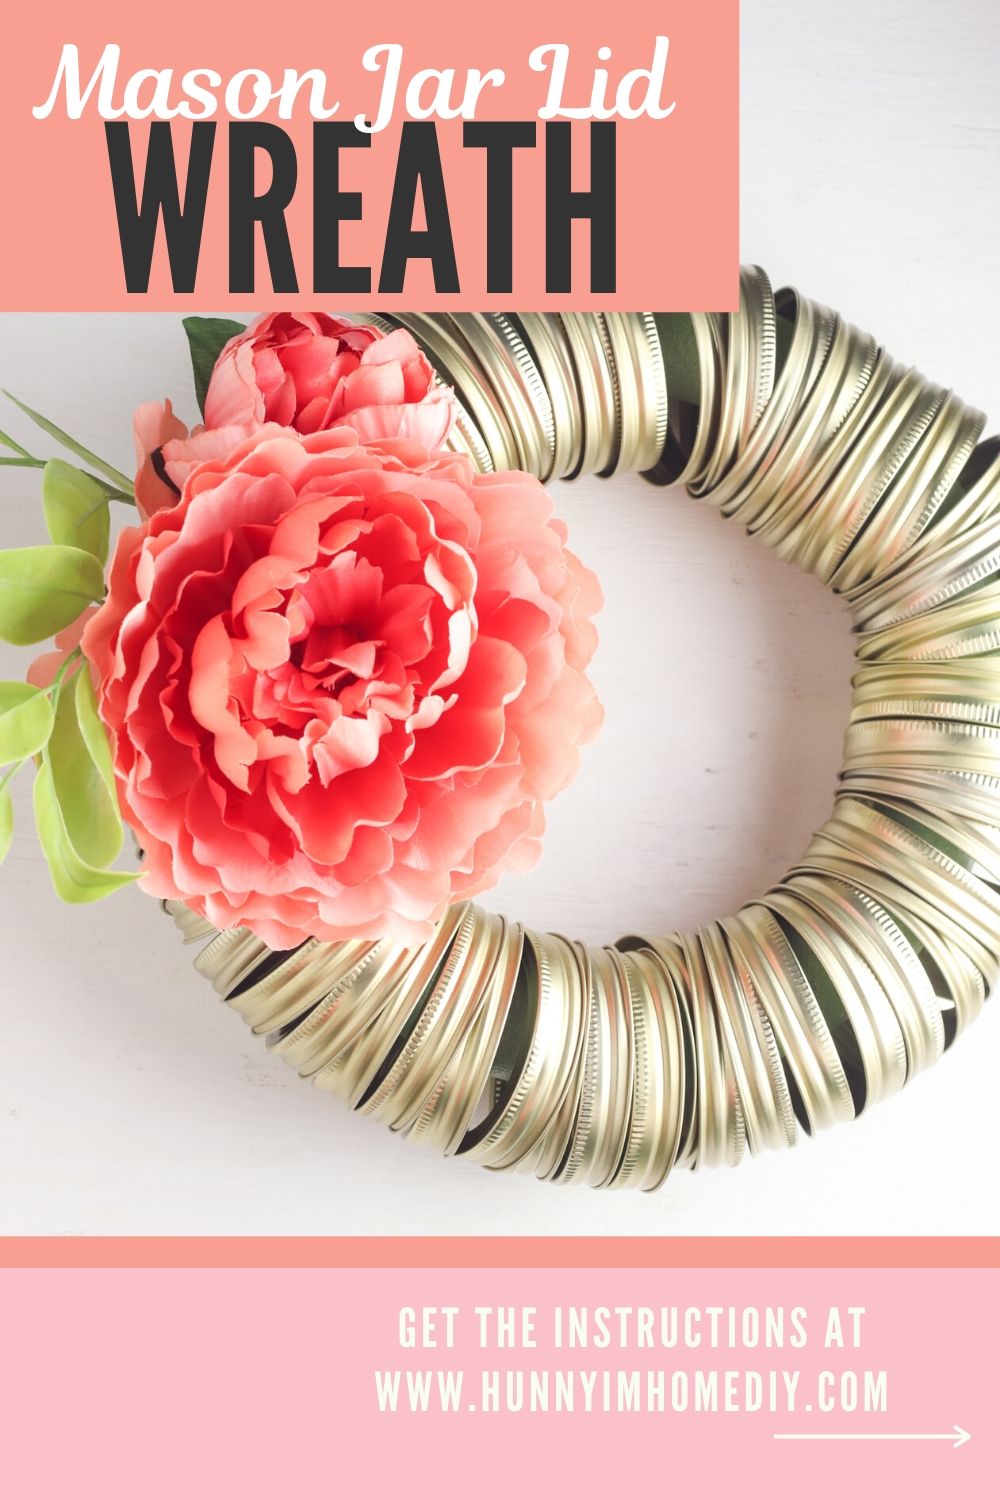
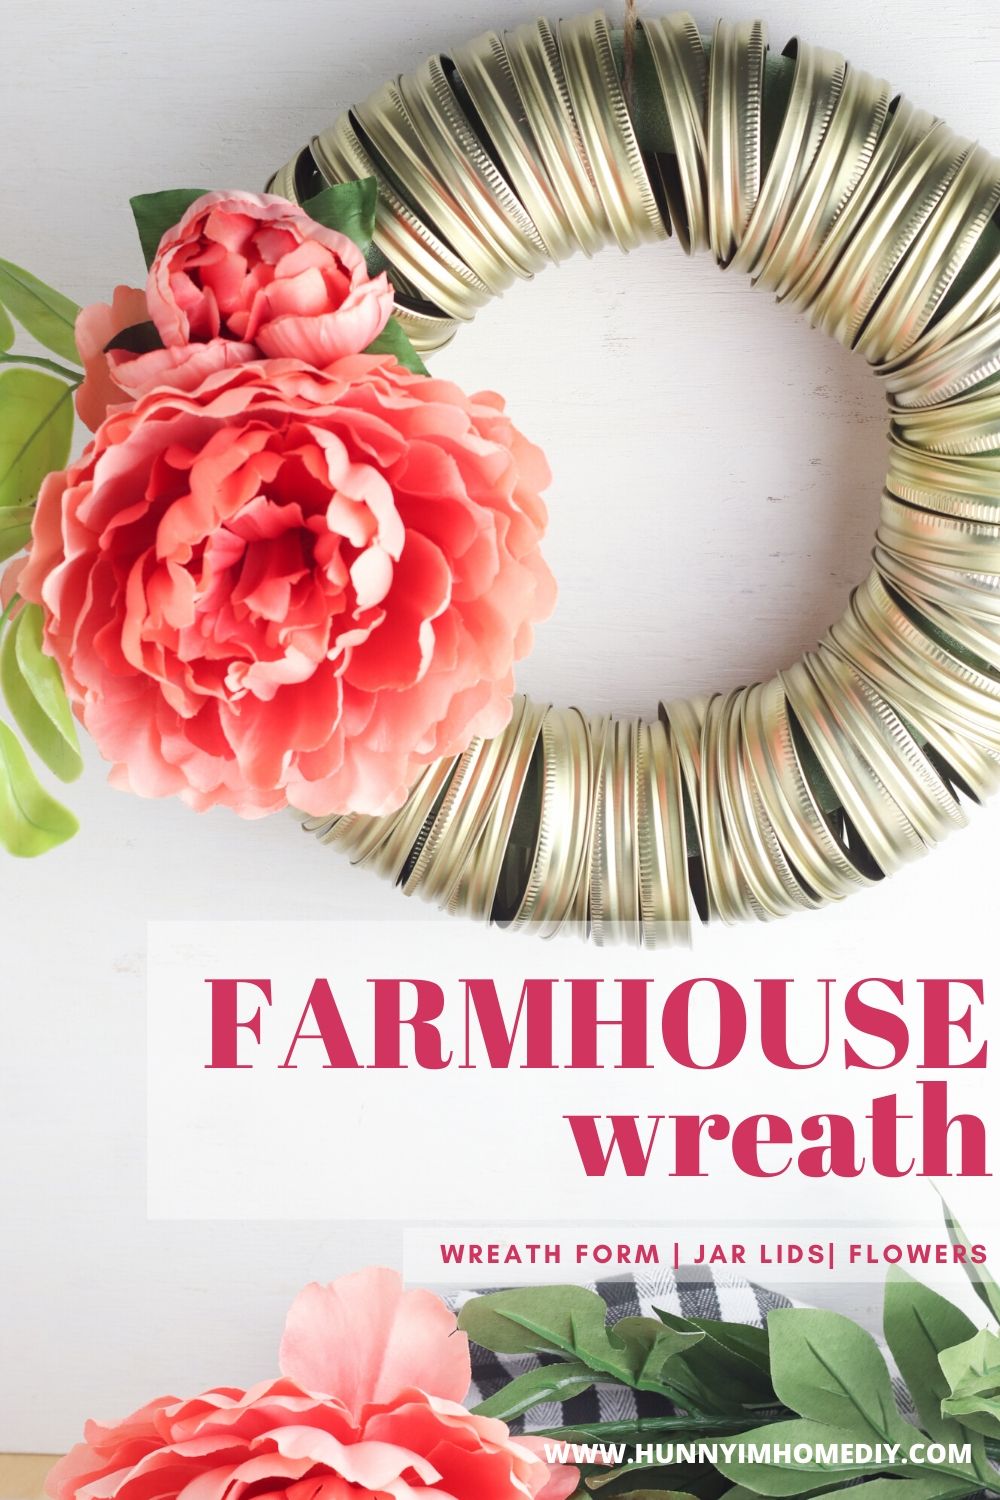
I love using mason jars throughout my house. But most of my mason jar crafts just use the jar without the lid. That means I have tons of mason jar lids lying around waiting for me to use them! If you have a bunch of lid rings, you’re going to love this easy craft! This farmhouse mason jar lid wreath is simple to make but really makes a statement wherever you hang it.
This post contains affiliate links, which means I may earn a commission if you purchase something from my link (at no additional cost to you). Thanks for your support!

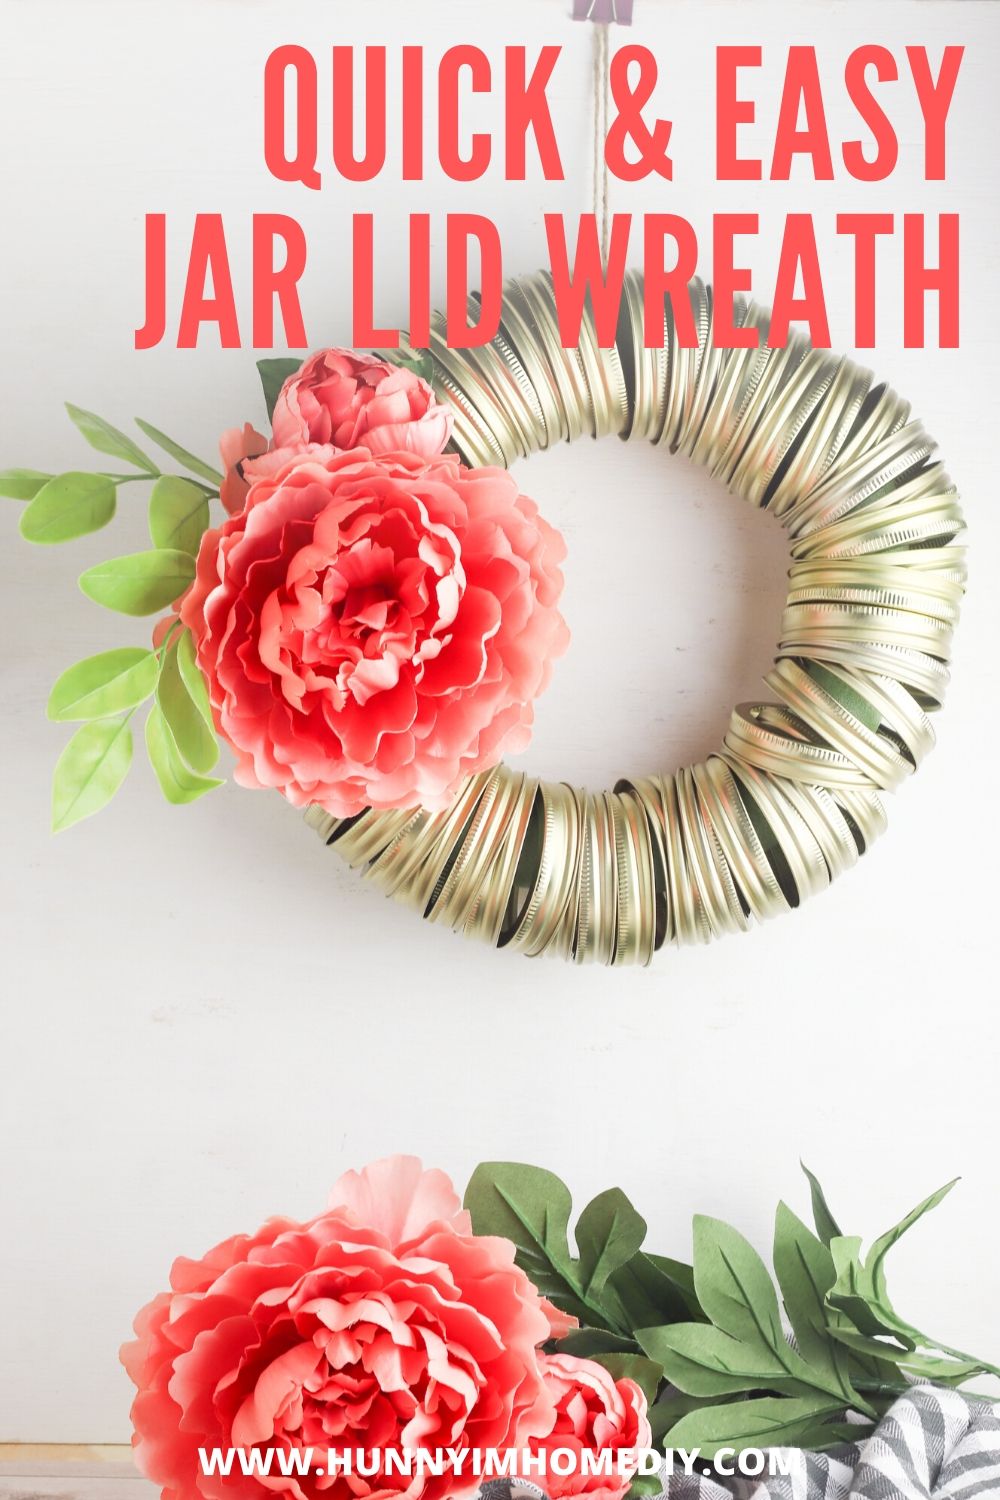
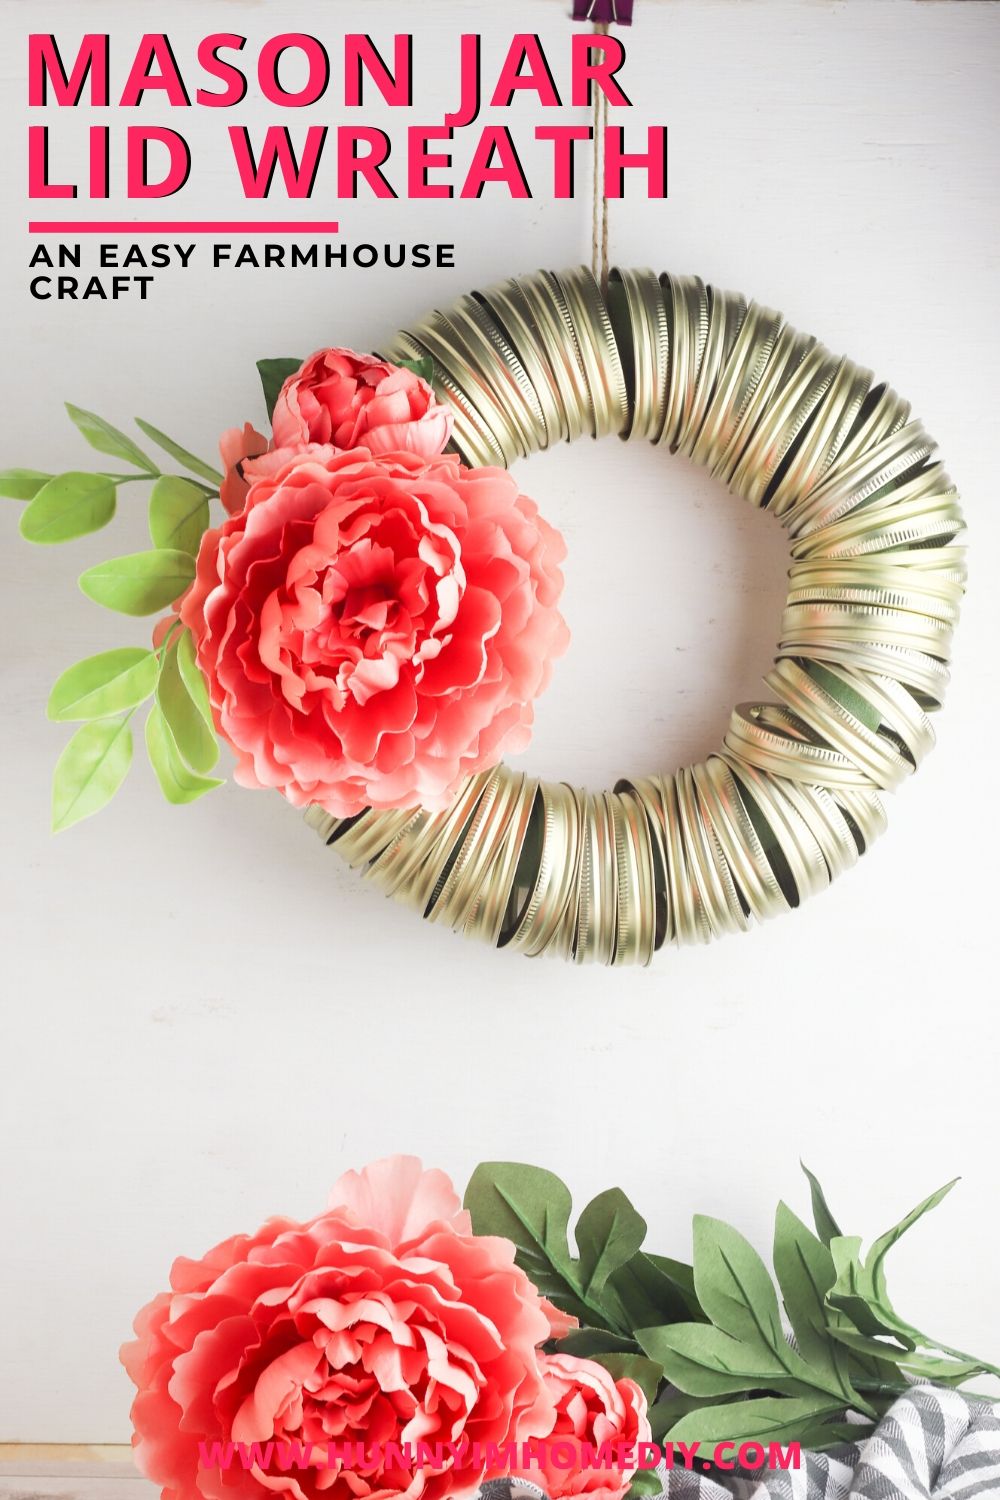
This pretty mason jar lid wreath couldn’t be simpler to make! All you need are a few supplies to transform your mason jar lid rings into an awesome farmhouse style wreath. You can hang your wreath on your front door or over your mantle to add rustic charm to any room of your home.
Looking for more mason jar lid craft ideas? Check out my mini mason jar lid wreaths to see another simple rustic craft you can make for your home.
Supplies for Your Mason Jar Lid Wreath
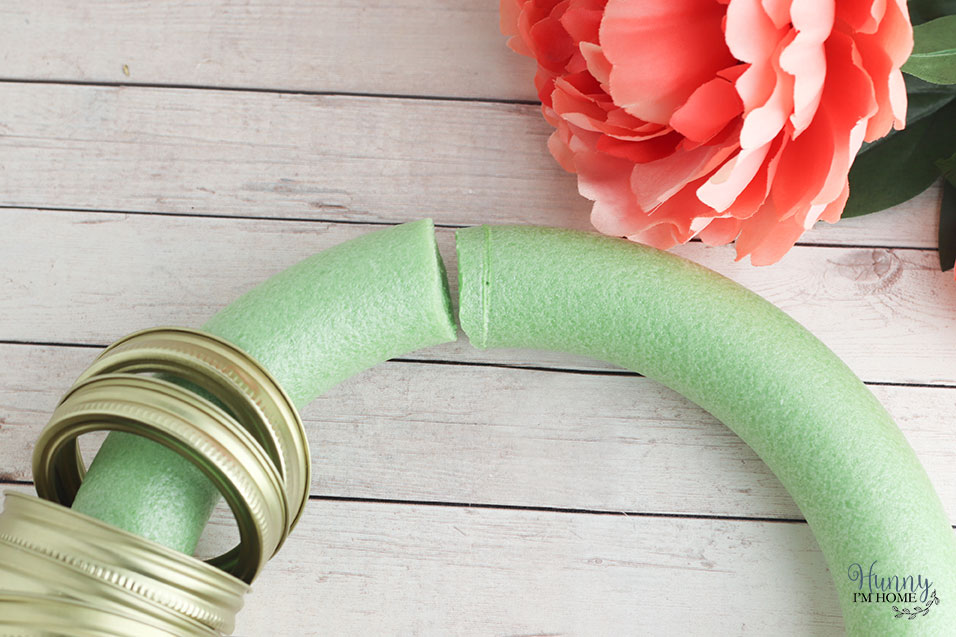
To create these rustic farmhouse wreath, you’ll need:
- Foam wreath form
- 48 mason jar lids
- Floral picks
- Hot glue gun or super glue
- Staple gun
- String or ribbon for hanging
This DIY mason jar lid ring wreath is not only so simple to make, but it’s also one of the easiest ways to spruce up your front door! Just tie a piece of twine to the top of the wreath to display your mason jar lid craft for all your neighbors to see.
How to Make a Mason Jar Lid Wreath
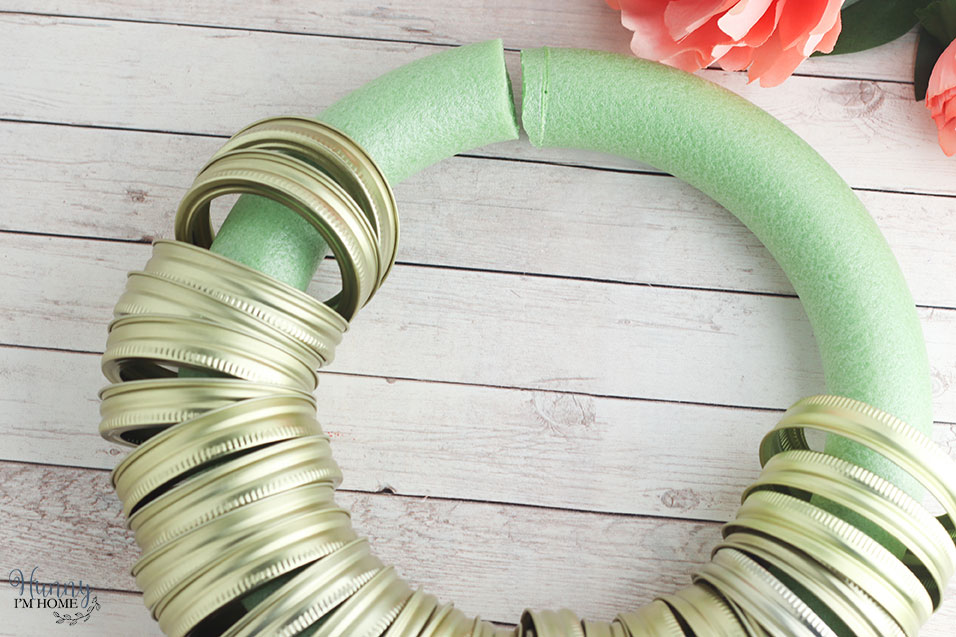
Guys, this is seriously the simplest wreath I’ve ever made and one of my favorite farmhouse DIY projects! To start, you’re going to grab your foam wreath form. I got mine at Dollar Tree for $1 — and that means this may be the cheapest wreath I’ve ever made, too!
Since your wreath form is a solid circle, you’ll need to create a way to thread your mason jar lids onto the wreath form. That’s why we’re using a styrofoam wreath form for this craft. Just use a sharp pair of scissors or a knife to cut a slit through the wreath form to make an opening. Then, all you have to do is start threading the mason jar lid wrings onto the wreath.
I used around 48 mason jar lid rings. While I had a ton of lid rings lying around, I still needed to purchase a few extras my wreath. Amazon to the rescue! You can buy a 20 pack of mason jar lids for under $15.
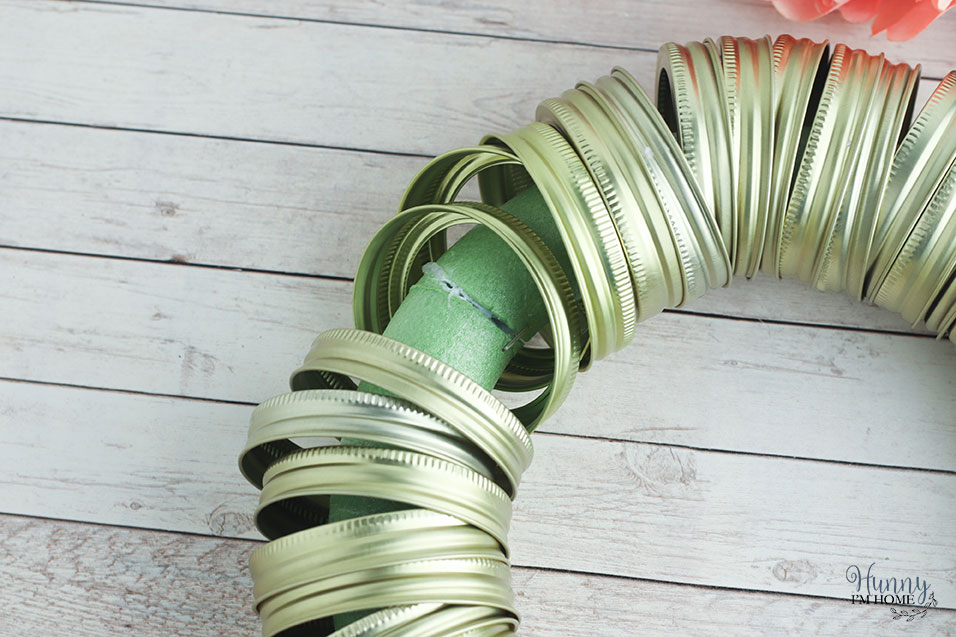
Continue threading your mason jar lids onto the wreath form until it’s almost completely covered. You’ll want to leave a little space to work with because you’ll need to secure your wreath form back together with some glue. I suggest leaving a couple of inches of the form exposed so you can get to the opening easily with your staple gun. Don’t’ worry — we’re going to cover up that bare spot in a minute!
When the wreath form is covered, grab some super glue and spread a thick layer over one side of the opening on the wreath form. Note: If you look closely, you can tell I tried hot glue first — it didn’t work! This step is the hardest part of making your wreath out of mason jar lids. You’re going to need to hold the two pieces together while you use your staple gun to staple the wreath form. The staples will help hold the ends together while the glue dries. I suggest adding a few staples all around the wreath form to ensure it’s nice and secure.
It may not look very pretty, but you won’t be able to see the opening once your wreath is finished.

Now it’s time to start decorating your mason jar lid wreath so you can cover the opening you left between your mason jars. First, turn the wreath form so that the slit is completely covered by lids, then create an opening between the lids on one side of the wreath.
Cut your floral pick until there’s only around one inch of stem left. Add a little bit of super glue to the end of the stem, then push the stem into the styrofoam wreath form and hold it in place for a few seconds to secure it. Continue this process until all your picks have been added.
I decorated my wreath from mason jar lids with these pretty pink peonies and leaf branches from Michaels. But they’re not available anymore! You can find similar flowers on Amazon if you’re looking to replicate my wreath design.
Mason Jar Wreath Variations
What I love about this easy farmhouse craft is that you can change up the design to make it fit with the rest of your decor! If you’re looking for some easy ways to decorate your mason jar lid wreath, check out these fun ideas:
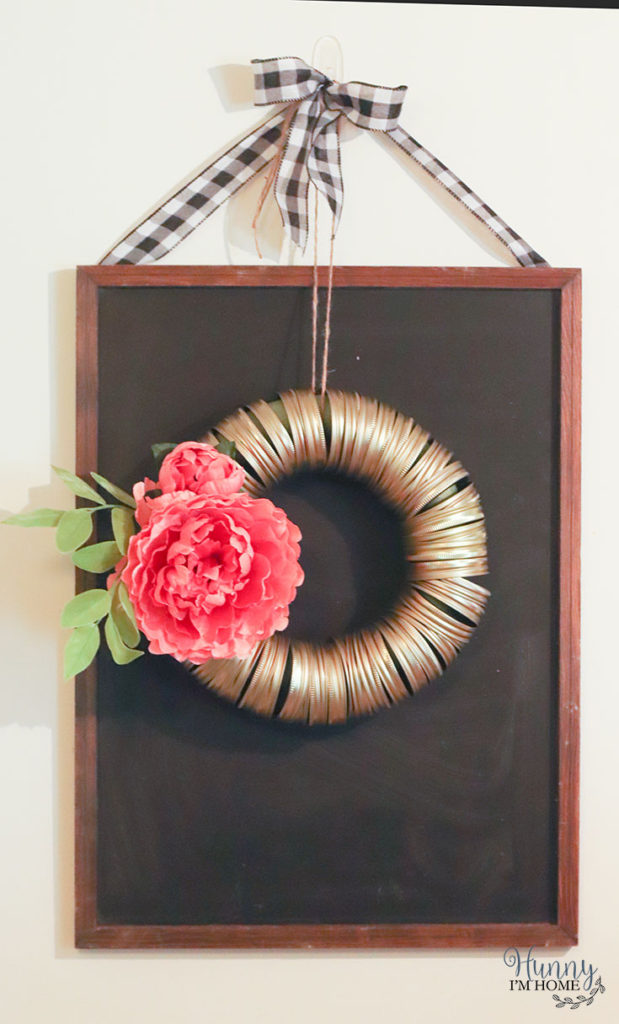
Hang the wreath on a sign. I used my mason jar lid wreath to decorate a vintage chalkboard I have hanging in my kitchen. I plan to add a word or phrase under it using my new Cricut, so stay tuned for that DIY project!
Decorate with a ribbon. If you’re not a fan of faux flowers, there’s an easy solution! Tie a big wreath ribbon and attach it to your mason jar lid wreath to cover the wreath form.
Paint the lid rings. Not a fan of the silver mason jar lid wrings? Why not paint them? Using spray paint is a quick and easy way to paint your mason jar lids before you add them to the wreath form. I think it would look amazing with some distressed white mason jar lid rings!
Use washi tape on the lid rings. Or you could add some color to your farmhouse wreaths by wrapping washi tape around the rings before you put them on the wreath form.

Mason Jar Lid Wreath
Use up leftover lids by creating this beautiful rustic farmhouse mason jar lid wreath.
Materials
- Foam wreath form
- 48 mason jar lid rings
- Floral picks
Tools
- Hot glue or super glue
- Staple gun
Instructions
- Use a sharp pair of scissors to cut the foam wreath form.
- Thread the mason jar lid rings onto the wreath form.
- When the form is covered, add glue to the inside of the slit. Hold the form together as tightly as you can and use a staple gun to secure the wreath form together.
- Spread the lids apart on one side and cut the flower picks until the stem is around one inch long. Push the stems into the wreath form to secure them in place.
- Tie a piece of ribbon or string around the top of the wreath form to hang the wreath.
More Fun Farmhouse Craft Ideas:
Simple Rustic Farmhouse Centerpiece
Easy DIY Farmhouse Candle Decor

If you like this post, you’ll probably like these:


Emily is a midwestern mom of two boys. She loves all things DIY — from home renovations to kids birthday party planning. Whether she’s making a new farmhouse craft for her home or helping her kids with a cool activity, you can bet she’s in the middle of some kind of DIY project (or three) right now!





Emily, THANKS for joining the Creative Crafts Linky Party, you will be featured this week starting Wednesday. Have a fabulous week! Creatively, Beth
Thank you so much for the feature, Beth!
It’s beautiful! Great upcycled project! Thanks for sharing it! #HomeMattersParty
Mel
LOVE this idea Emily! We will be featuring you starting Wednesday at the Creative Crafts Linky Party! Pinned and shared
Creatively, Beth
Thanks so much for the feature!!