
Simple Recipe for Gluten Free Pumpkin Pie
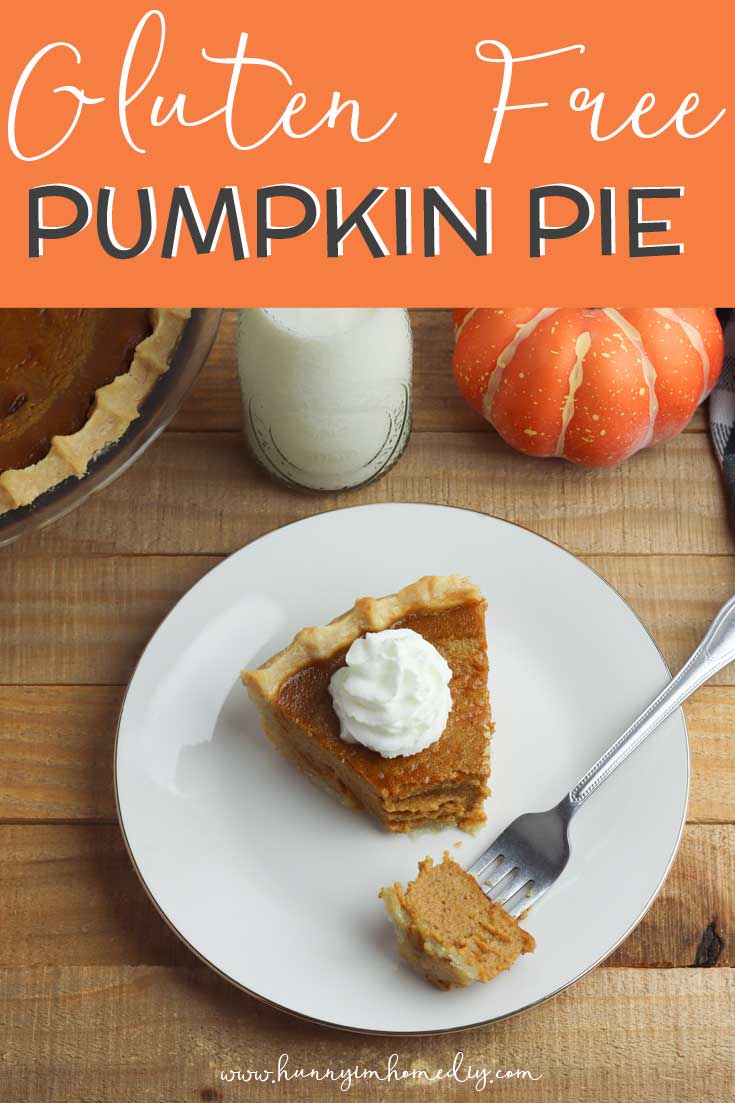
Pumpkin pie is such a classic holiday dessert. But if you can’t eat gluten, you’re forced to skip this delicious dessert…until now! This simple recipe for gluten free pumpkin pie tastes just as good as a traditional pie, but it’s made with delicious, flaky gluten free pie crust.
This posts contains affiliate links, which means I may earn a commission if you purchase something from my link (at no additional cost to you). Thanks for your support!

I struggled with gluten free baking when I made the switch to going gluten free. But now that I’ve uncovered a few simple gluten free baking tricks, I love experimenting with gluten free recipes. And this recipe for gluten free pumpkin pie is so good, you’d never guess it’s gluten free!
To make this delicious gluten free pumpkin pie, you’ll start by making a gluten free pie crust. Then, you’ll fill that flaky gluten free crust with a yummy gluten free pumpkin custard!
How to Make Gluten Free Pie Crust
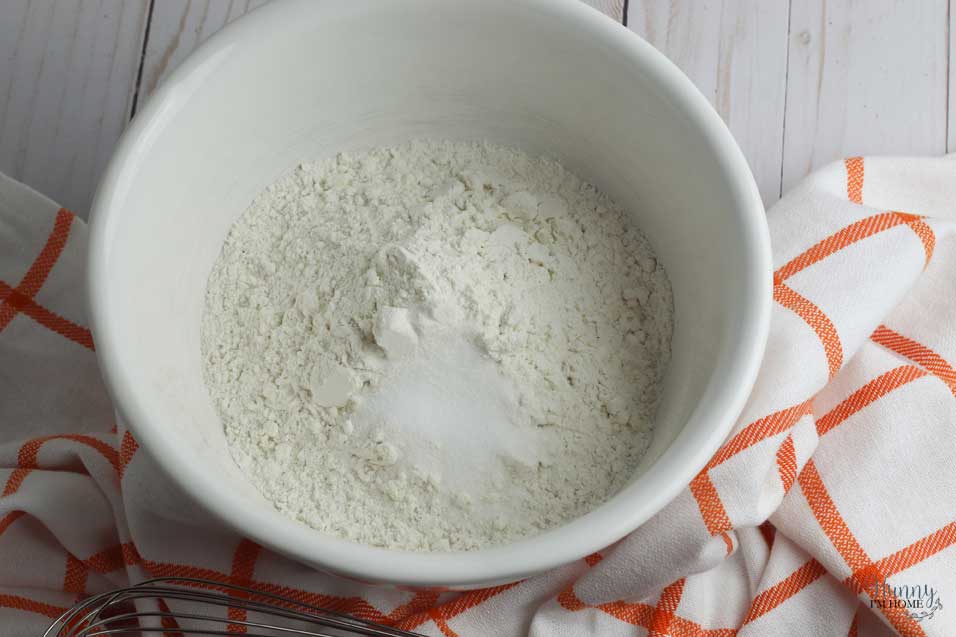
The first step to making this yummy recipe for gluten free pumpkin pie is to make the gluten free pie crust. In a large bowl, whisk together your gluten free flour, sugar, and salt. Wondering which gluten free flour I use? I love Bob’s Red Mill Gluten Free 1-to-1 Baking Flour!
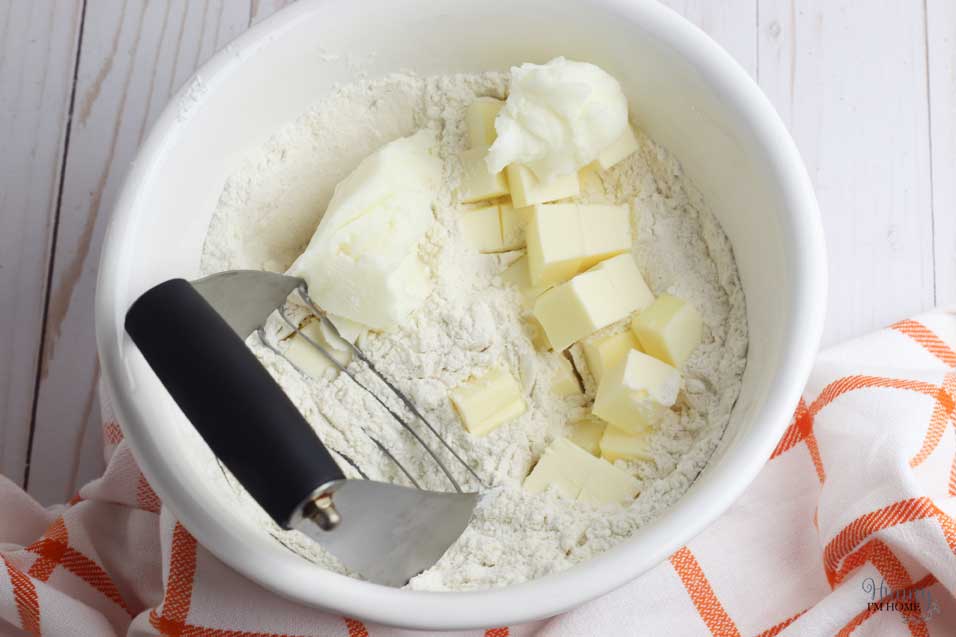
Next, add the cubed butter and shortening. Using a pastry blender, work the butter and shortening into the flour until the ingredients are well combined.

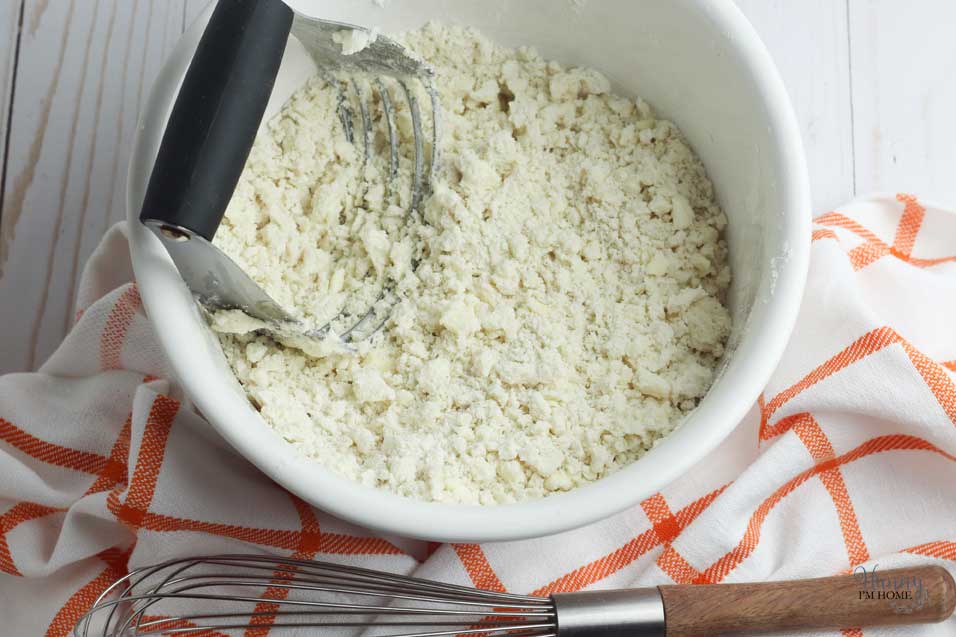
You’ll know the butter and shortening are blended well with the flour when pea-sized balls begin to form. After you start to see that consistency, add the water and use your hands to form the dough into a ball. Then, turn the dough out onto a lightly floured surface and work the dough into a flat disk. Wrap the dough in plastic wrap and chill it for at least one hour.
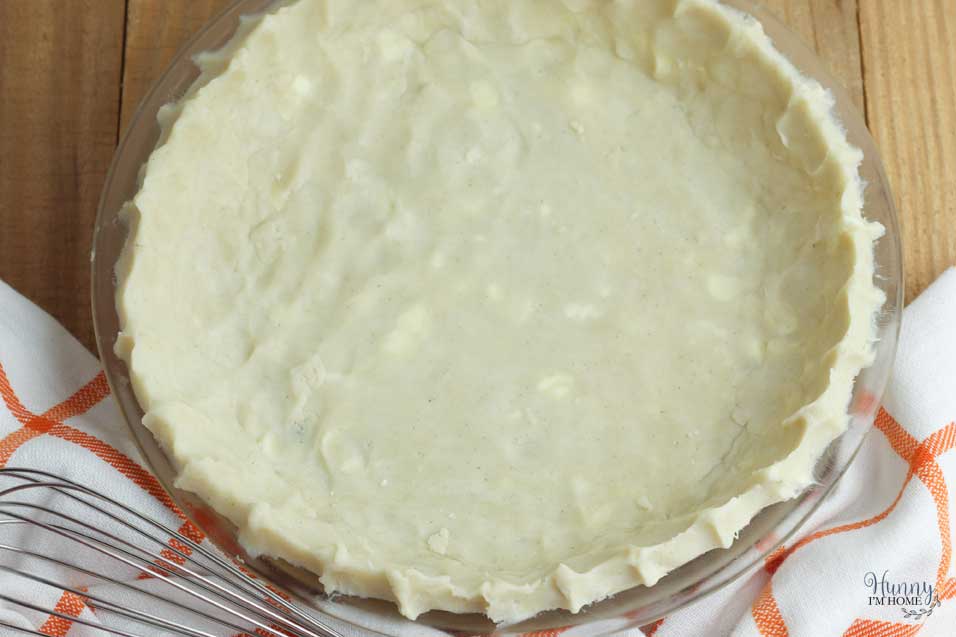
After the dough has chilled, it’s time to put it into the pan. This is the most difficult part about making gluten free pumpkin pie! This pie dough is very fragile, so rolling it and placing it into the pan can be pretty frustrating.
I suggest using a nonstick pastry mat to roll out your gluten free pie crust. Place the chilled dough on the mat and roll it to the correct size — I used a nine-inch pie plate for my gluten free pumpkin pie. Then, carefully flip the pie crust into the pie plate. It will probably crack and maybe even fall apart. That’s ok!
After you get the crust into the pan, use your fingers to press the cracks and breaks together. Then, form the crust by pinching the dough between your fingers as you move around the edge of the pie.
Tips for Making Gluten Free Pie Crust
This gluten free pie crust is very temperamental. But with these simple tips, you’ll be on your way to a delicious gluten free pumpkin pie!
Chill Everything. The key to making your gluten free pie crust a little more sturdy is to make sure everything is chilled. And I’m not just talking about the ingredients! Yes, it’s very important that your butter, shortening, and water are cold, but you should also chill your utensils. Before making this recipe for gluten free pumpkin pie, place your bowl and pastry blender in the refrigerator and allow them to chill before you make the gluten free pie crust.
Use Ice Cold Water. Water straight from the tap won’t be cold enough for this recipe. You want to be sure your water is ice cold so it doesn’t warm up your chilled butter and shortening when you add it to the dough. To make sure your water is cold enough, add ice to a cup and then pour the water in. After that, just scoop the water out using a tablespoon. You’ll need six tablespoons of ice cold water for this gluten free pie crust recipe.
Use a Pastry Mat. I suggest using a nonstick pastry mat to roll out your gluten free pie crust. Since the crust is very fragile, using a mat will make rolling and transferring the crust to the pan so much easier.
Don’t Use All-Purpose Gluten Free Flour. While it’s OK to use all-purpose flour in some baking recipes, this is not one of them! All-purpose gluten free flour is much too dense for this recipe for gluten free pie crust. Be sure to use a gluten free baking flour blend, like Bob’s Red Mill Gluten Free 1-to-1 Baking Flour to ensure a delicious, flaky gluten free pie crust.
How to Make Gluten Free Pumpkin Pie
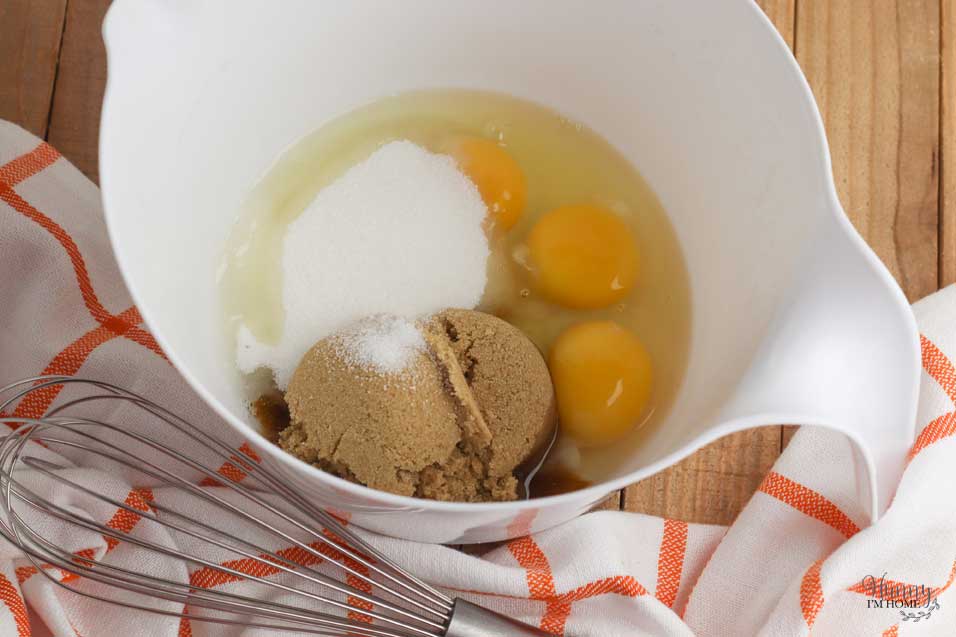
While your gluten free pie crust is chilling, you can start making the pumpkin custard for your gluten free pumpkin pie. Start by beating together the eggs, white sugar, and brown sugar.
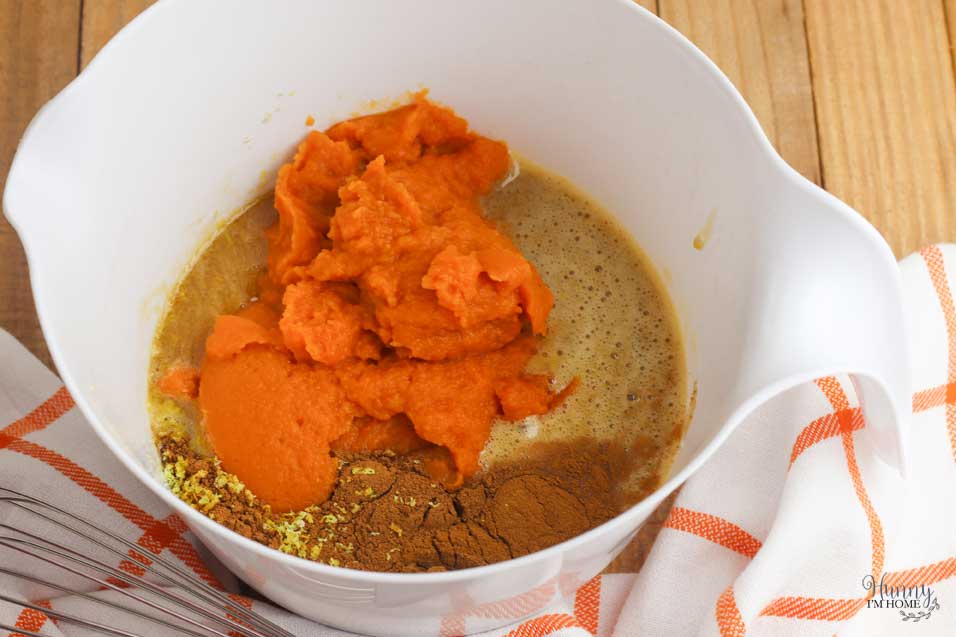
Then, add the pumpkin puree, pumpkin pie spice, cinnamon, and lemon zest. Mix to incorporate all the ingredients.
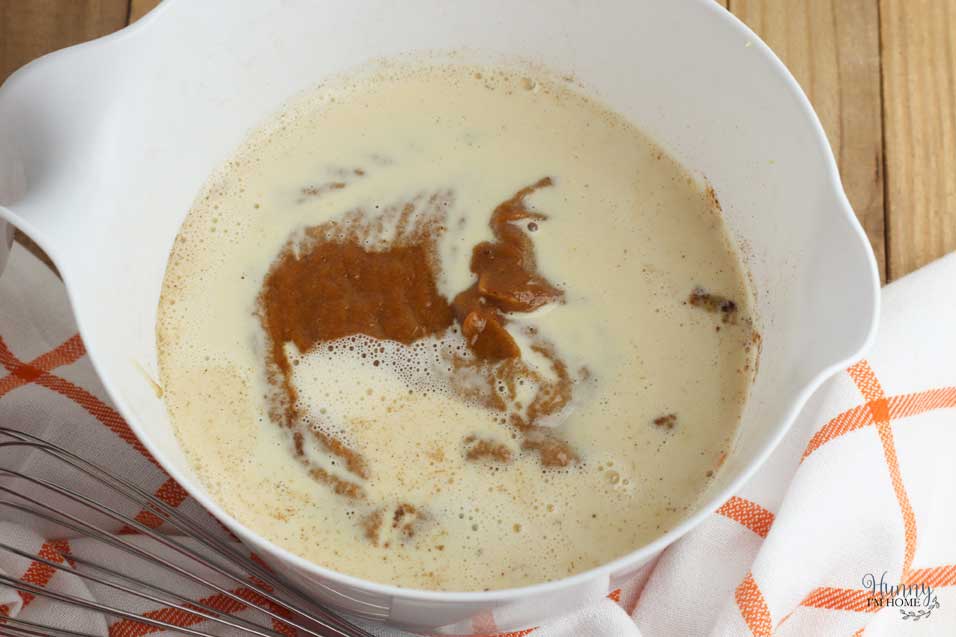
Finally, add the evaporated milk (not sweetened condensed milk!). Mix the ingredients one more time to make sure everything is well combined.
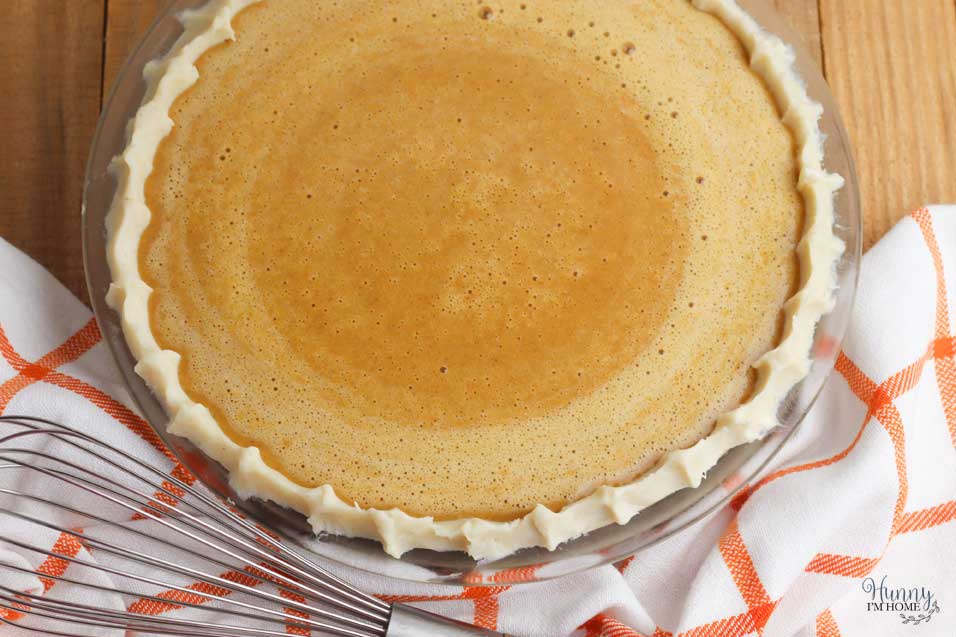
Pour the mixture into your prepared crust. You make have a little bit of custard left over after filling your crust, depending on how big your pie pan is. If so, you can pour these into an oven-safe custard dish and bake those along with your pie for a yummy crust-free pumpkin pie.
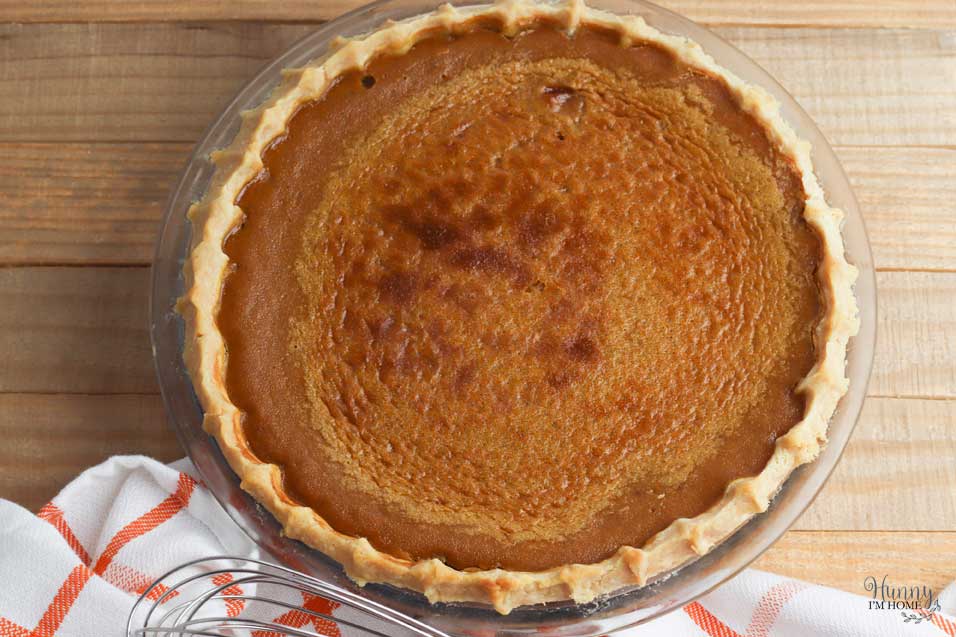
Place the pie in the oven and bake at 425 degrees for 15 minutes. Then, reduce the heat to 350 degrees and bake for another 45 to 55 minutes. Since most ovens have hot spots, it’s also a good idea to rotate the pie 180 degrees when you reduce the heat. The pie is done when a toothpick inserted into the center of the pie comes out damp, but clean.
Questions About This Recipe for Gluten Free Pumpkin Pie
While this yummy recipe for gluten free pumpkin pie is fairly simple, you may have a few questions while you’re baking. Here are the answers to some common questions:
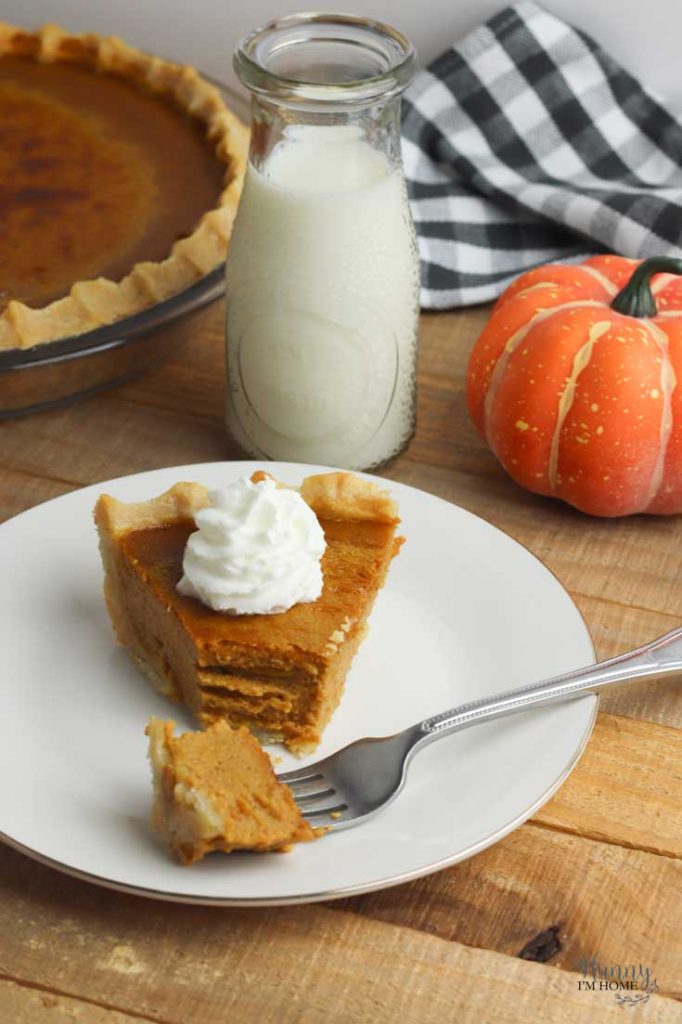
Should I blind-bake the crust?
You don’t need to blind bake the crust for this recipe for gluten free pumpkin pie. Luckily, the gluten free pie crust and pumpkin custard bake at the same rate, so there’s no need to pre-bake your pie crust before putting pouring in the pumpkin pie filling.
Can I use this gluten free pie crust for other pie recipes?
Definitely! This is my go-to gluten free pie crust recipe. It’s great for any pies that need a flaky pastry crust, like cherry, apple, or chocolate pies. If you plan on making a pie that needs a top crust, don’t forget to double the recipe!
Can I use a pre-made pie crust?
Sure! If you have a favorite pre-made gluten free pie crust, use it! It will make this recipe much easier. Just skip the crust-making steps and go straight to the recipe for pumpkin pie filling.
Can I make this recipe with traditional flour?
No. If you’re looking for a traditional pie crust (with gluten), this isn’t it. I have adapted this recipe to be used with gluten free baking flour. If you follow the instructions using traditional wheat flour, your dough will be too wet.
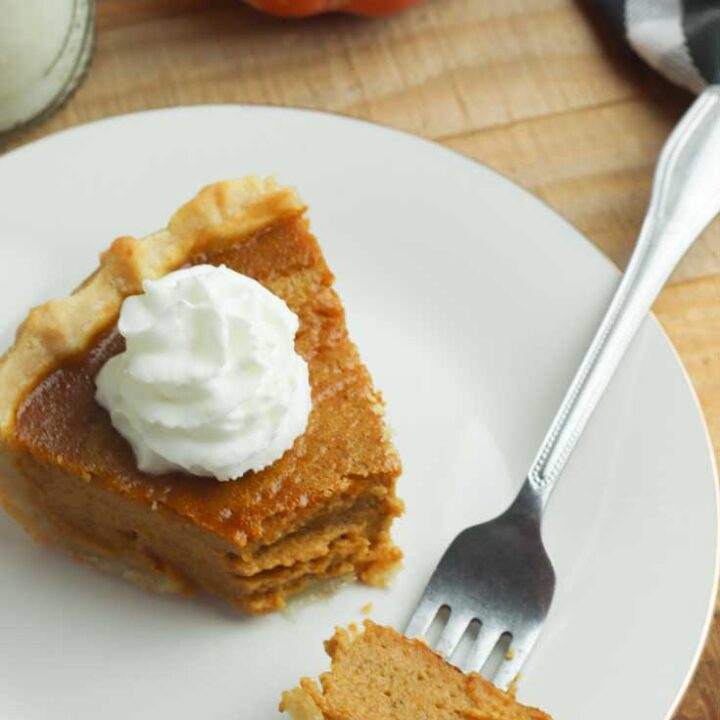
Gluten Free Pumpkin Pie
This easy recipe for gluten free pumpkin pie is a delicious pumpkin pie recipe with a gluten free crust.
Ingredients
Ingredients for the Crust:
- 1 ¼ cup gluten free baking flour
- 1 teaspoon sugar
- ½ teaspoon salt
- ¼ cup unsalted butter, cubed and chilled
- ¼ cup shortening, chilled
- ¼ cup plus two tablespoons ice cold water
Ingredients for the Filling:
- 3 eggs
- 1/3 cup sugar
- ½ cup brown sugar, packed
- 1 15-ounce can pumpkin puree
- 1 teaspoon cinnamon
- 2 teaspoon pumpkin pie spice
- 1 teaspoon lemon zest
- 1 12-ounce can evaporated milk
Instructions
Instructions for Crust:
- In a large bowl, combine the gluten free baking flour, sugar, and salt. Whisk until mixed.
- Add the chilled butter and cold shortening. Use a pastry blender or fork to mix ingredients until small, pea-sized pieces of dough begin to form.
- Slowly add water one tablespoon at a time, stirring between each addition. Continue adding water until dough begins to form into a loose ball.
- Turn down out into a lightly floured surface and work into a ball with your hands. Form dough into a disk, wrap in plastic wrap, and chill in refrigerator at least 30 minutes or up to overnight.
- When ready to fill crust with filling, place chilled dough onto a lightly floured surface. Roll dough into a disk large enough to cover pie pan.
- Carefully place pie dough into pie pan. Note: This gluten free dough is very fragile and will crack easily. If the dough cracks or brakes, use your fingers to press the dough into the pan, filling in cracks by pressing the dough together.
- To form a crust, pinch the dough between your fingers in equal intervals, moving around the edge of the pie crust until a decorative crust has been formed around the entire pie.
Instructions for Filling:
- Preheat oven to 425 degrees.
- In a large bowl, beat together the eggs, white sugar and brown sugar.
- Add pumpkin, cinnamon, pumpkin pie spice, and lemon zest. Beat on low to combine.
- Add evaporated milk and beat on low to combine.
- Pour mixture into prepared pie crust and bake at 425 degrees for 15 minutes.
- Rotate pie and reduce oven temperature to 350 degrees. Bake for an additional 45 to 55 minutes. Pie is done when center is slightly jiggly and a toothpick inserted into the center of the pie comes out clean.
- Place pie on a wire cooling rack to cool completely before serving.
Nutrition Information:
Yield: 9 Serving Size: 1 gramsAmount Per Serving: Calories: 314Total Fat: 16gSaturated Fat: 8gTrans Fat: 0gUnsaturated Fat: 7gCholesterol: 91mgSodium: 193mgCarbohydrates: 37gFiber: 2gSugar: 24gProtein: 7g
If you like this post, you’ll probably like these:


Emily is a midwestern mom of two boys. She loves all things DIY — from home renovations to kids birthday party planning. Whether she’s making a new farmhouse craft for her home or helping her kids with a cool activity, you can bet she’s in the middle of some kind of DIY project (or three) right now!


2 Comments