
Death by Chocolate Graveyard Halloween Trifle
With so many fun things to do, Halloween is definitely our favorite holiday! So, whether you’re hosting a Halloween party or just need a cute treat to serve your kids after dinner, finding the best Halloween desserts is a must. And if you’re a chocolate fan, you’re going to love the easy Halloween trifle. Layers of brownies, pudding, and Cool Whip come together for a delicious death by chocolate treat perfect for the spooky holiday.
This post contains affiliate links, which means I may earn a commission if you purchase something from my link (at no additional cost to you). Thanks for your support!
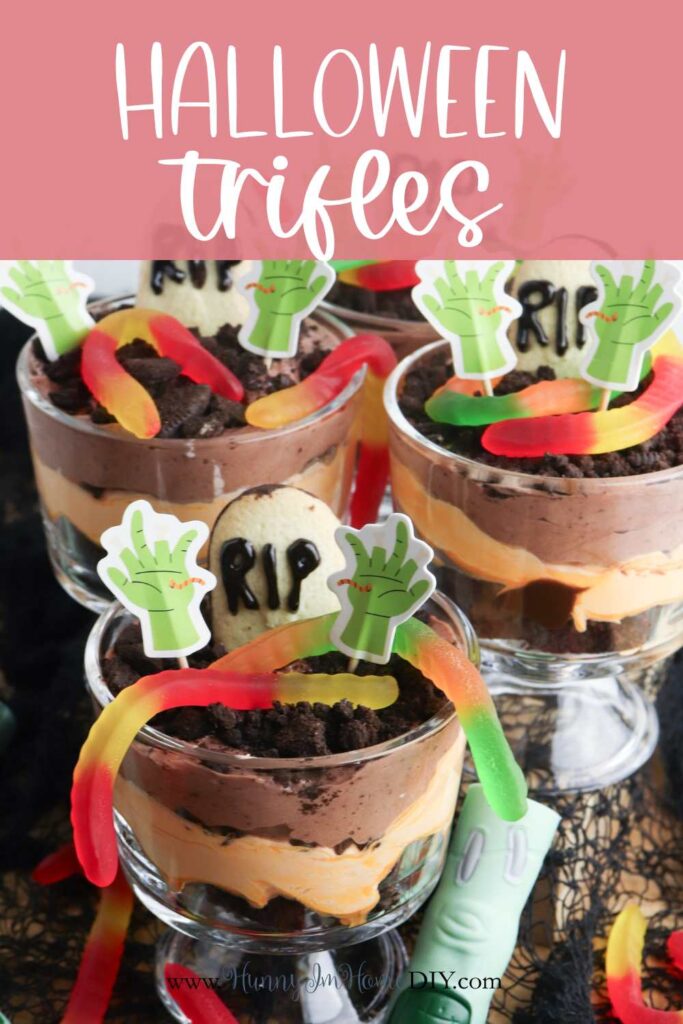
I love finding quick and easy desserts for Halloween. And when it comes to quick and easy, it doesn’t get much better than a layered trifle! It’s a simple, no-bake treat that you can easily decorate, making it perfect for a kid-friendly snack.
On top of being so cute, these fun Halloween mini trifles couldn’t be simpler to make! All you need are a few simple ingredients and a few minutes of your time to layer an adorable Halloween dessert for your party.
Halloween Trifle
To make these fun Halloween trifle desserts, you’ll start with a pan of brownies and some instant chocolate pudding. Then, you can add some fun decorations, like a cookie tombstone and gummy worms to add a spooky touch on top.

To make this easy Halloween pudding trifle, you’ll need:
- Brownies. Bake up a batch of brownies using a mix or grab a pan from the bakery of your grocery store to create the first layer of your dessert.
- Hot fudge. Since this a death by chocolate trifle, you’ll have tons of chocolate flavor in the dessert, including hot fudge!
- Mini chocolate chips. Add to the chocolate flavor by sprinkling some mini chocolate chips into the mix.
- Chocolate pudding. To make this dessert quick and easy, I suggest using instant chocolate pudding. This will speed up the prep time and make this Halloween dessert so much easier to put together.
- Milk. If you’re using instant pudding, you’ll also need milk to prepare the dessert. Follow the instructions on the package to prepare your chocolate pudding.
- Cool Whip. Add some extra flavor to your pudding cups with the help of Cool Whip or your favorite brand of whipped topping.
- Orange food coloring. Use this ingredient to add a fun Halloween look to the whipped topping layer of your trifle.
- Oreos. To prepare your Oreos for your trifle cups, place them in a zip-top bag and roll over the bag with a rolling pin. This is a quick and easy way to crush your chocolate sandwich cookies.
- Milano cookies. The long, rounded cookies make great tombstones for your pudding graveyard. But any cookie of this shape would work for your dessert. You could even make your own, if you want!
- Black icing. I used a small bottle of black gel decorating icing to decorate my cookies to look like tombstones. But any black icing would work well for this step of the preparation process.
- Gummy worms. With the help of a few gummy worms, you can add a finishing touch to your Halloween dirt cup trifle.
How to Make This Halloween Trifle
This layered dessert is quick and easy to make. Just follow the instructions for creating the different layers in your mini trifle cups to prepare this simple no-bake treat in a matter of minutes.
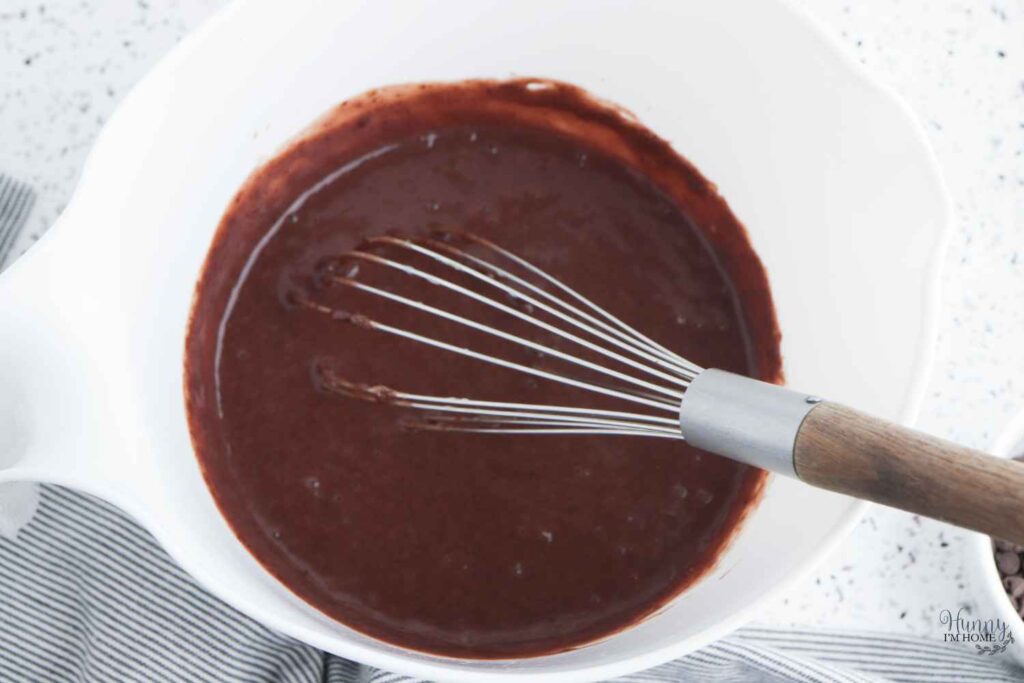
The first step to creating this easy Halloween dessert is to prepare the pudding. Follow the instructions on the package of pudding to get it ready to be added to the cups. I used instant chocolate pudding in my dessert, which required two cups of milk. Just add the milk to the pudding and whisk until it’s well combined.
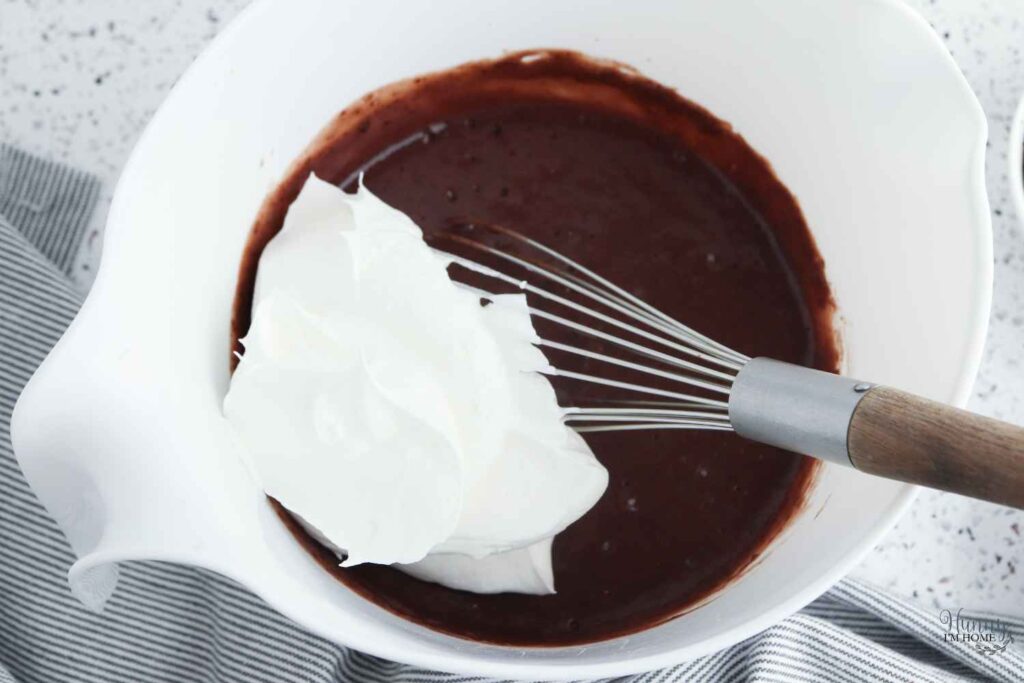
Your instant pudding will need to rest for around five minutes to give it time to thicken up. Then, add half the whipped topping to the bowl and carefully fold it in until it’s fully mixed.
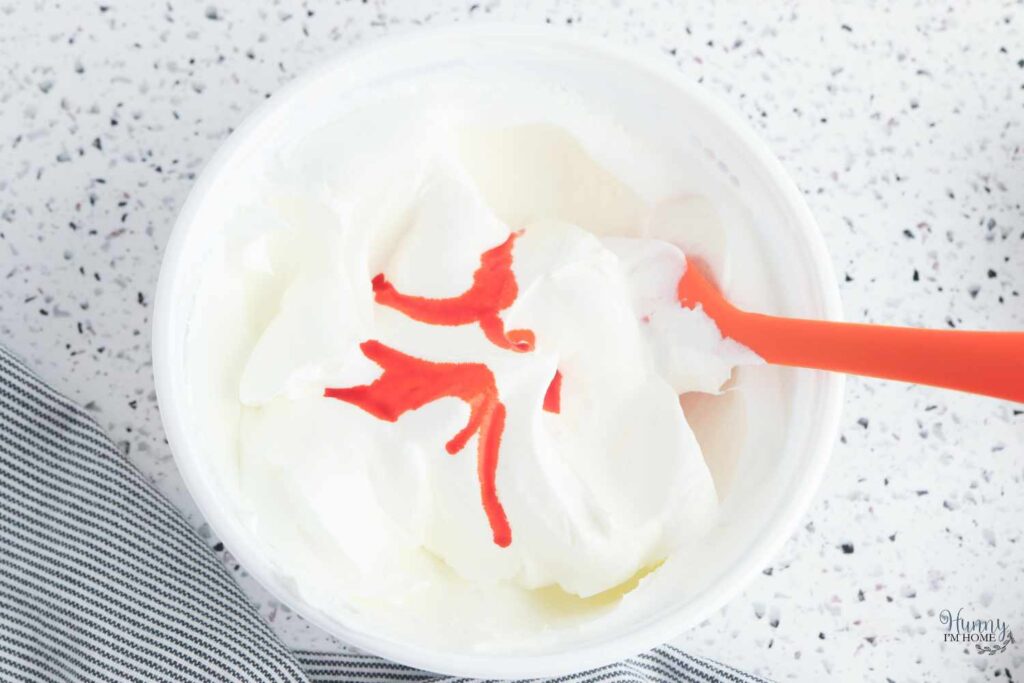
After that, add the orange food coloring to the remaining whipped topping and stir to mix until no white streaks appear in the whipped cream.
Halloween Trifle Layers
Now that you have all your ingredients ready to go, it’s time to start layering! Follow these instructions for adding the death by chocolate layers to your trifles.
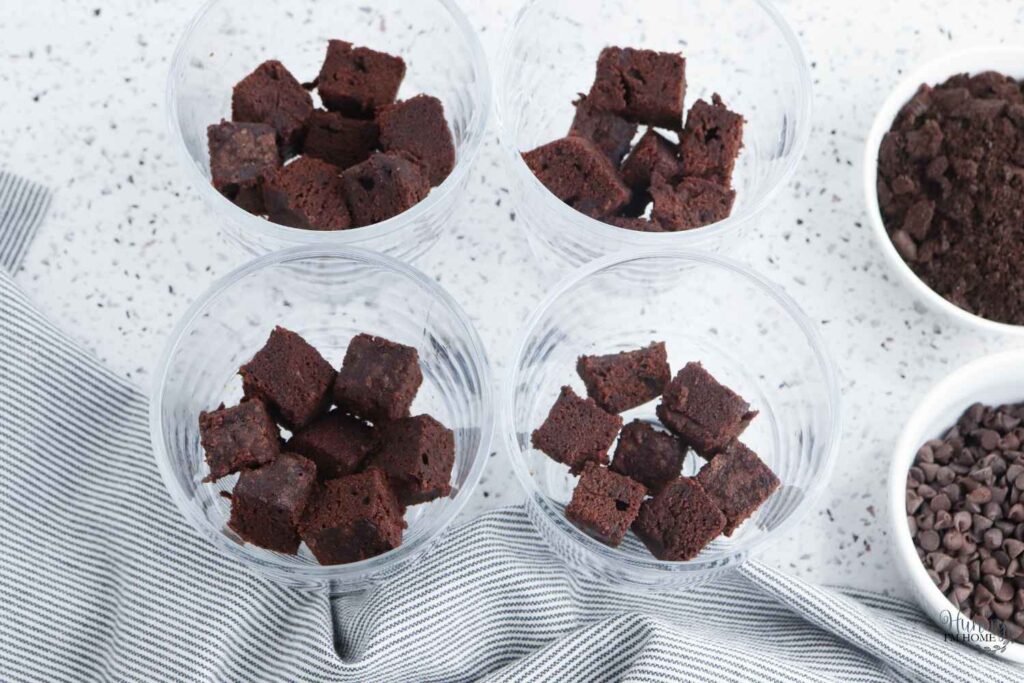
The first layer of your trifle is the brownie. Cut your brownie into small cubes to make them easy to scoop up from the bottom of the cup.
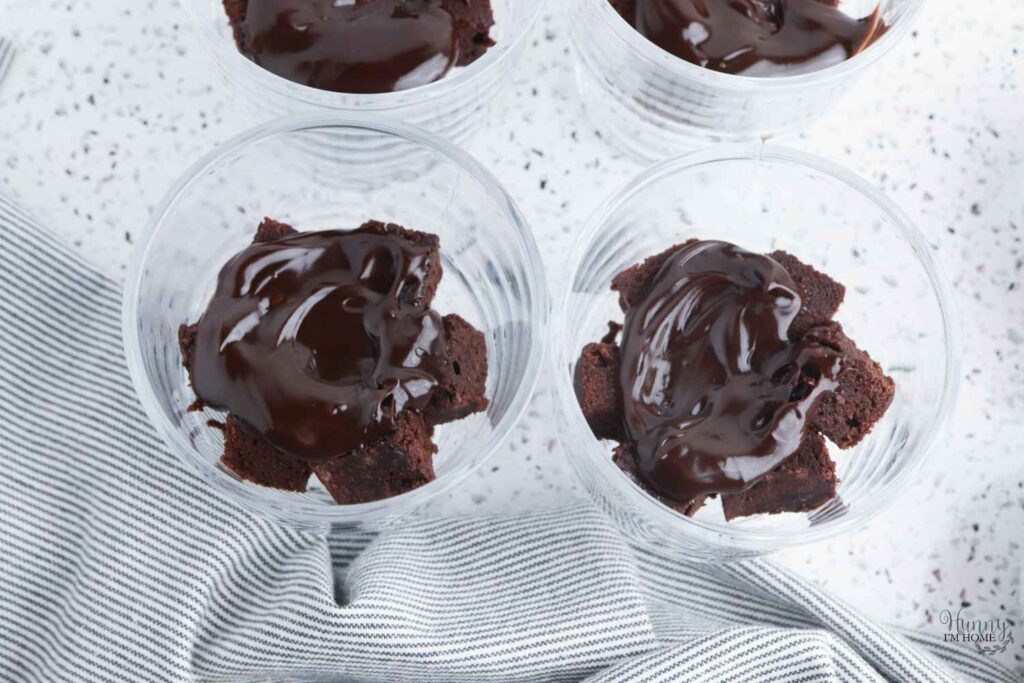
Next, add a layer of hot fudge over the top of the brownies. To get the fudge to spread evenly over the top of the brownie pieces, I suggest warming it up in the microwave for a few seconds.
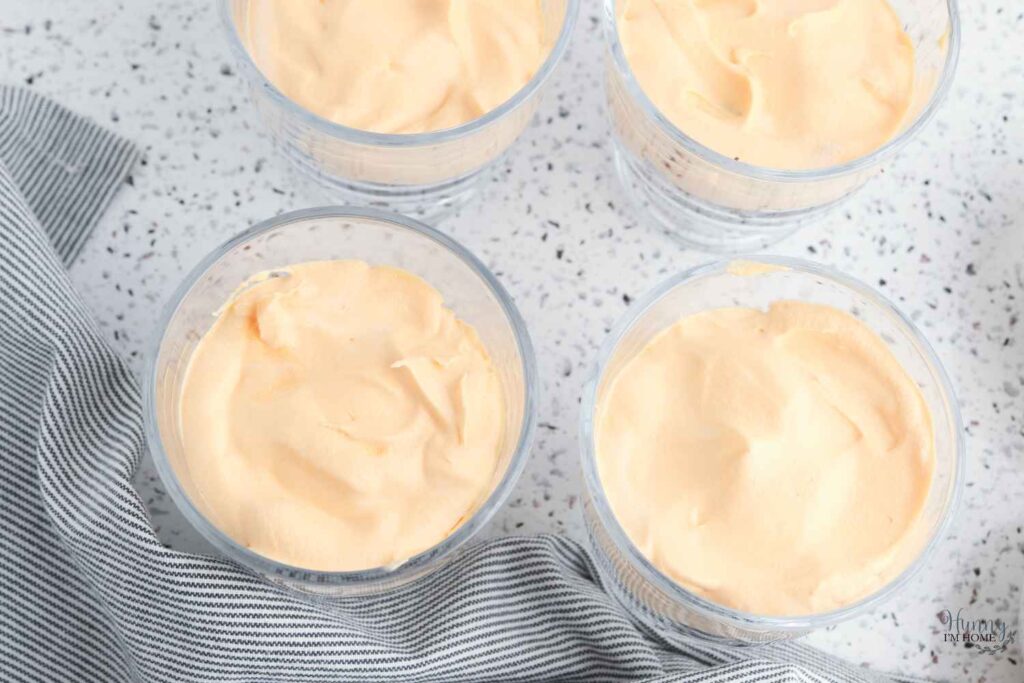
After the hot fudge, spread a layer of the orange whipped topping into your trifle glass. To get a smooth layer, try transferring the whipped cream to a piping bag and piping it into the cups!
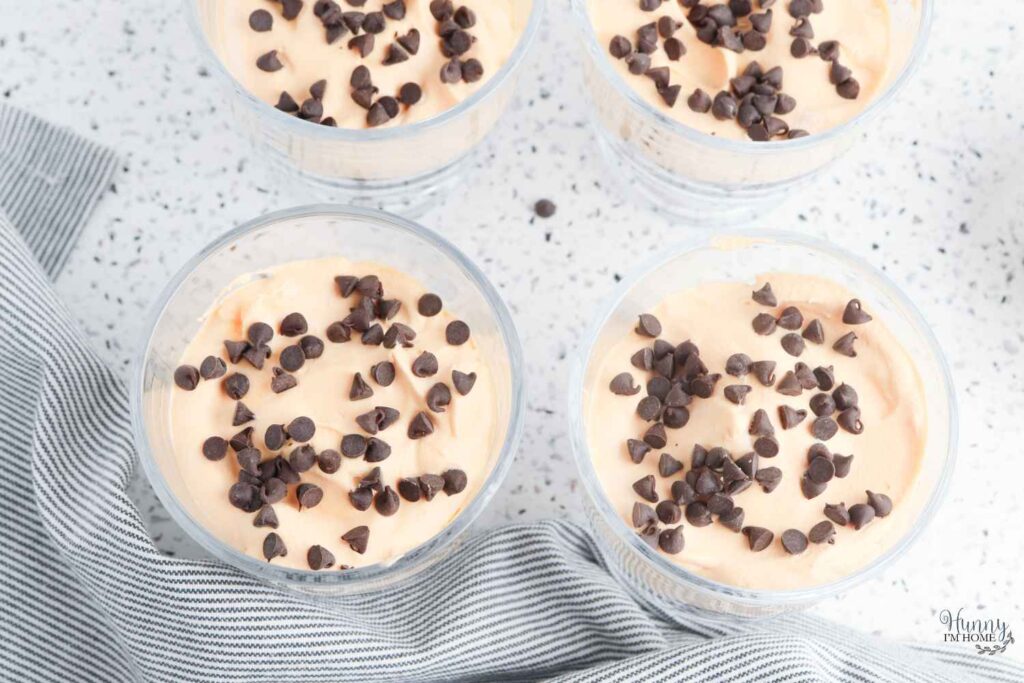
Then sprinkle the mini chocolate chips over the top of your orange whipped topping.
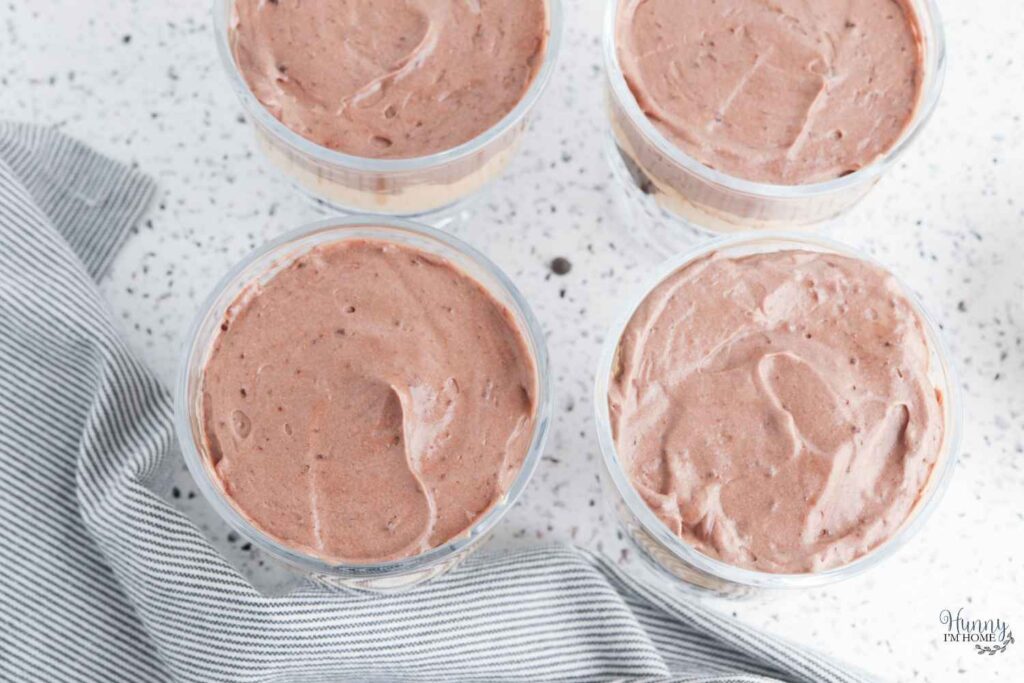
After that, you can spread your chocolate pudding into the cups. Try transferring the prepared pudding to a piping bag to pipe it into the cups to prevent a mess.
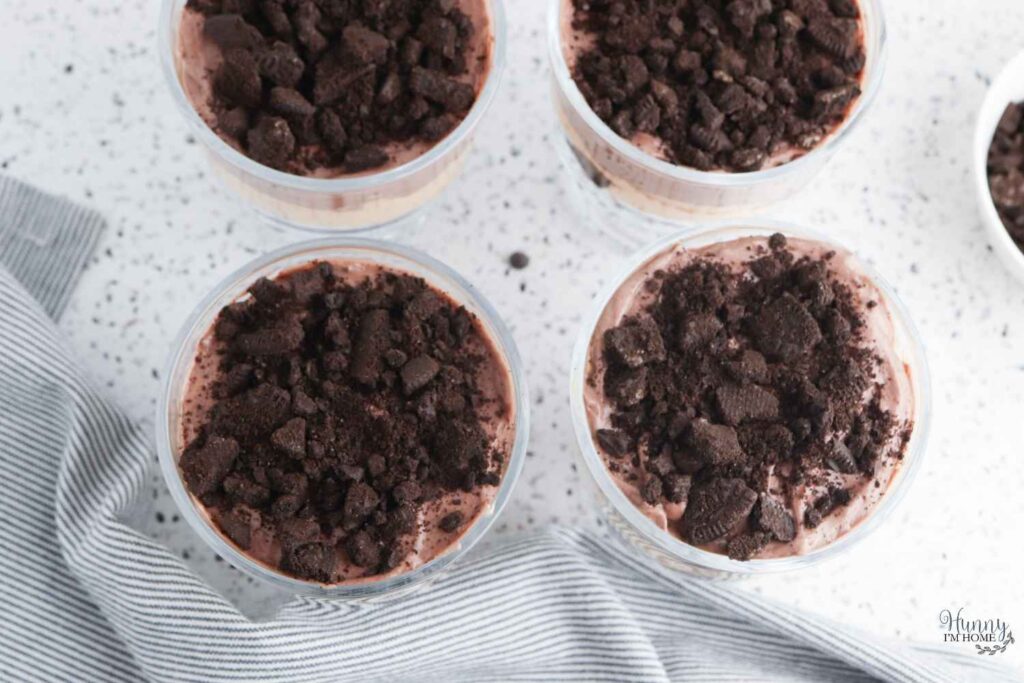
The final layer of your dessert is crushed Oreo cookies. Spread the cookie crumbles in an even layer over the top of the trifle to create the look of graveyard dirt.
How to Decorate a Halloween Trifle
Now that you have your dirt cup desserts prepared, it’s time to have some fun decorating your trifles! Follow these instructions to turn your dirt cups into graveyards for Halloween.
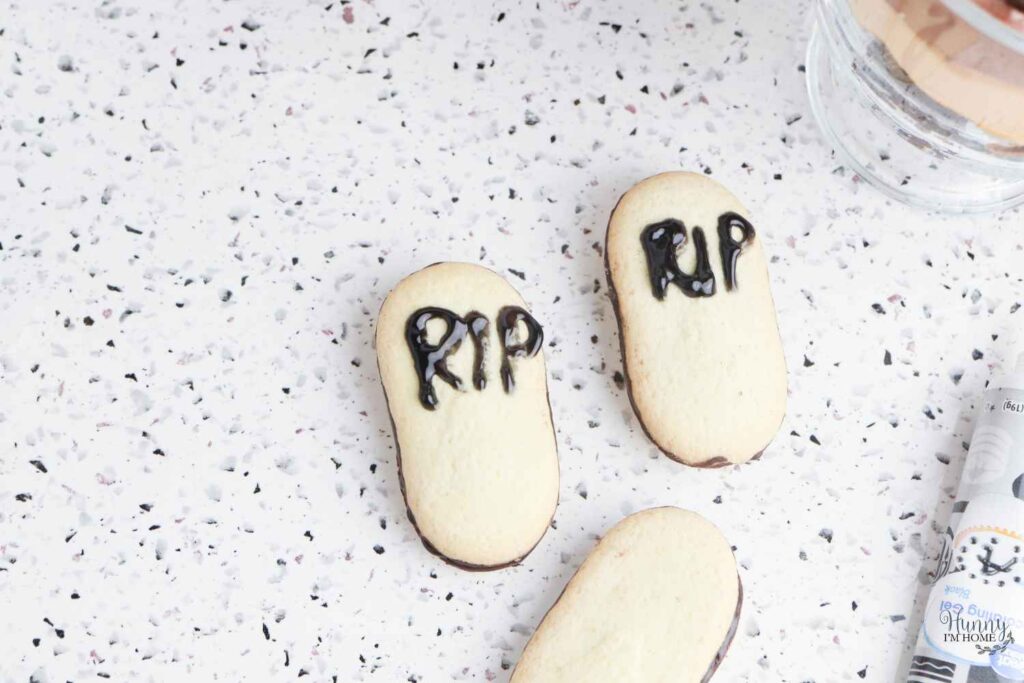
To make your cookie tombstones, you’ll need your black decorating gel. Use the gel to carefully write RIP on each cookie.
Or if you want to be a little more creative, you can come up with some other fun words or phrases to use on your cookies.
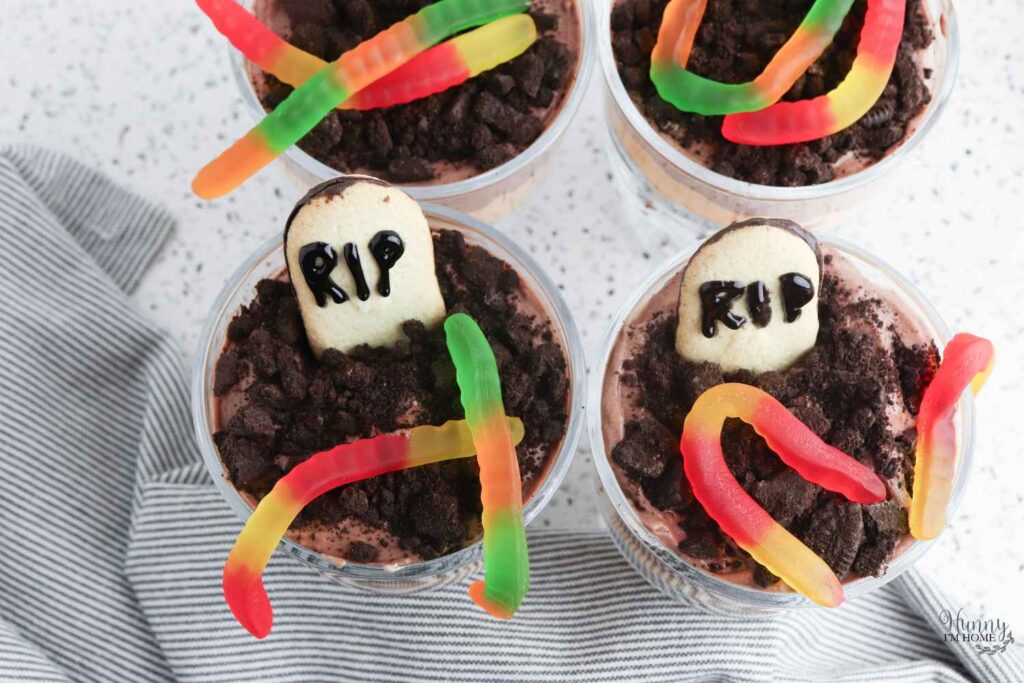
Stick the cookie gravestones into the top of each pudding cup, then place a gummy worm along the side to decorate the dessert.
But tombstones and gummy worms aren’t the only fun ways to add a spooky touch to your pudding snacks! Try adding these other decorations to give your Halloween desserts even more scary toppings:
- Zombie hand cupcake picks (found at Hobby Lobby)
- Candy eyes
- Peeps ghosts
- Candy pumpkins
- Plastic spiders
- Sour worms
- Halloween sprinkles
Halloween Trifle Ideas
There are so many fun ways to serve Halloween party food to your guests! And that means you’ll have your pick of fun sweet treats to make for your event. Check out these easy dessert ideas to get inspiration for your party.
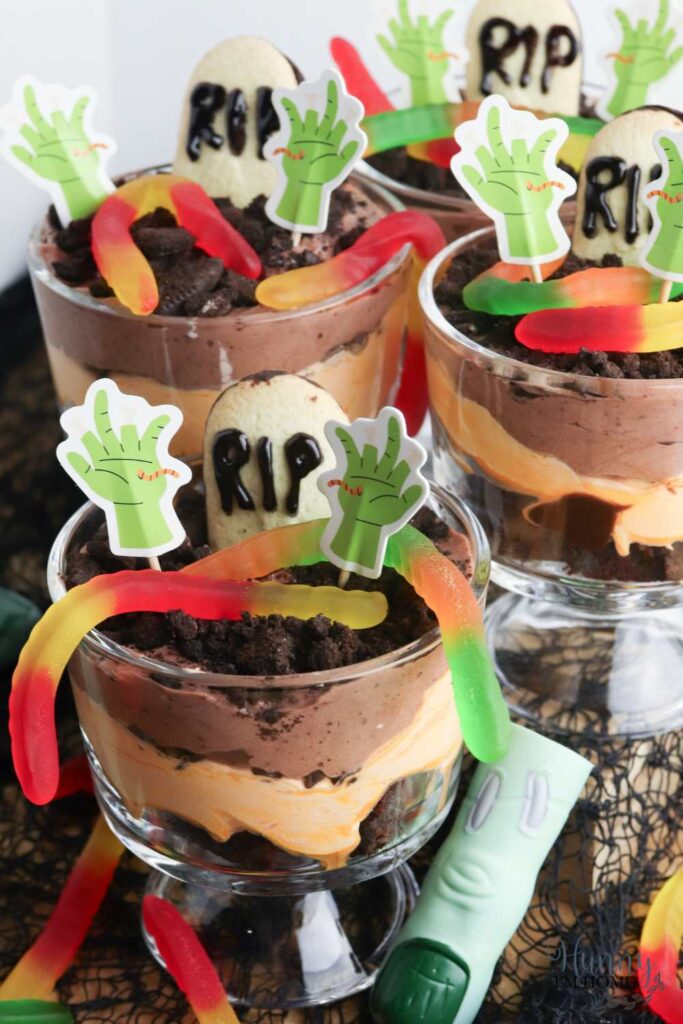
These Halloween dirt cups are so simple to make, which means you can easily change up the recipe to make them your own! Try these Halloween dessert ideas to create a cute and delicious treat for the kids at your party.
- Make gluten free dirt cups. Make your own gluten free brownies using a boxed mix, then top the dessert with gluten free Oreos. To create the gravestones, you can make your own gluten free Milano cookies or do a quick search on the shelves of your grocery store to fined a good premade replacement.
- Add some ghosts. Make your Halloween dessert a little spookier with the help of some ghosts. Add meringue ghosts to the top of your pudding to decorate each dessert.
- Make a full-sized trifle. There mini trifles are perfect for making individual desserts. But you can also layer the same ingredients in a full-sized trifle bowl for a big dessert to serve at your party.
How Far in Advance Can I Make a Halloween Trifle?
These Halloween desserts can be made up to one day in advance, making them perfect for a party! To get your Halloween trifles ready ahead of time, layer all the ingredients in your trifle dishes.
Once you have your dirt cups layered, store them in the refrigerator until you’re ready to serve them.
While you can prepare the trifles ahead of time, I would suggest waiting to decorate your tombstone cookies until you’re ready to serve your desserts. The black gel icing may run and the cookies will get soggy if you add them to the pudding cups too far in advance.
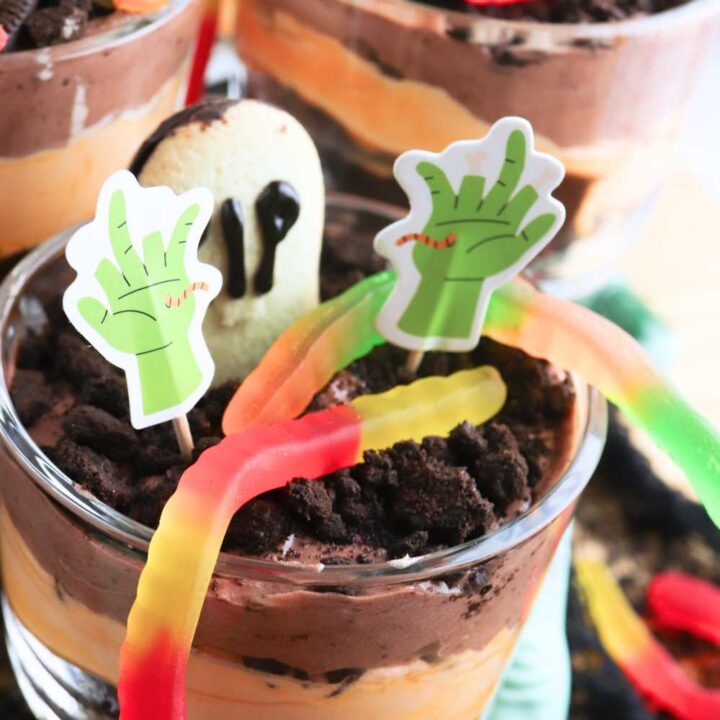
Halloween Trifle Recipe
Give a death by chocolate dessert a spooky twist with this fun Halloween trifle decorated like a graveyard.
Ingredients
- 3.9 ounce box instant chocolate pudding
- 2 cups milk
- 9x9 pan of brownies (regular or gluten free), baked and cut into cubes
- 1 cup mini chocolate chips
- 16 ounces Cool Whip, thawed
- Orange food coloring
- 1/2 cup hot fudge sauce, warmed
- 10 regular or gluten free Oreo cookies, crushed
- 8 Milano cookies or gluten free Sweet Loren's breakfast biscuits
- Black gel icing
- Gummy worms
Instructions
- Combine the chocolate pudding and milk in a large bowl and beat until the powder has dissolved. Allow to rest for 5 minutes, until thickened.
- Fold in half the whipped topping with the pudding, then set aside.
- Stir the orange food coloring into the whipped topping and set aside.
- Spread the cubed brownie pieces in the bottom of each trifle bowl.
- Top with the warmed hot fudge sauce.
- Spread the orange Cool Whip evenly over the brownies and hot fudge.
- Sprinkle the mini chocolate chips over the top of the Cool Whip.
- Top the Cool Whip layer with pudding mixture, then sprinkle the crushed Oreos over the top of the dish.
- Cover and chill for at least one hour or up to overnight.
- When ready to serve, use the black gel icing to write RIP on each Milano cookie or gluten free breakfast biscuit.
- Press the cookie grave into the top of the dessert and decorate with gummy worms on top.
Nutrition Information:
Yield: 8 Serving Size: 1Amount Per Serving: Calories: 600Total Fat: 31gSaturated Fat: 20gTrans Fat: 0gUnsaturated Fat: 9gCholesterol: 11mgSodium: 257mgCarbohydrates: 79gFiber: 3gSugar: 55gProtein: 6g
More Fun Halloween Recipe Ideas:
Easy Chocolate Covered Halloween Oreo Cookies
Witch’s Brew Halloween Dessert Dip
Peanut Butter Witch Hat Cookies for Halloween

Emily is a midwestern mom of two boys. She loves all things DIY — from home renovations to kids birthday party planning. Whether she’s making a new farmhouse craft for her home or helping her kids with a cool activity, you can bet she’s in the middle of some kind of DIY project (or three) right now!


These look so cute and so tasty!
My family LOVES trifle. This is so fun. 🙂 Visiting from the Sweet Tea & Friends linkup. (If you’d like, I’d love to sese you share this post at my linkup as well: https://lifetalesbooks.blogspot.com/p/calling-fellow-bloggers.html)
These are so cute, they are a feature at this week’s Handmade Monday 🙂
Thanks so much for the feature!
That is not a bad way to go.
Amalia
xo
Emily, these are too cute!!
Thank you for sharing this recipe at Create, Bake, Grow & Gather this week. I’m delighted to be featuring it at the party tomorrow and pinning too.
Hugs ~ Kerryanne
Thanks for the feature!!
These are too cute to eat! Not that that would stop me. So festive! Featuring when my link party opens.
Thanks so much for the feature!